
Step 1 – Setting up Docker and Portainer
Before we start, you will need to install Docker and Docker-Compose on your Linux server before we can start this.
Install Docker Engine on Ubuntu | Docker Documentation
Since we don’t have one in the active tutorial, we have to create Portainer on Docker Compose in SSH Terminal instead of Portainer WebGui, since we don’t have one.
1. I am not using Docker Volumes to save our data, so create the folder where you want to save because I am not using Docker Volumes for a reason.
mkdir /mnt/nasdrive/portainer/ && mkdir /mnt/nasdrive/nginx 2. In the SSH terminal, create the network for nginx.
docker network create nginx
3. Please go to the folder you created for Portainer and create the file docker-compose.yml.
cd /mnt/nasdrive/portainer && touch docker-compose.yml4. Here’s my configure docker-compose.yml.
version: '3.3'
services:
portainer:
image: portainer/portainer-ce:latest
container_name: portainer
ports:
- 8000:8000
- 9443:9443
networks:
- nginx
command: -H unix:///var/run/docker.sock
restart: always
volumes:
- /var/run/docker.sock:/var/run/docker.sock
- /mnt/nasdrive/portainer/data:/data
networks:
nginx:
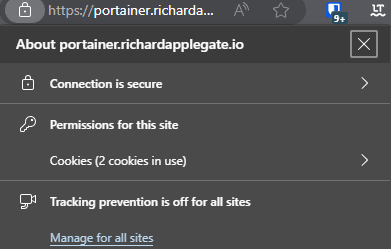
external: true5. Now that the Portainer is up and running, we can start to use it. To make my site secure and HTTPS with let’s encrypt, we need to create Let’s encrypt on Portainer. I already have and made an account. You should expect to see a first time creation of an account. https://yourIP:port
Now, you can log in to Portainer to start creating a docker nginx proxy manager.
Step 2 – setting up nginx proxy manager
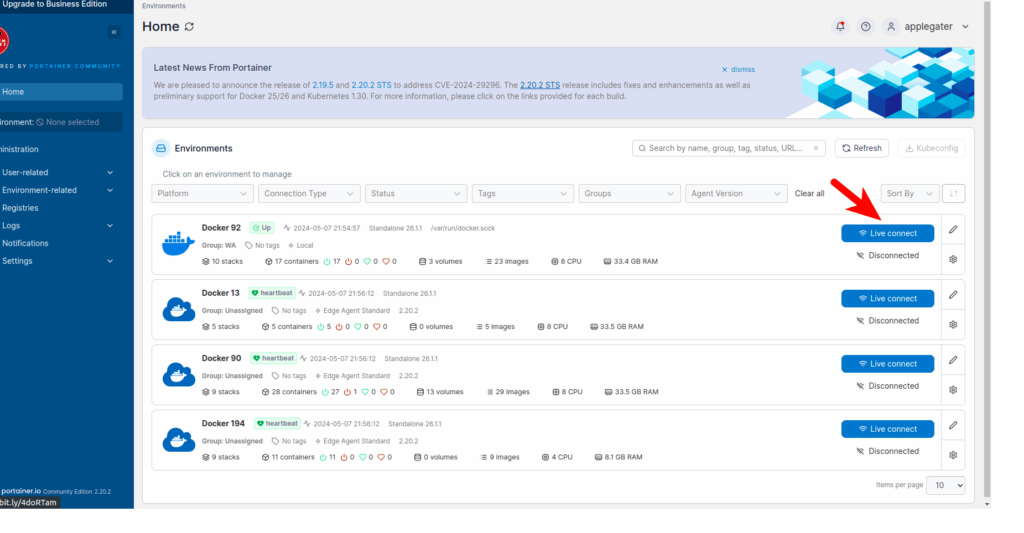
1. After selecting the Server for your initial Portainer Docker, you will notice the option “Stacks” on the front page of Portainer. To add a stack, click the blue button.

2. You can choose any name you want, but it’s helpful for me to keep things organized. We made a program called nginx__. I use compose docker configure, but we have MariaDB Database separate docker compose because I want to use one database for all my General apps. If you desire to utilize the MariaDB database, the following tutorial provides guidance on setting up the database on Portainer.
version: '3.8'
services:
  app:
    container_name: nginx
    image: 'jc21/nginx-proxy-manager:latest'
    restart: unless-stopped
    networks:
      - nginx
      - mariadb
    ports:
      - target: 443
        published: 443 # Outside port
        mode: host
        protocol: tcp
      - target: 80
        published: 80 # Outside port
        mode: host
        protocol: tcp
      - target: 81
        published: 81
        mode: host
        protocol: tcp
    environment:
      # Mysql/Maria connection parameters:
      DB_MYSQL_HOST: "mariadb"
      DB_MYSQL_PORT: 3306
      DB_MYSQL_USER: "npm"
      DB_MYSQL_PASSWORD: "Password"
      DB_MYSQL_NAME: "npm"
      # Uncomment this if IPv6 is not enabled on your host
      DISABLE_IPV6: 'true'
      TZ: 'America/Los_Angeles'
    volumes:
      - /mnt/nasdrive/nginx/data:/data
      - /mnt/nasdrive/nginx/letsencrypt:/etc/letsencrypt
networks:
  nginx:
    external: true
  mariadb:
    external: true
I already created a MariaDB database and a user for the NGINX proxy manager. So easy with PhpMyAdmin method instead, terminal console. Learn more about set up PhpMyAdmin!
3. Launching the stack for nginx!
Now open the Docker Nginx Proxy Manager at http://yourIP:81.
There is a default login because there is no creation page for users.
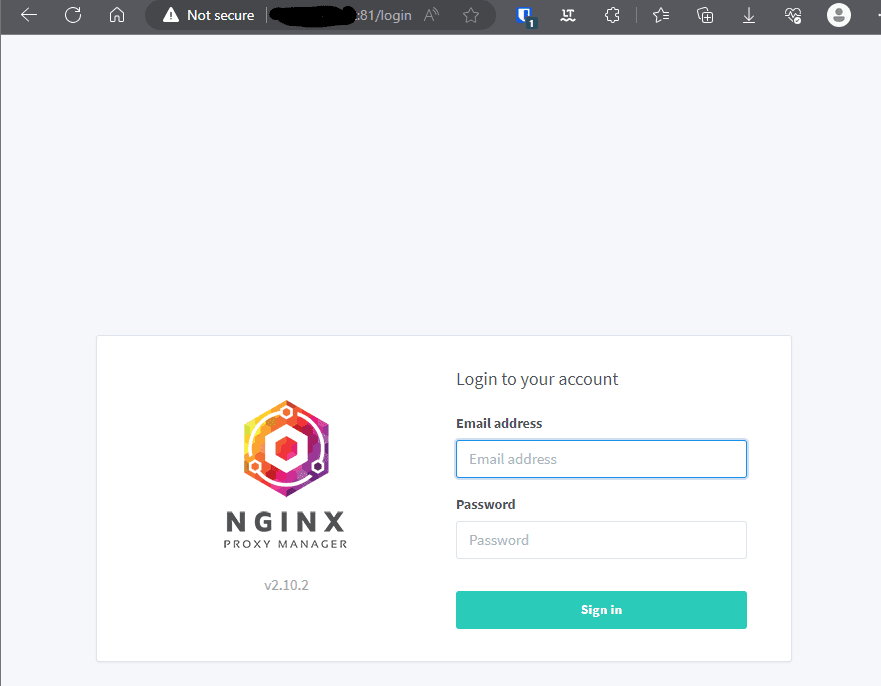
Email: admin@example.com Password: changemeImmediately after logging in with this default user, you will be asked to modify your details and change your password.
After you change the password and Username you set, then now you should see this:
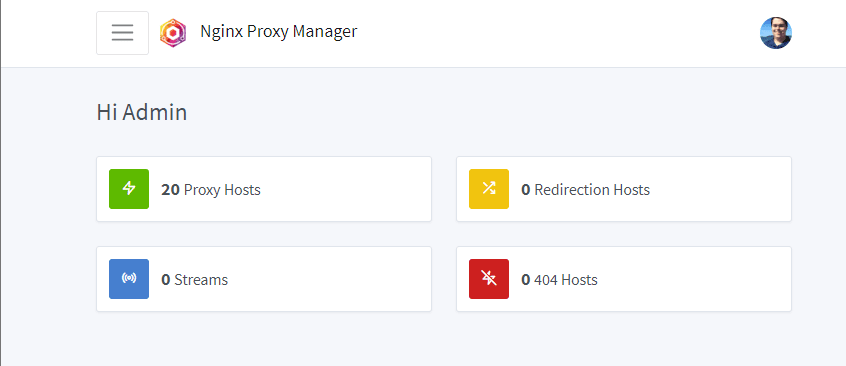
Now you can open the Proxy hosts to make HTTPS certificates for NGINX proxy manager and Portainer.
Nginx Proxy Manager – Nginx Proxy Host Detail


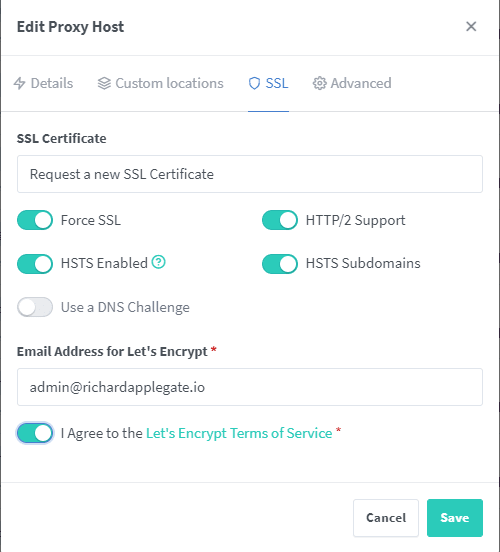
Portainer – Nginx Proxy Host Detail
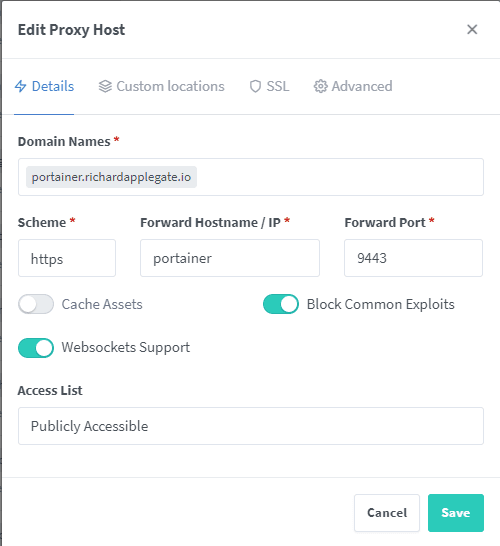
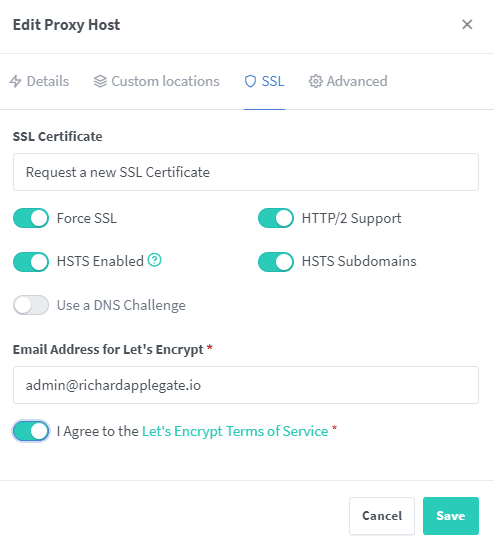
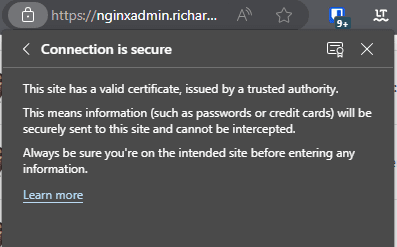
Advanced custom nginx configurations won’t be needed anymore. Then now your Portainer and NGINX are secured!
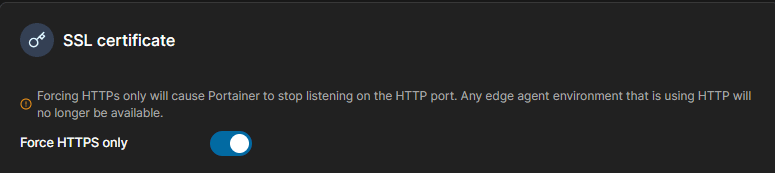
I recommend you all to force HTTPS only on private network too. It’s really safe. So, the Portainer itself app will not work with the HTTP port anymore.
Portainer ⇾ settings ⇾ scroll down until you see SSL Certificate
One response to “How to set up Portainer with nginx Proxy Manager.”
[…] Please ensure that you are running NGINX and Portainer. If you’re not created them, please follow this instruction. […]