What an incredible experience! This week, I took on a home project that I’d always thought was best left to professionals—I installed a ceiling TV mount. If you’ve ever thought about saving some space or adding a unique touch to your living room, trust me: you can do it yourself, and it’s genuinely exciting!
Getting Started: Facing My DIY Fears
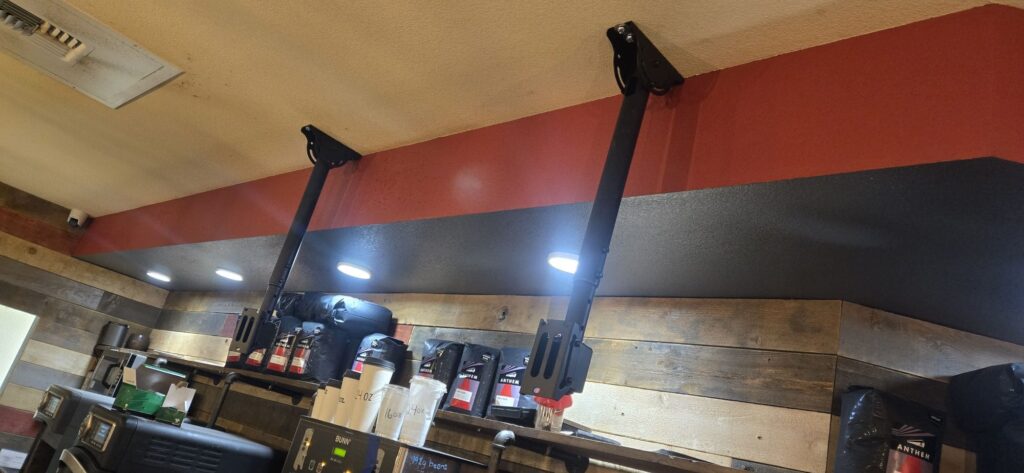
I’ll be honest—when I first opened the box, I was a little intimidated. There were anchors and bolts and an impressively sturdy pole, and I immediately started second-guessing whether I could safely hang a flat screen from my ceiling. But with a little patience and some YouTube tutorial inspiration, I dove right in.
Step by Step: Anchors Away!
Securing the mount using anchors was actually much easier than I expected. I measured (twice!), marked my spots, and drilled the anchors firmly into the ceiling. Each step gave me a small wave of accomplishment. There’s something incredibly satisfying about hearing that anchor click into place!
Mounting the TV: A Jaw-Dropping Moment
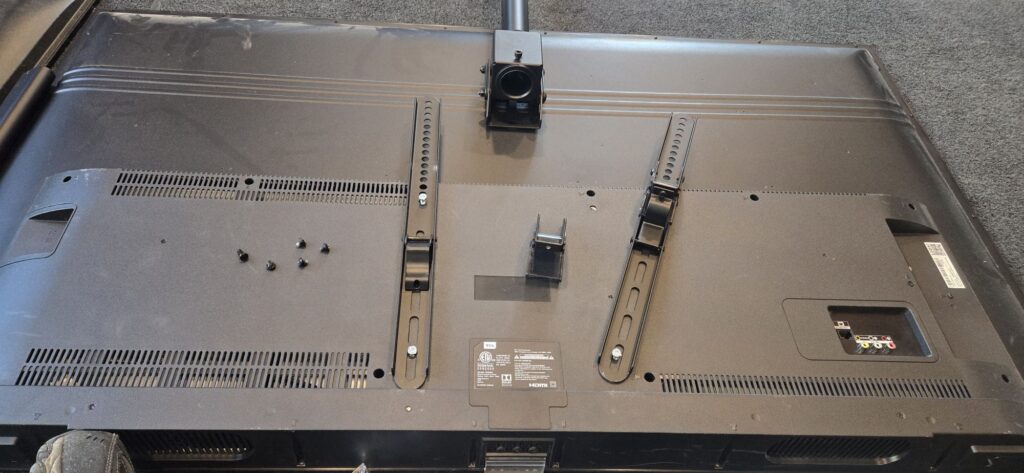
Once I attached the ceiling mount pole, the rest came together even faster than I imagined. Holding the TV steady and fitting it onto the pole gave me such a rush—it really started to feel real. Within minutes, my TV was hanging in the perfect spot.
Added Peace of Mind: Extra Security
Not wanting to take any chances, I went the extra mile and added additional support behind the TV. Now, my setup feels rock solid—no movement, no wobble, just total peace of mind. 🎉🎈
Final Thoughts
This entire project wasn’t just about home improvement. It was about pushing myself out of my comfort zone and discovering how fulfilling a DIY win can be! If you’re thinking about a ceiling mount for your TV, go for it. You might just surprise yourself, too.
Have you tried a project like this? Share your story or tips below—I’d love to hear them!
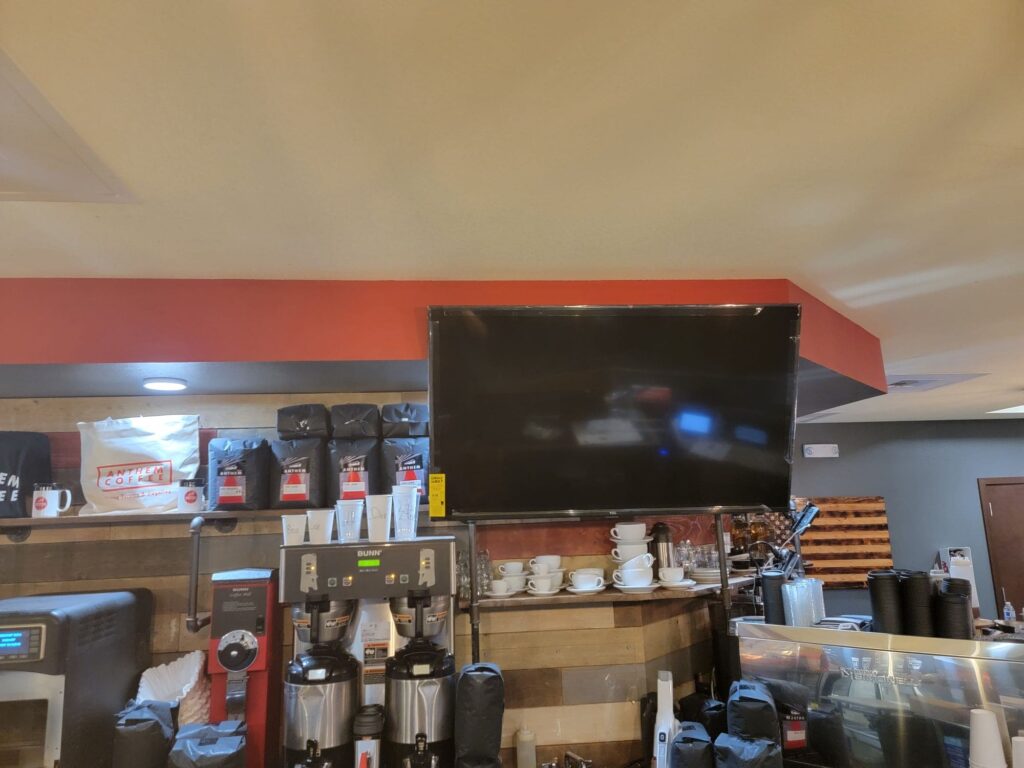
Before TV look like this
Today, May 12, 2024, I successfully replaced the wall mounts with ceiling mounts for both televisions. 📺🔧🛠️


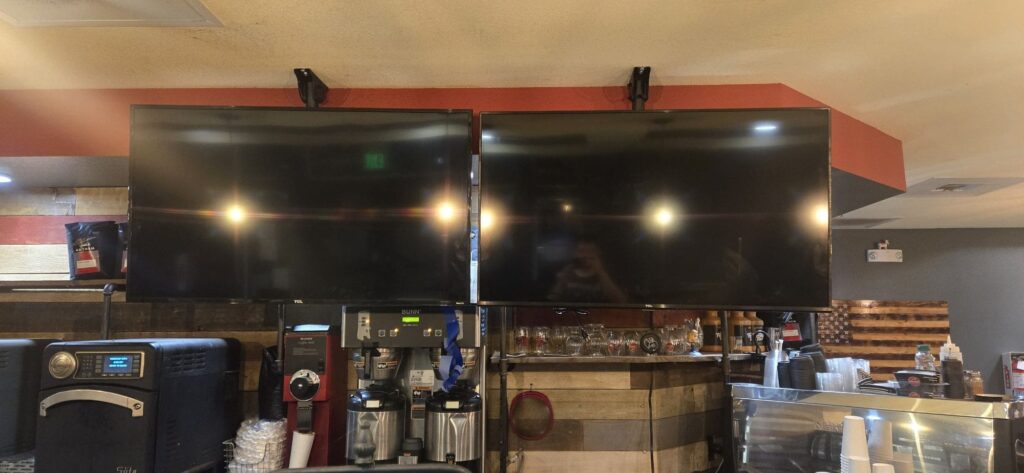


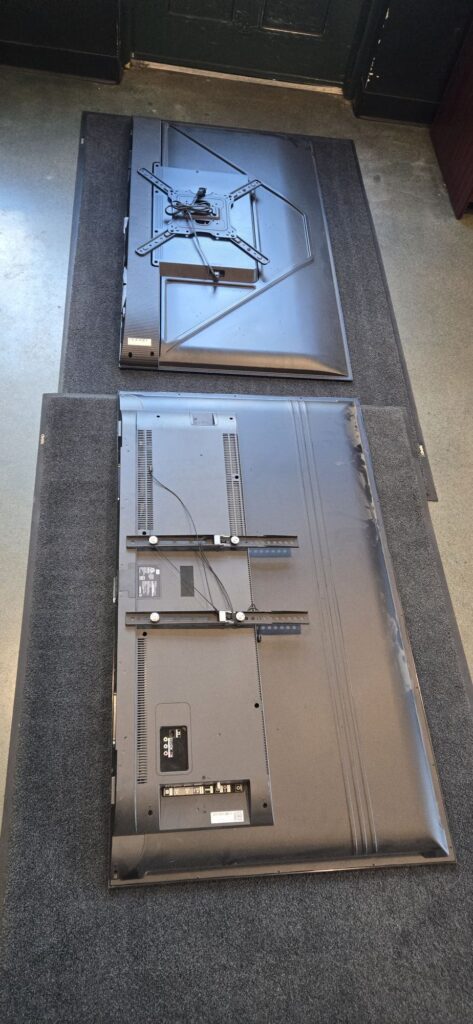
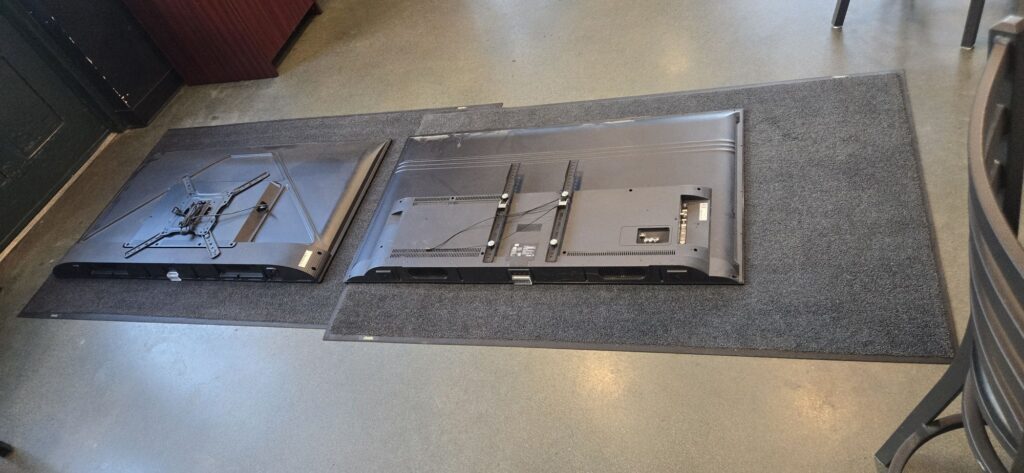
I set both TVs down to take accurate measurements before drilling the holes. The process went smoothly, and the entire job took me about three hours.
Leave a Reply