This attack trigger was found on October 16, 2023, when I received an email that my server was nearly full. This is not a typical occurrence. Therefore, I discovered that my AdGuard Home DNS Server had been compromised, and that a significant number of IP addresses exceeding 20K were targeted specifically in Brazil, Latin, two France Server, London, and more due to their focus on DNS attacks.
I decided to conduct a thorough investigation into the individuals present on our server to obtain CIDRs for clients who have been disallowed. As a result, I was able to successfully disallow 99.9 percent of the clients. It is a better way than to block country IP. Because I don’t see myself as needing to waste my IP that is never used. So this way better to do block CIDR Range whoever owner IP they will be automatic disallow because they’re letting them attack DNS Server on us.
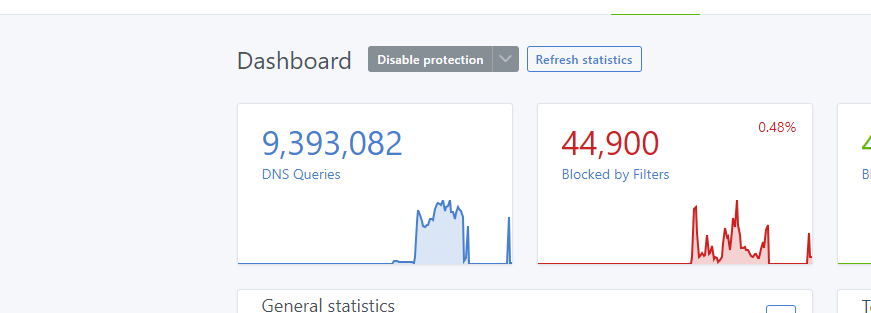

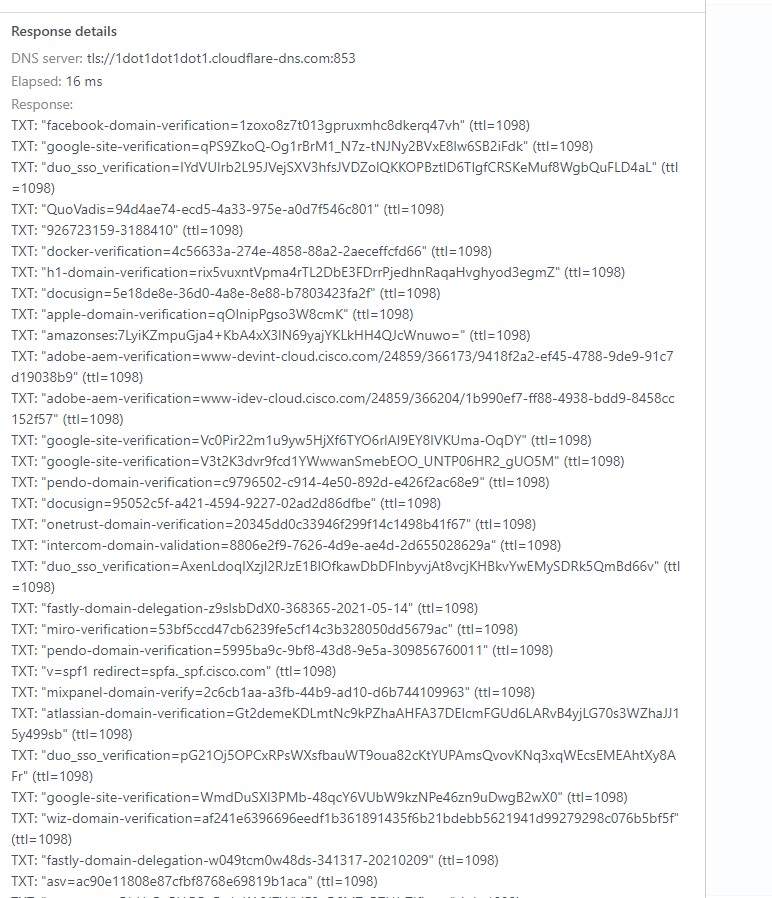
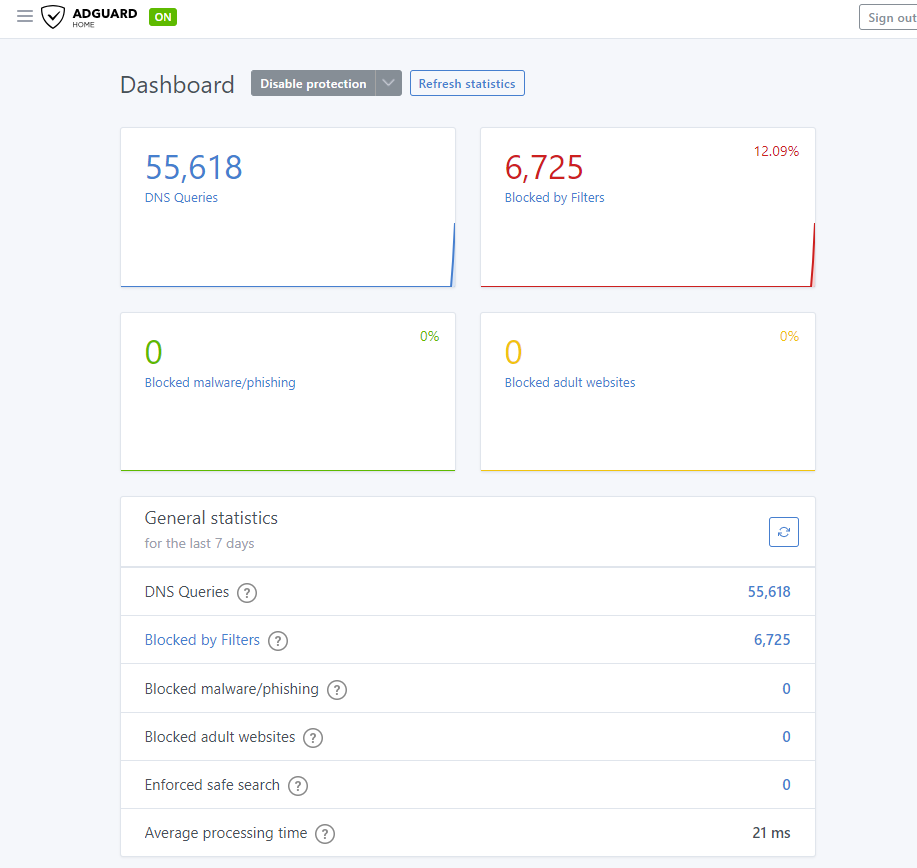
After I added the IP CIDRs to the client that were not allowed, I noticed that my dashboard went back to normal. Again, here is the link for IP addresses. I have been working on these for the past three days, but it appears that they have been stopped. Therefore, I want to help your times and your DNS Server and our to-do better. 🙂

Secondary Server – Dell Server Tower mini – Portainer with AdGuard Home
Primary Server – Dell Server Tower – Portainer with AdGuard home