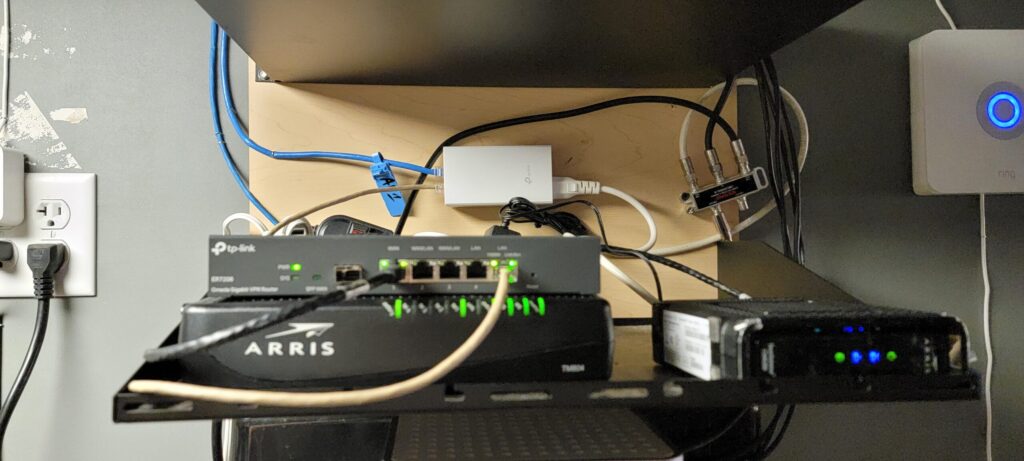
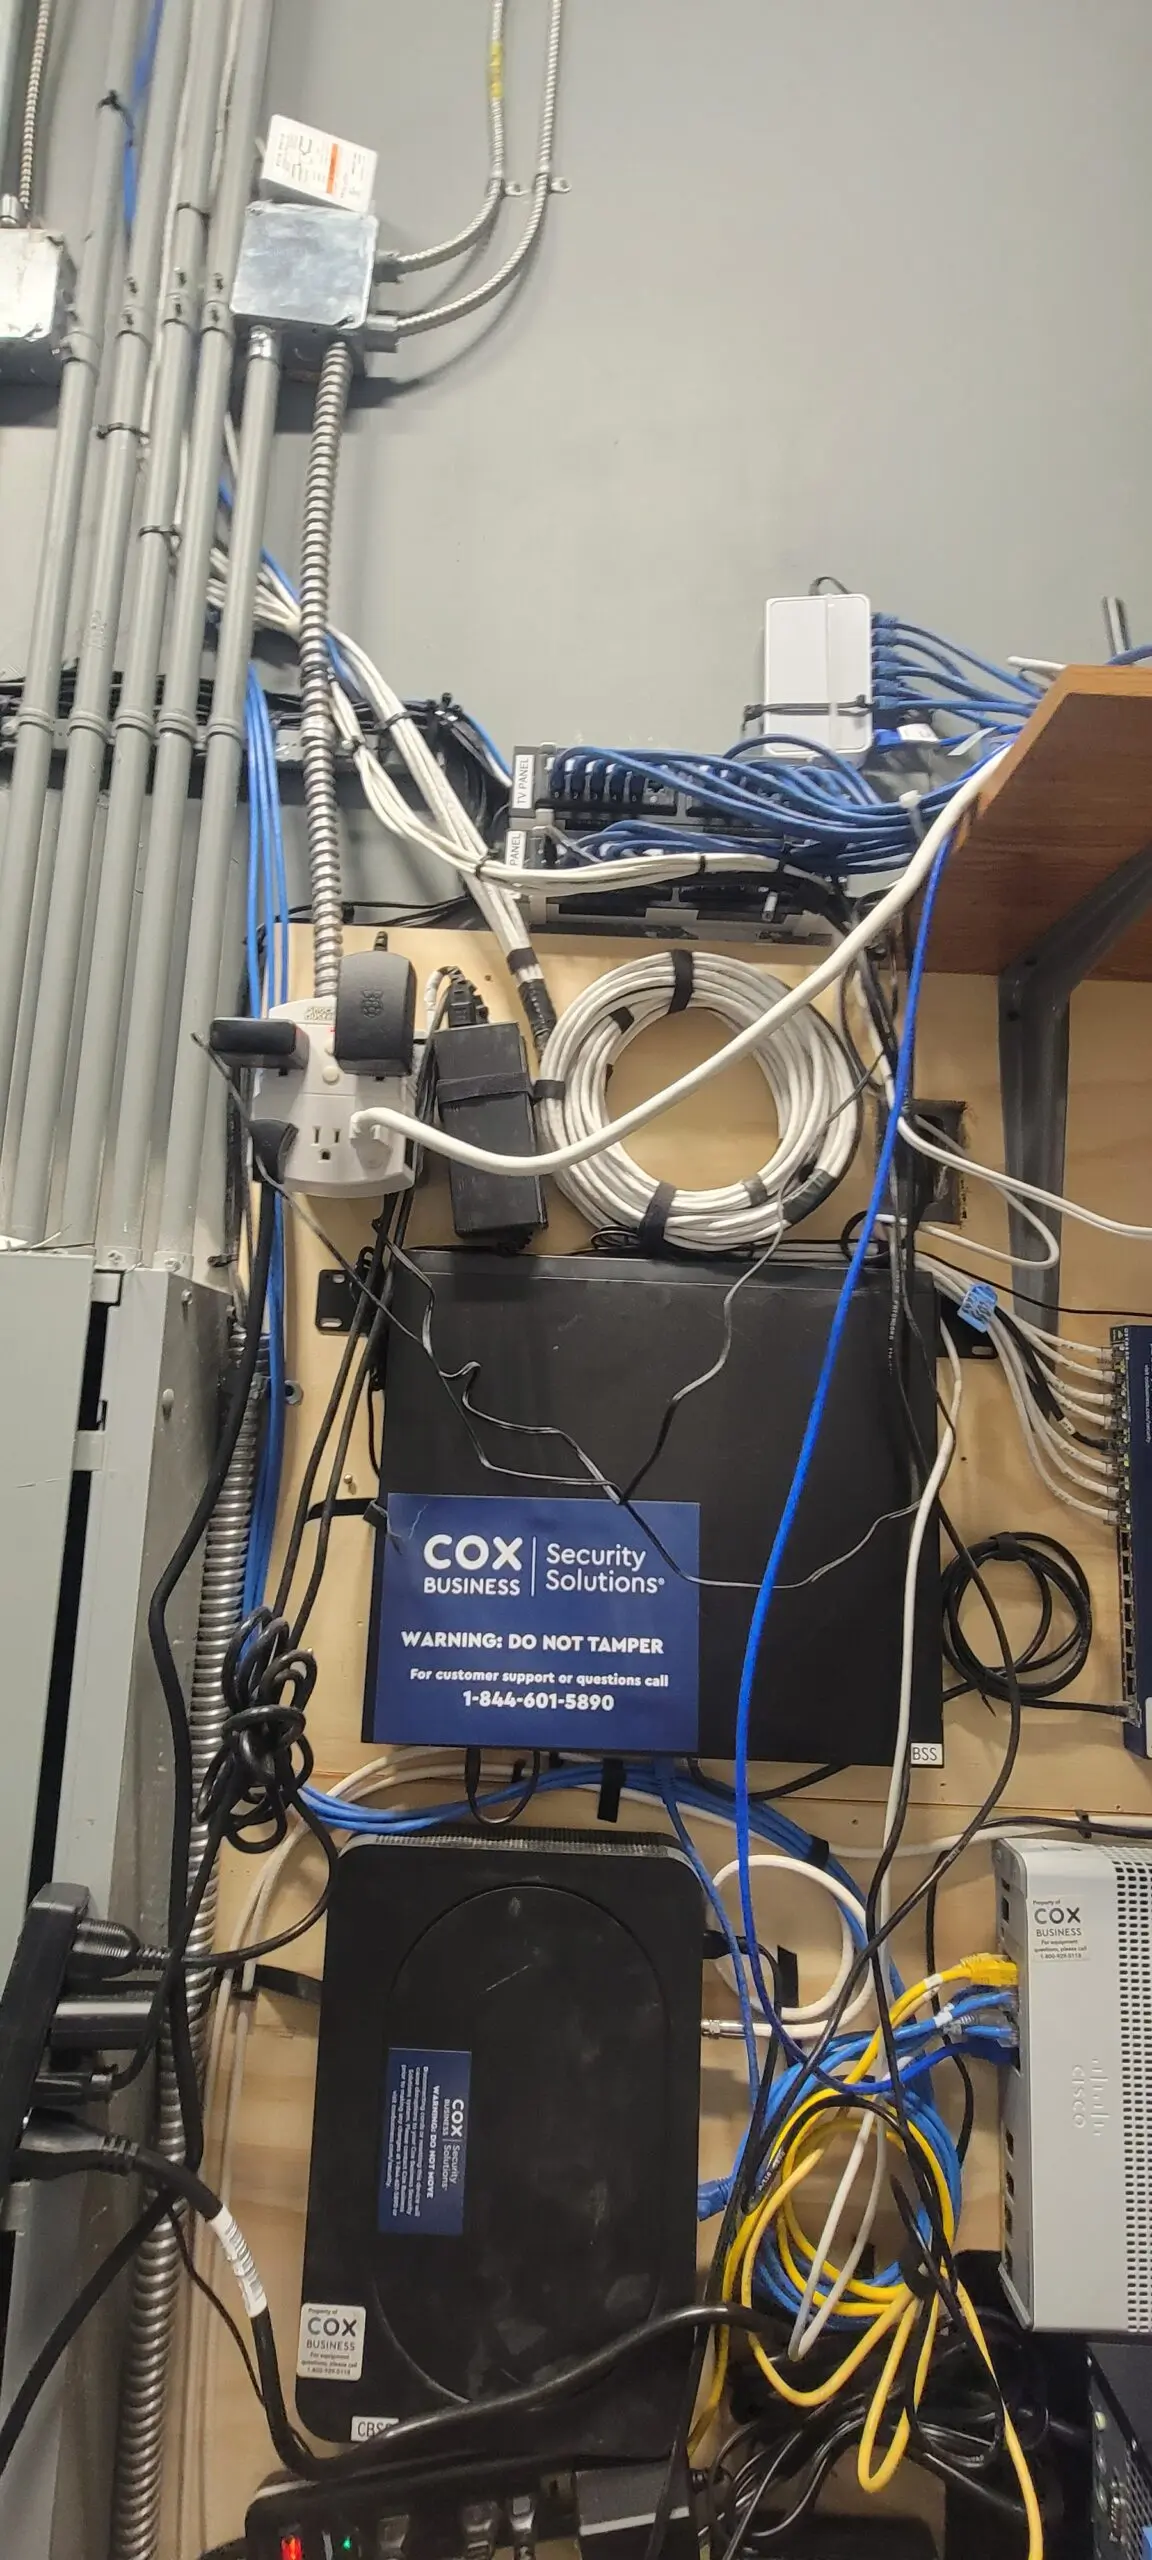
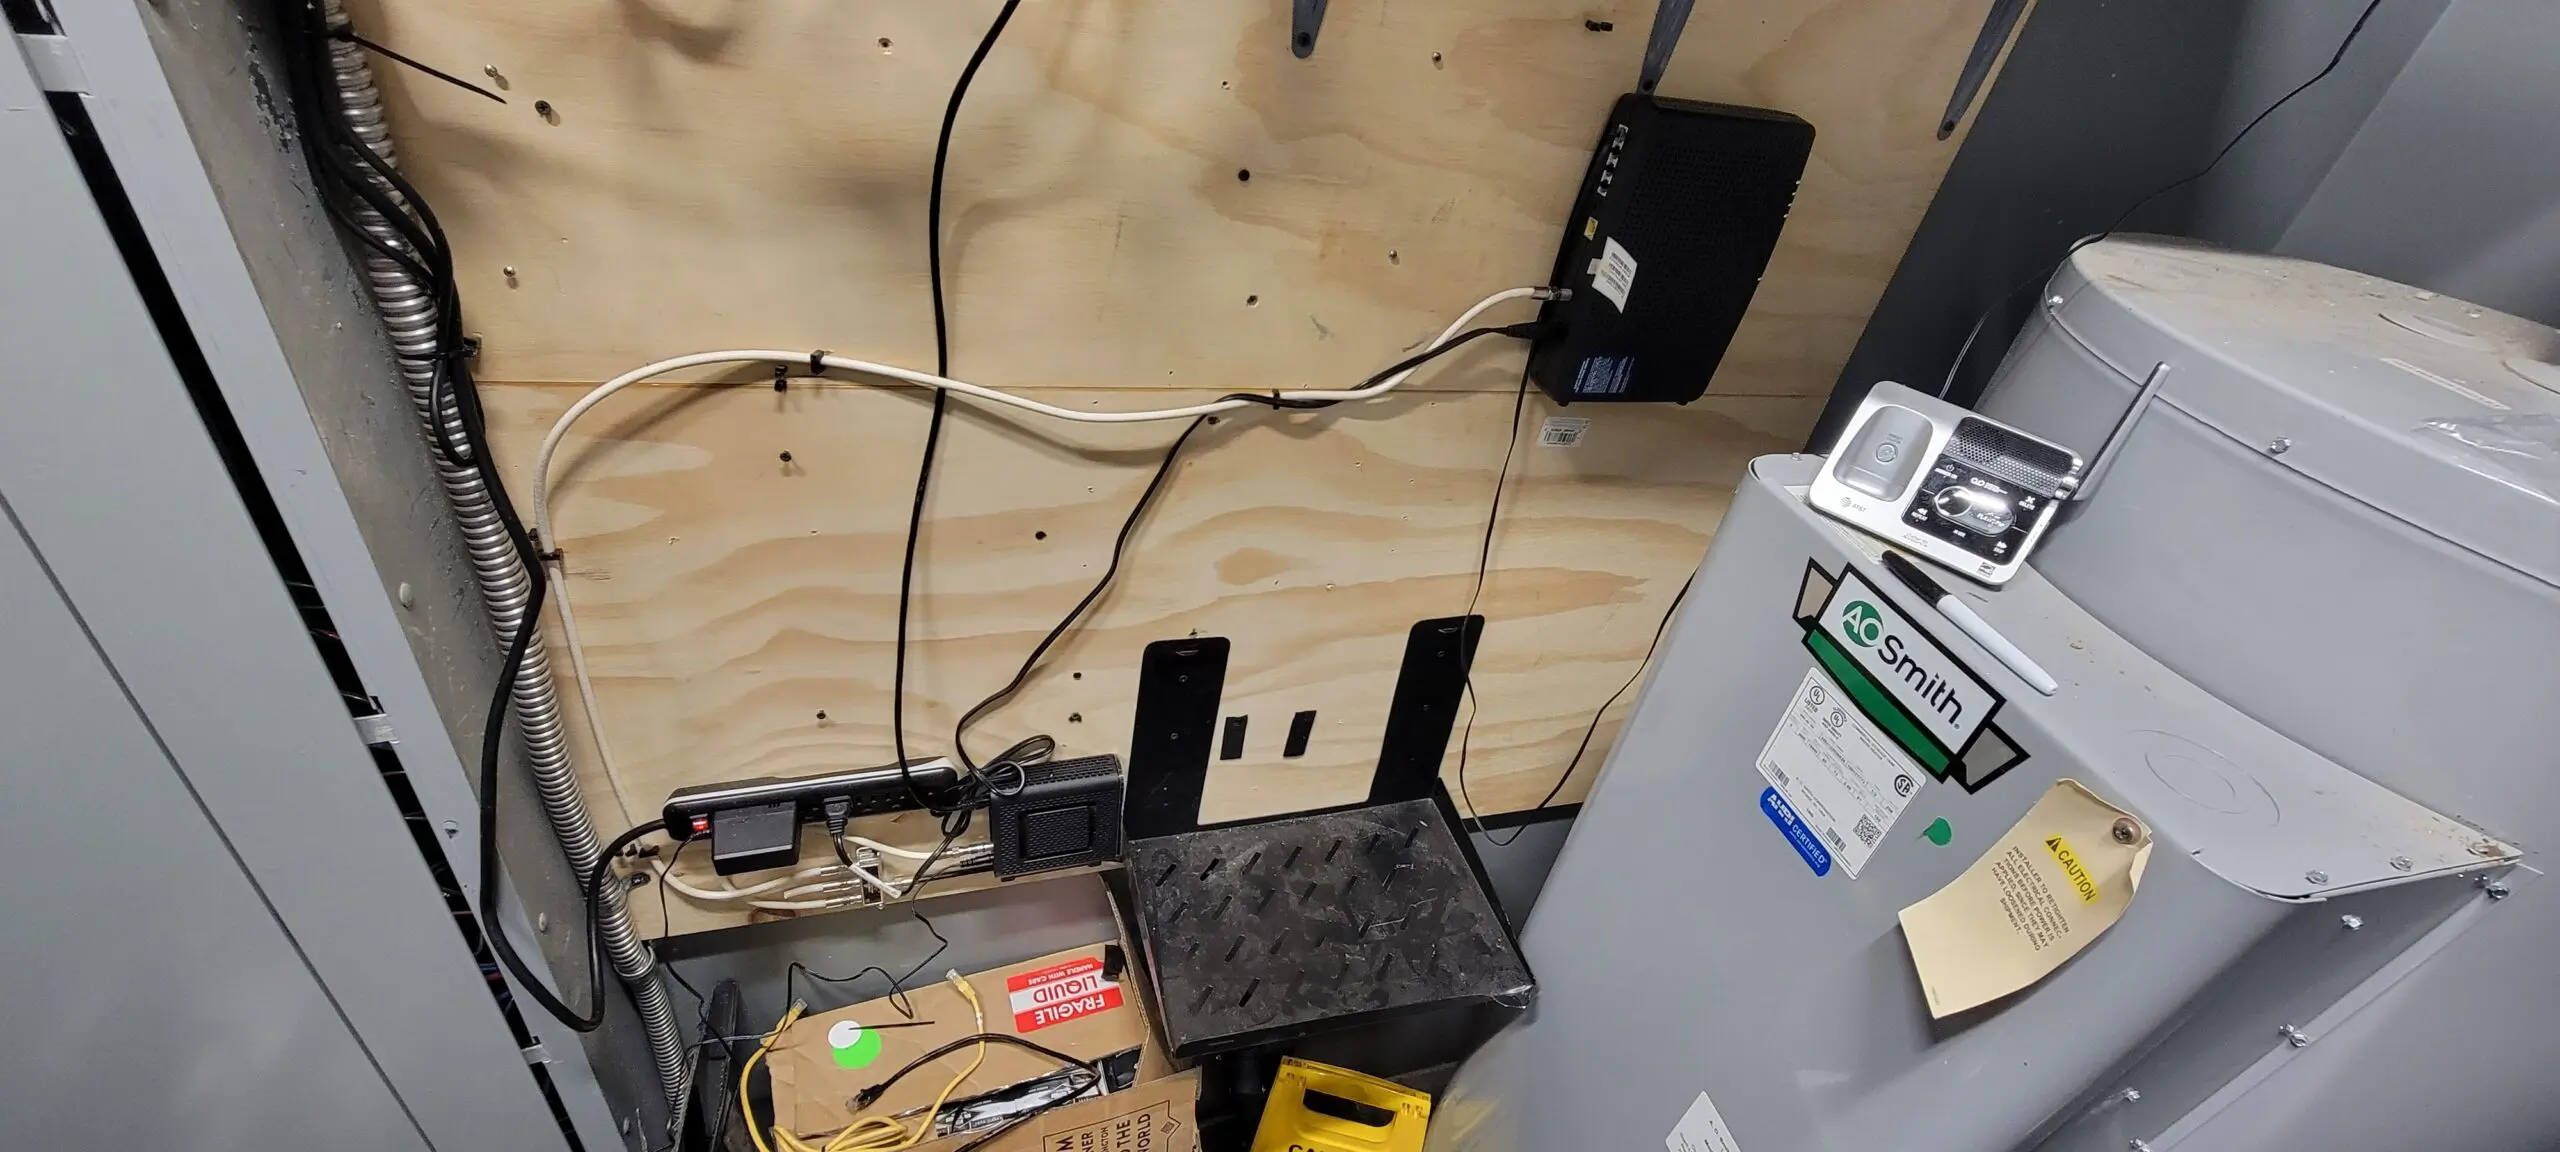
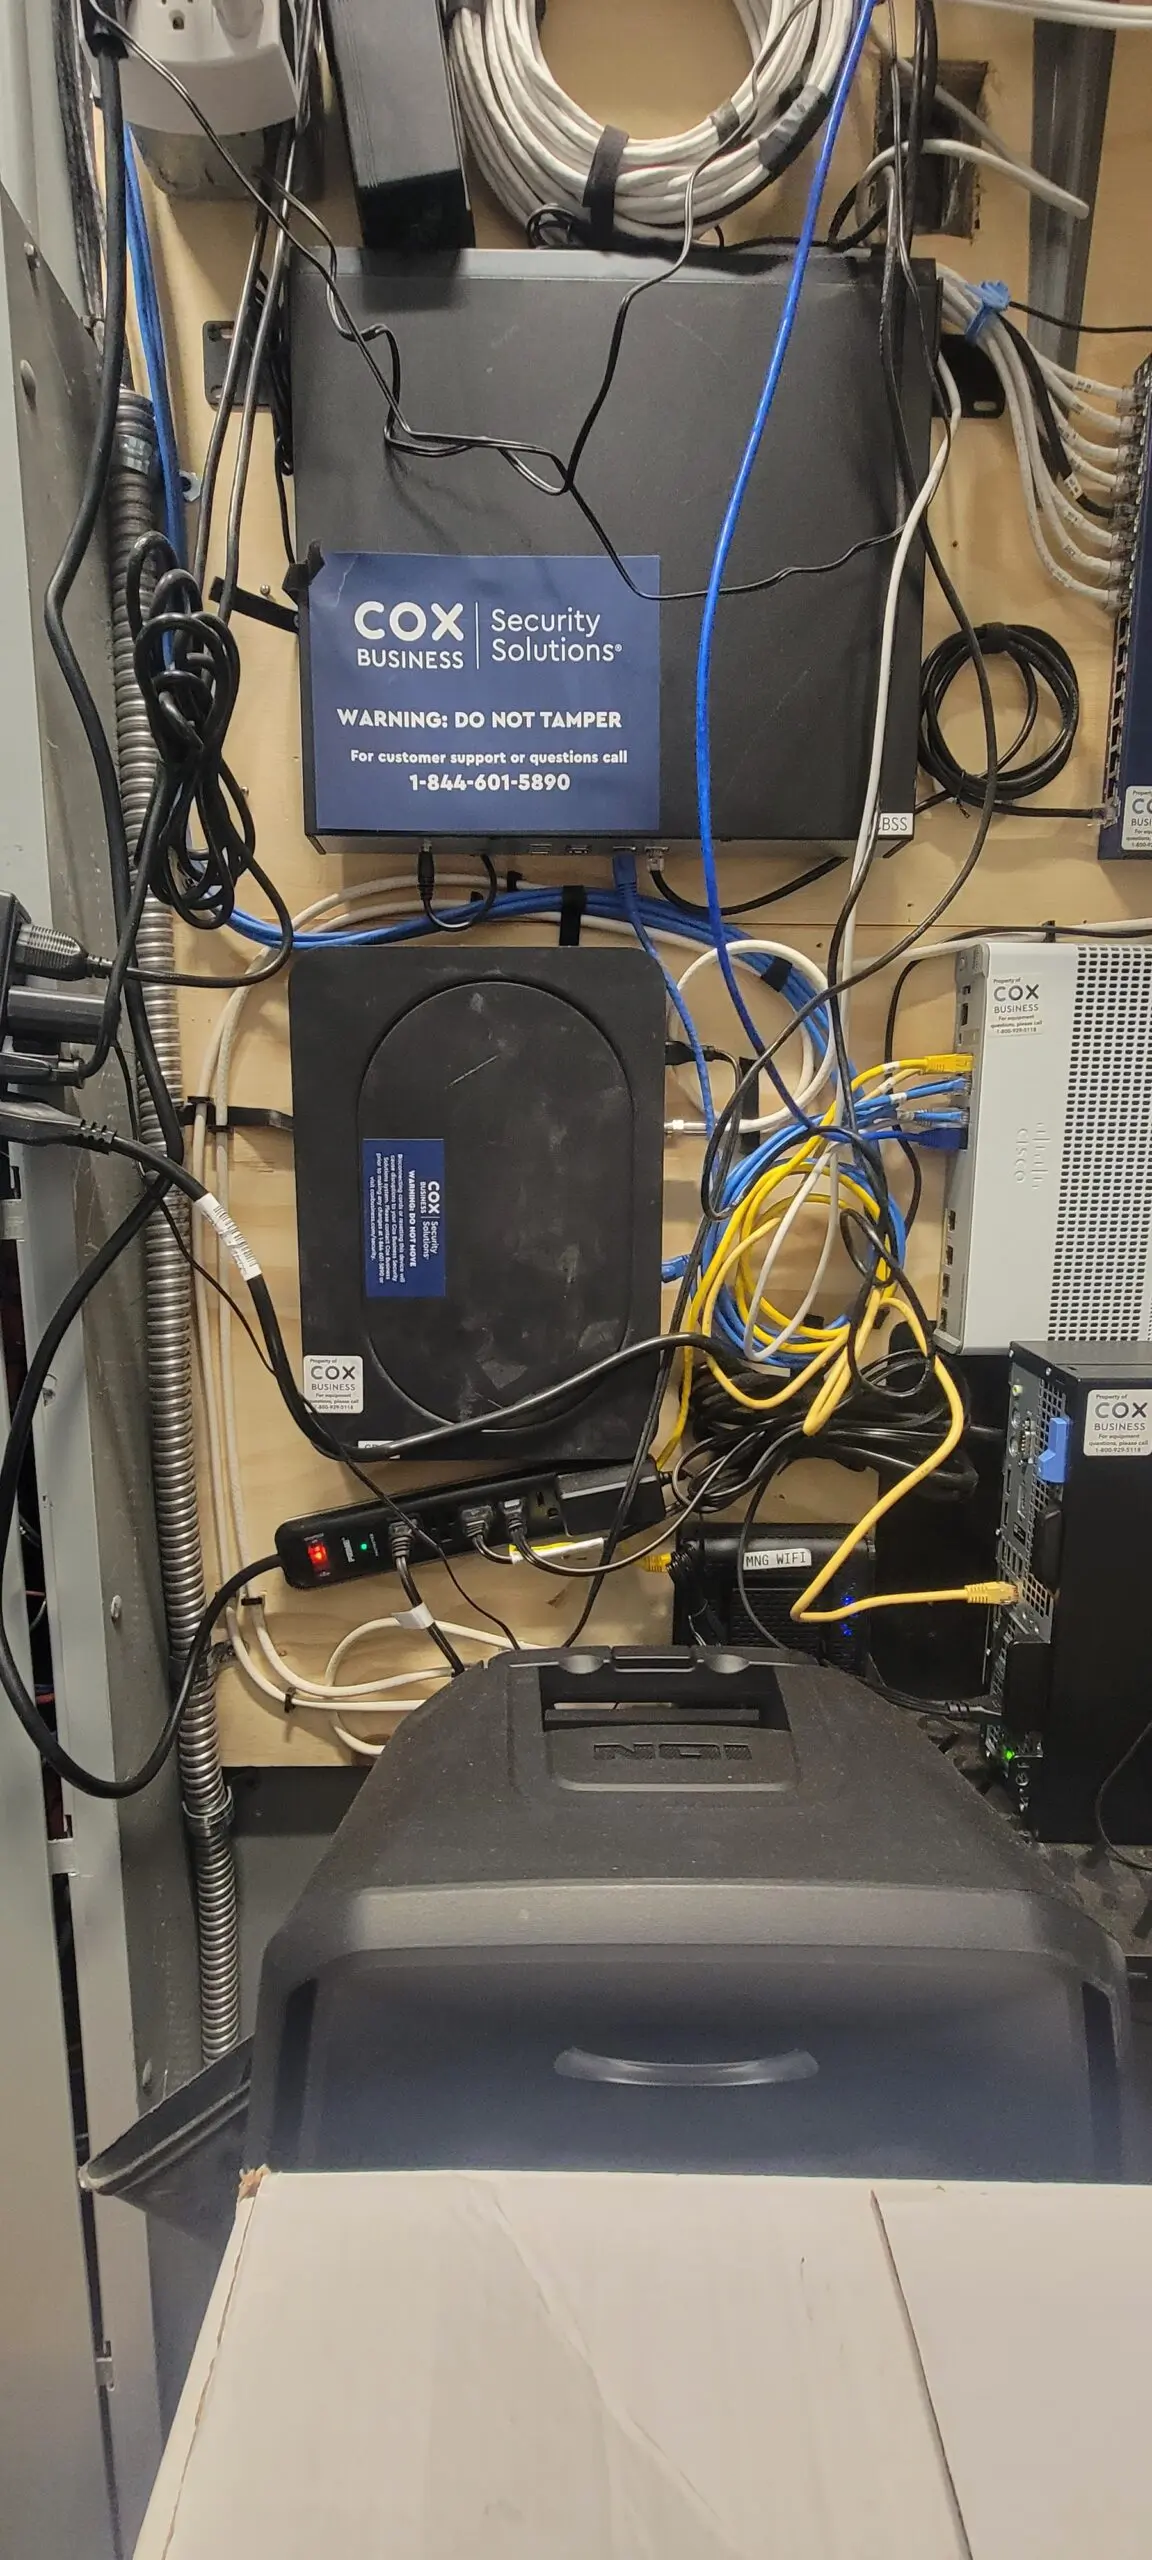
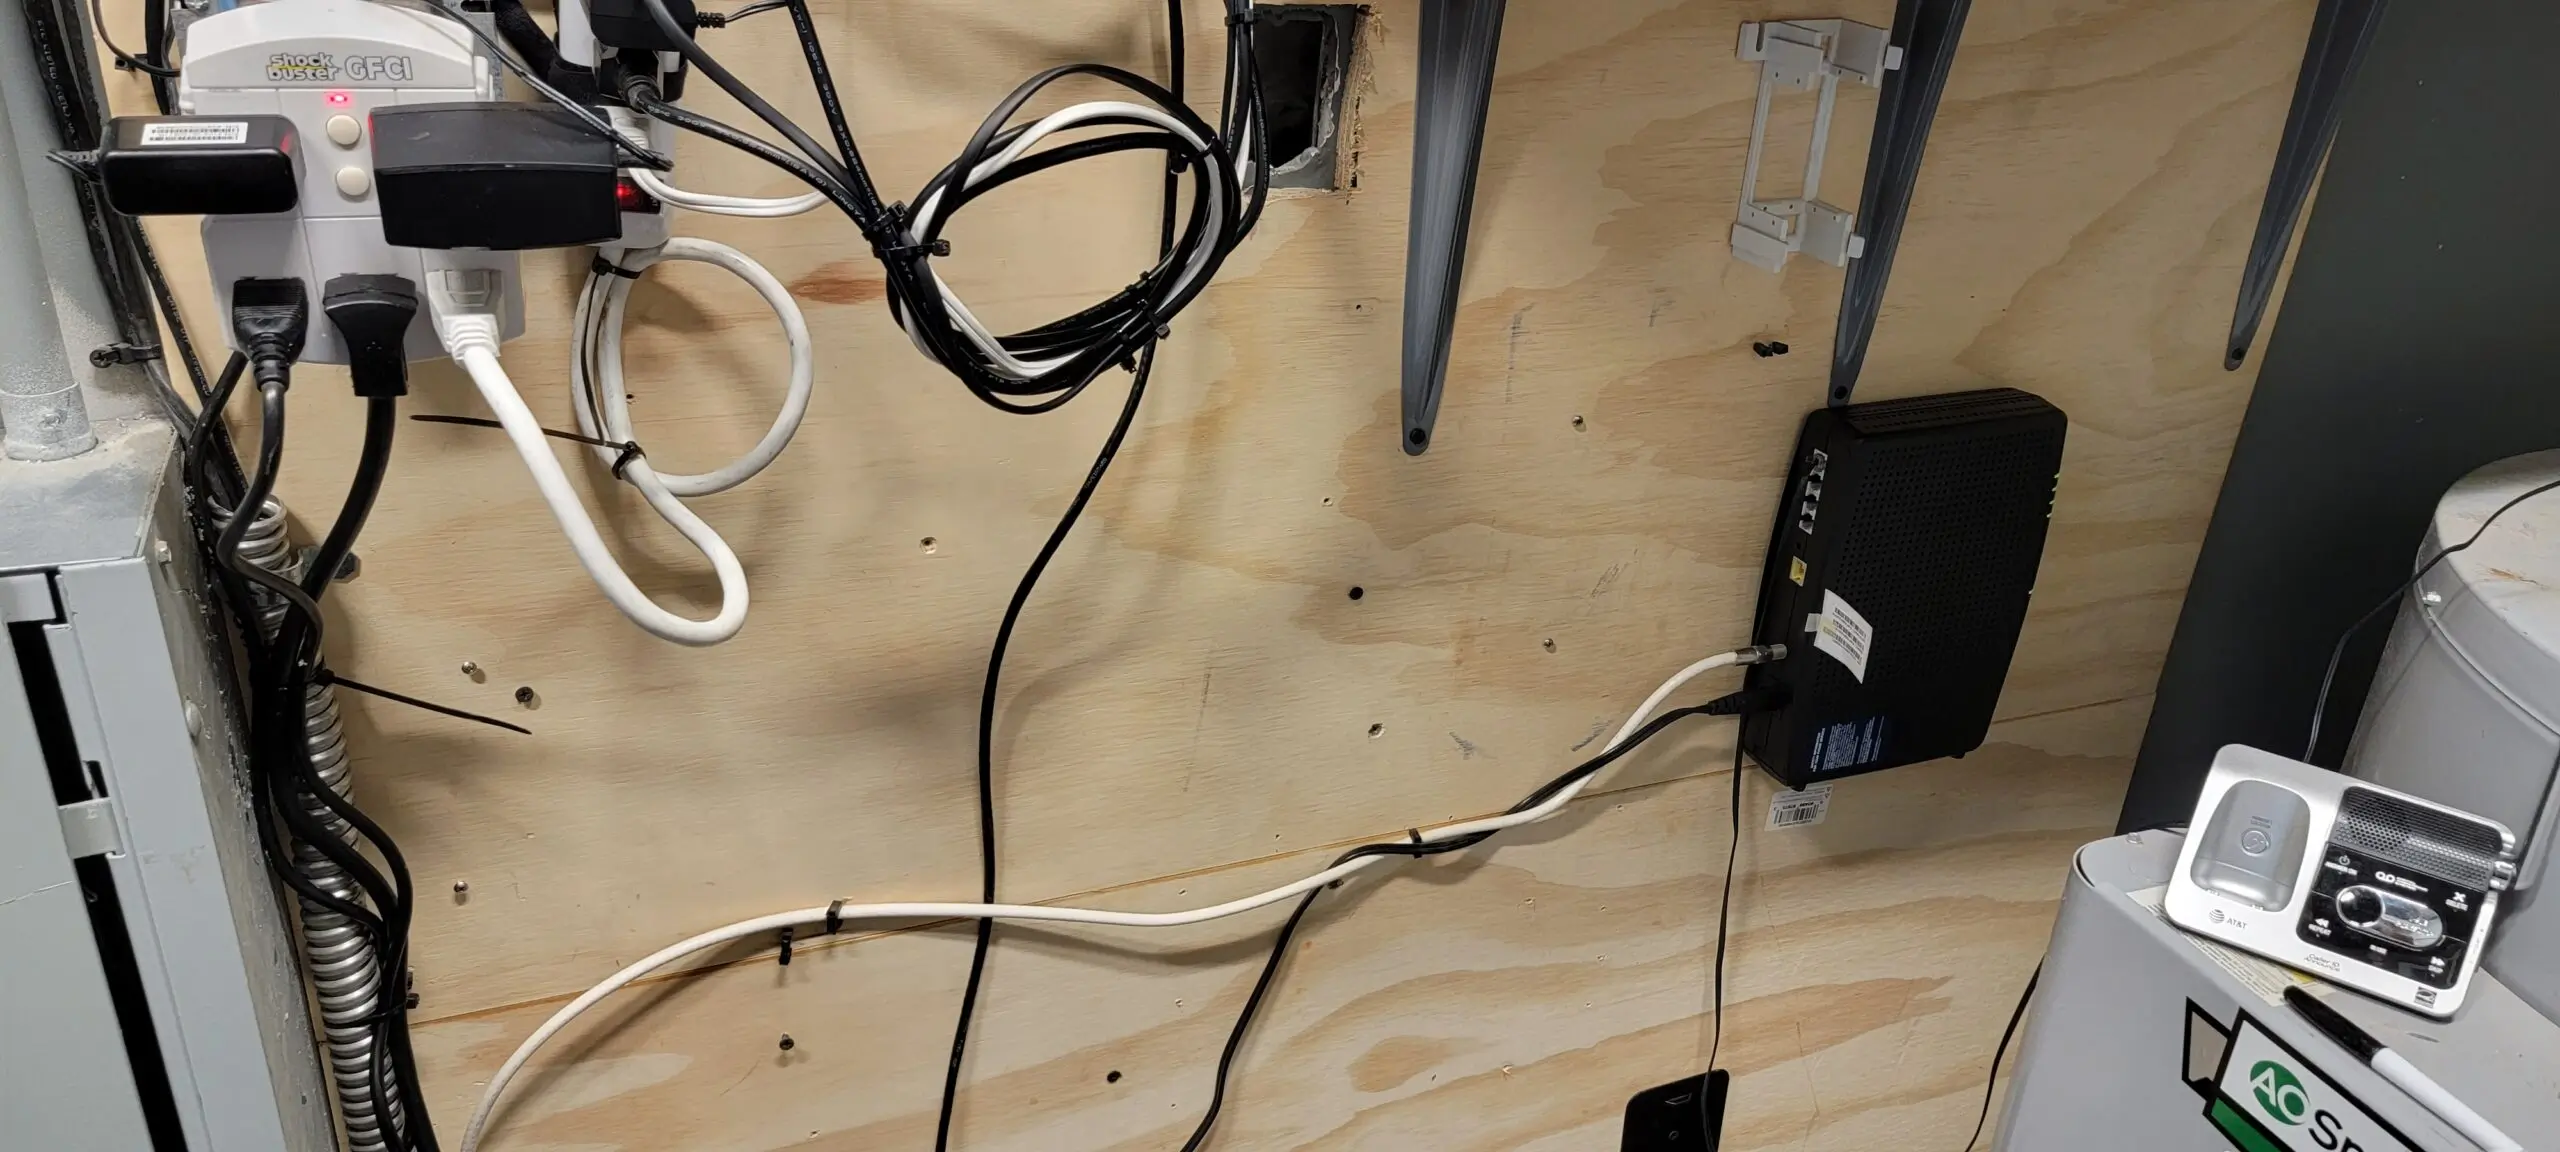
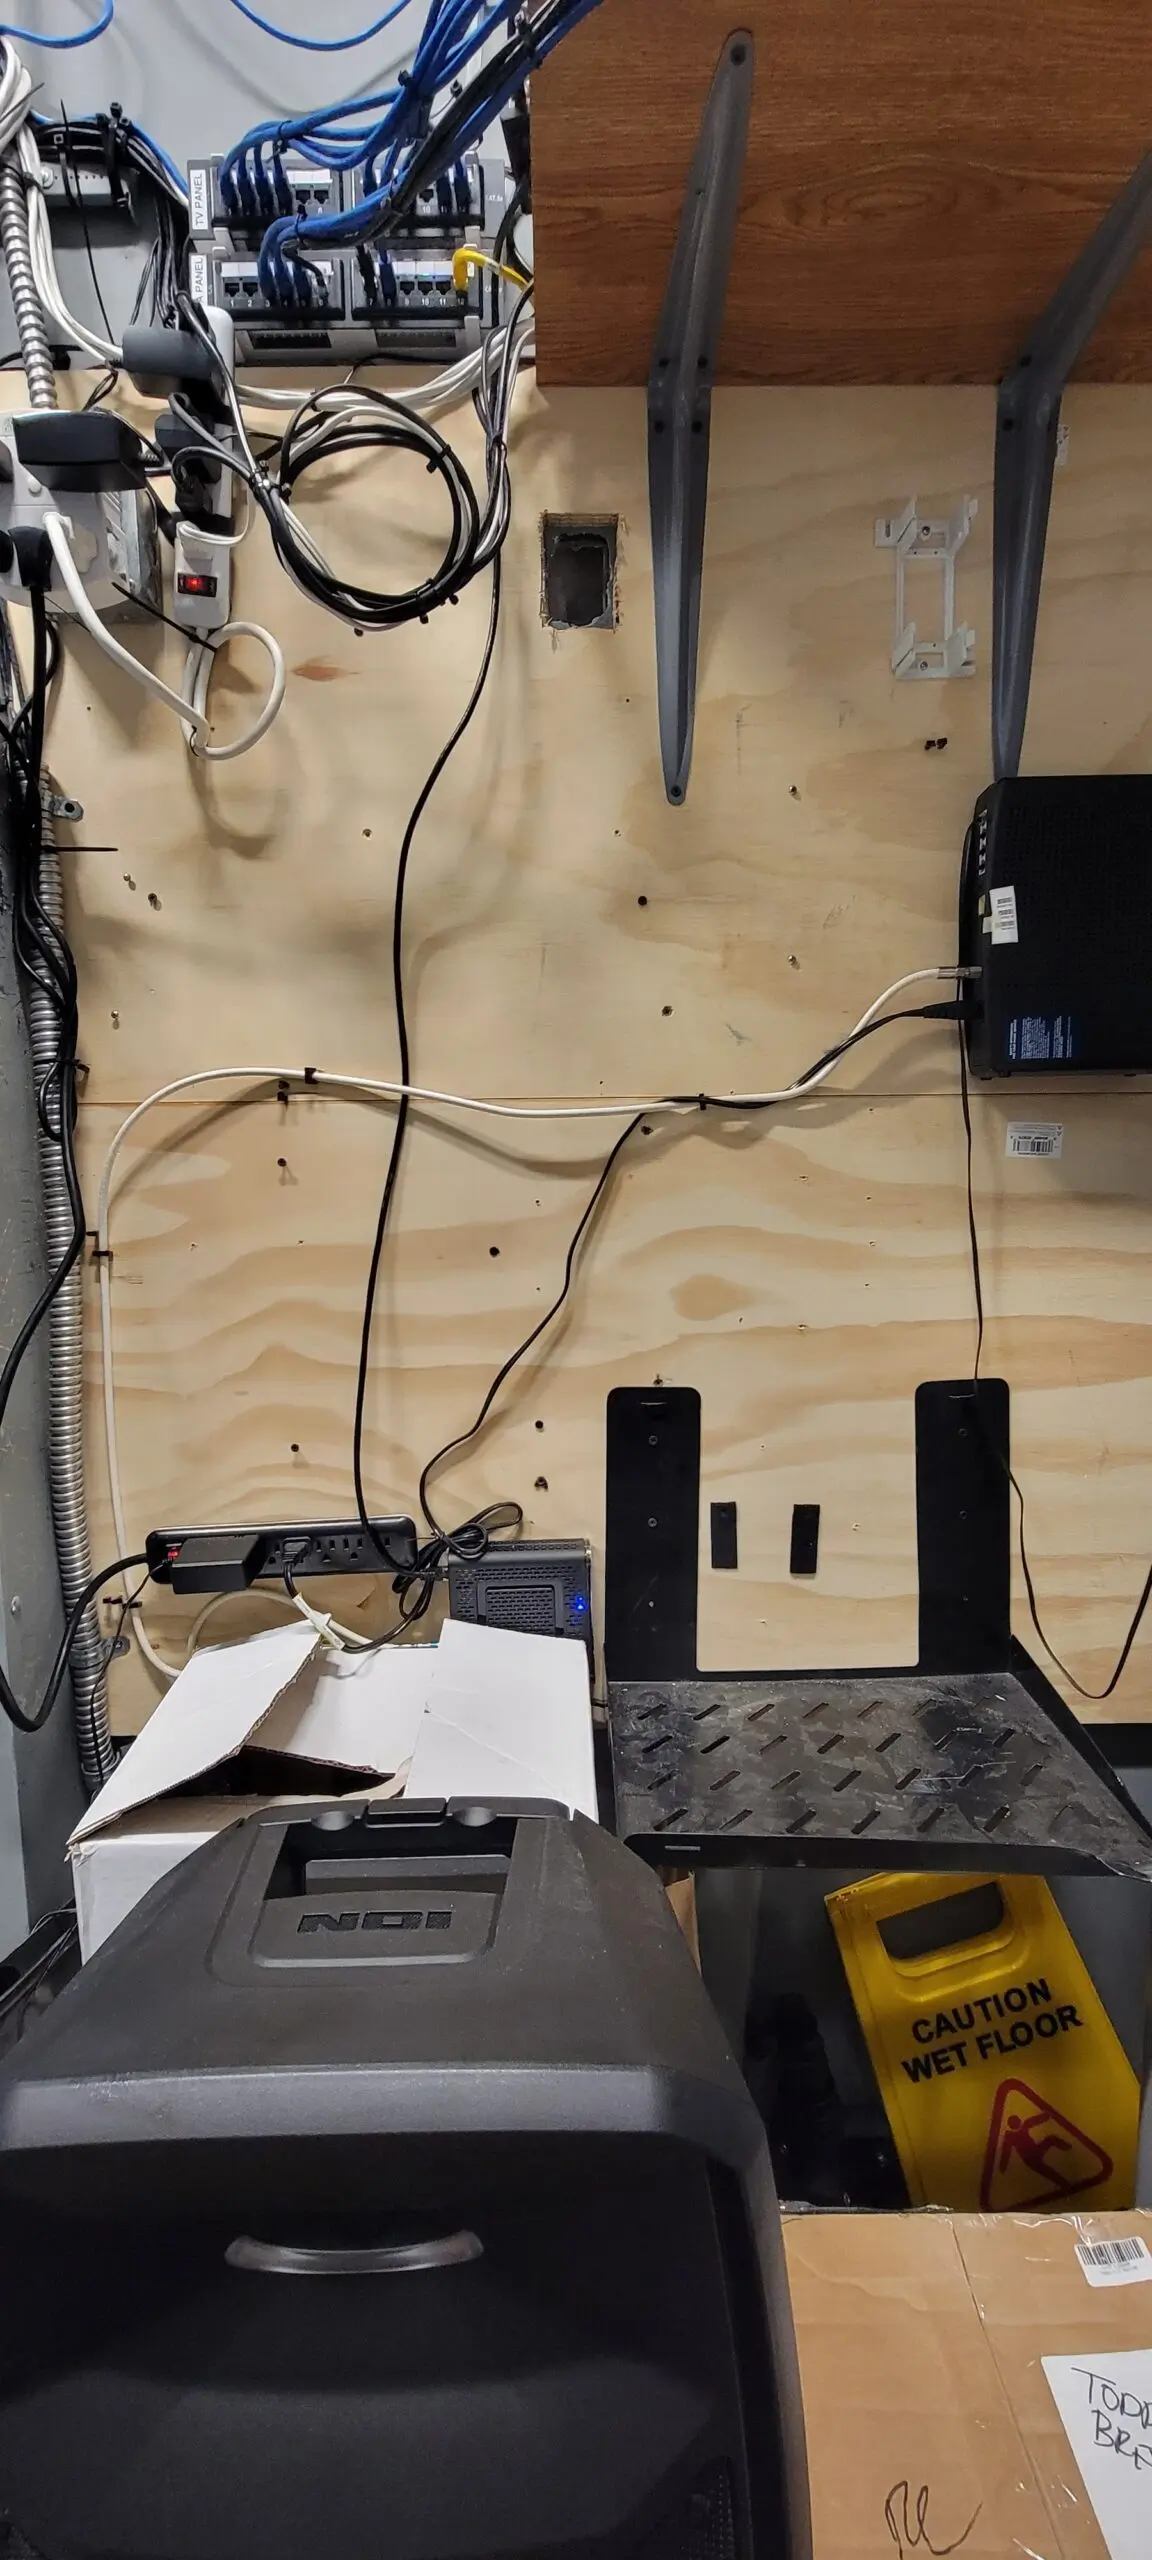
I am deeply grateful to Lady Bonnie for allowing me to undertake a DIY project at her residence. For this project, I utilized my personal Xfinity modem in her living room, which is registered to my account—I did not use her internet service at any time. Additionally, at her request, I custom-made a cable for her security camera and routed it through an existing opening in her living room wall.
Furthermore, I installed a Gigabit Wireless Bridge on the outdoor pole that was previously used for her TV antenna. This spot turned out to be ideal for achieving excellent signal strength. The new setup is even more effective than using Xfinity Pods, as it enabled a direct connection to the pole near my RV, allowing me to find the optimal position for both stability and speed.
I am pleased to share the details of my project below.

You wonder how it works?
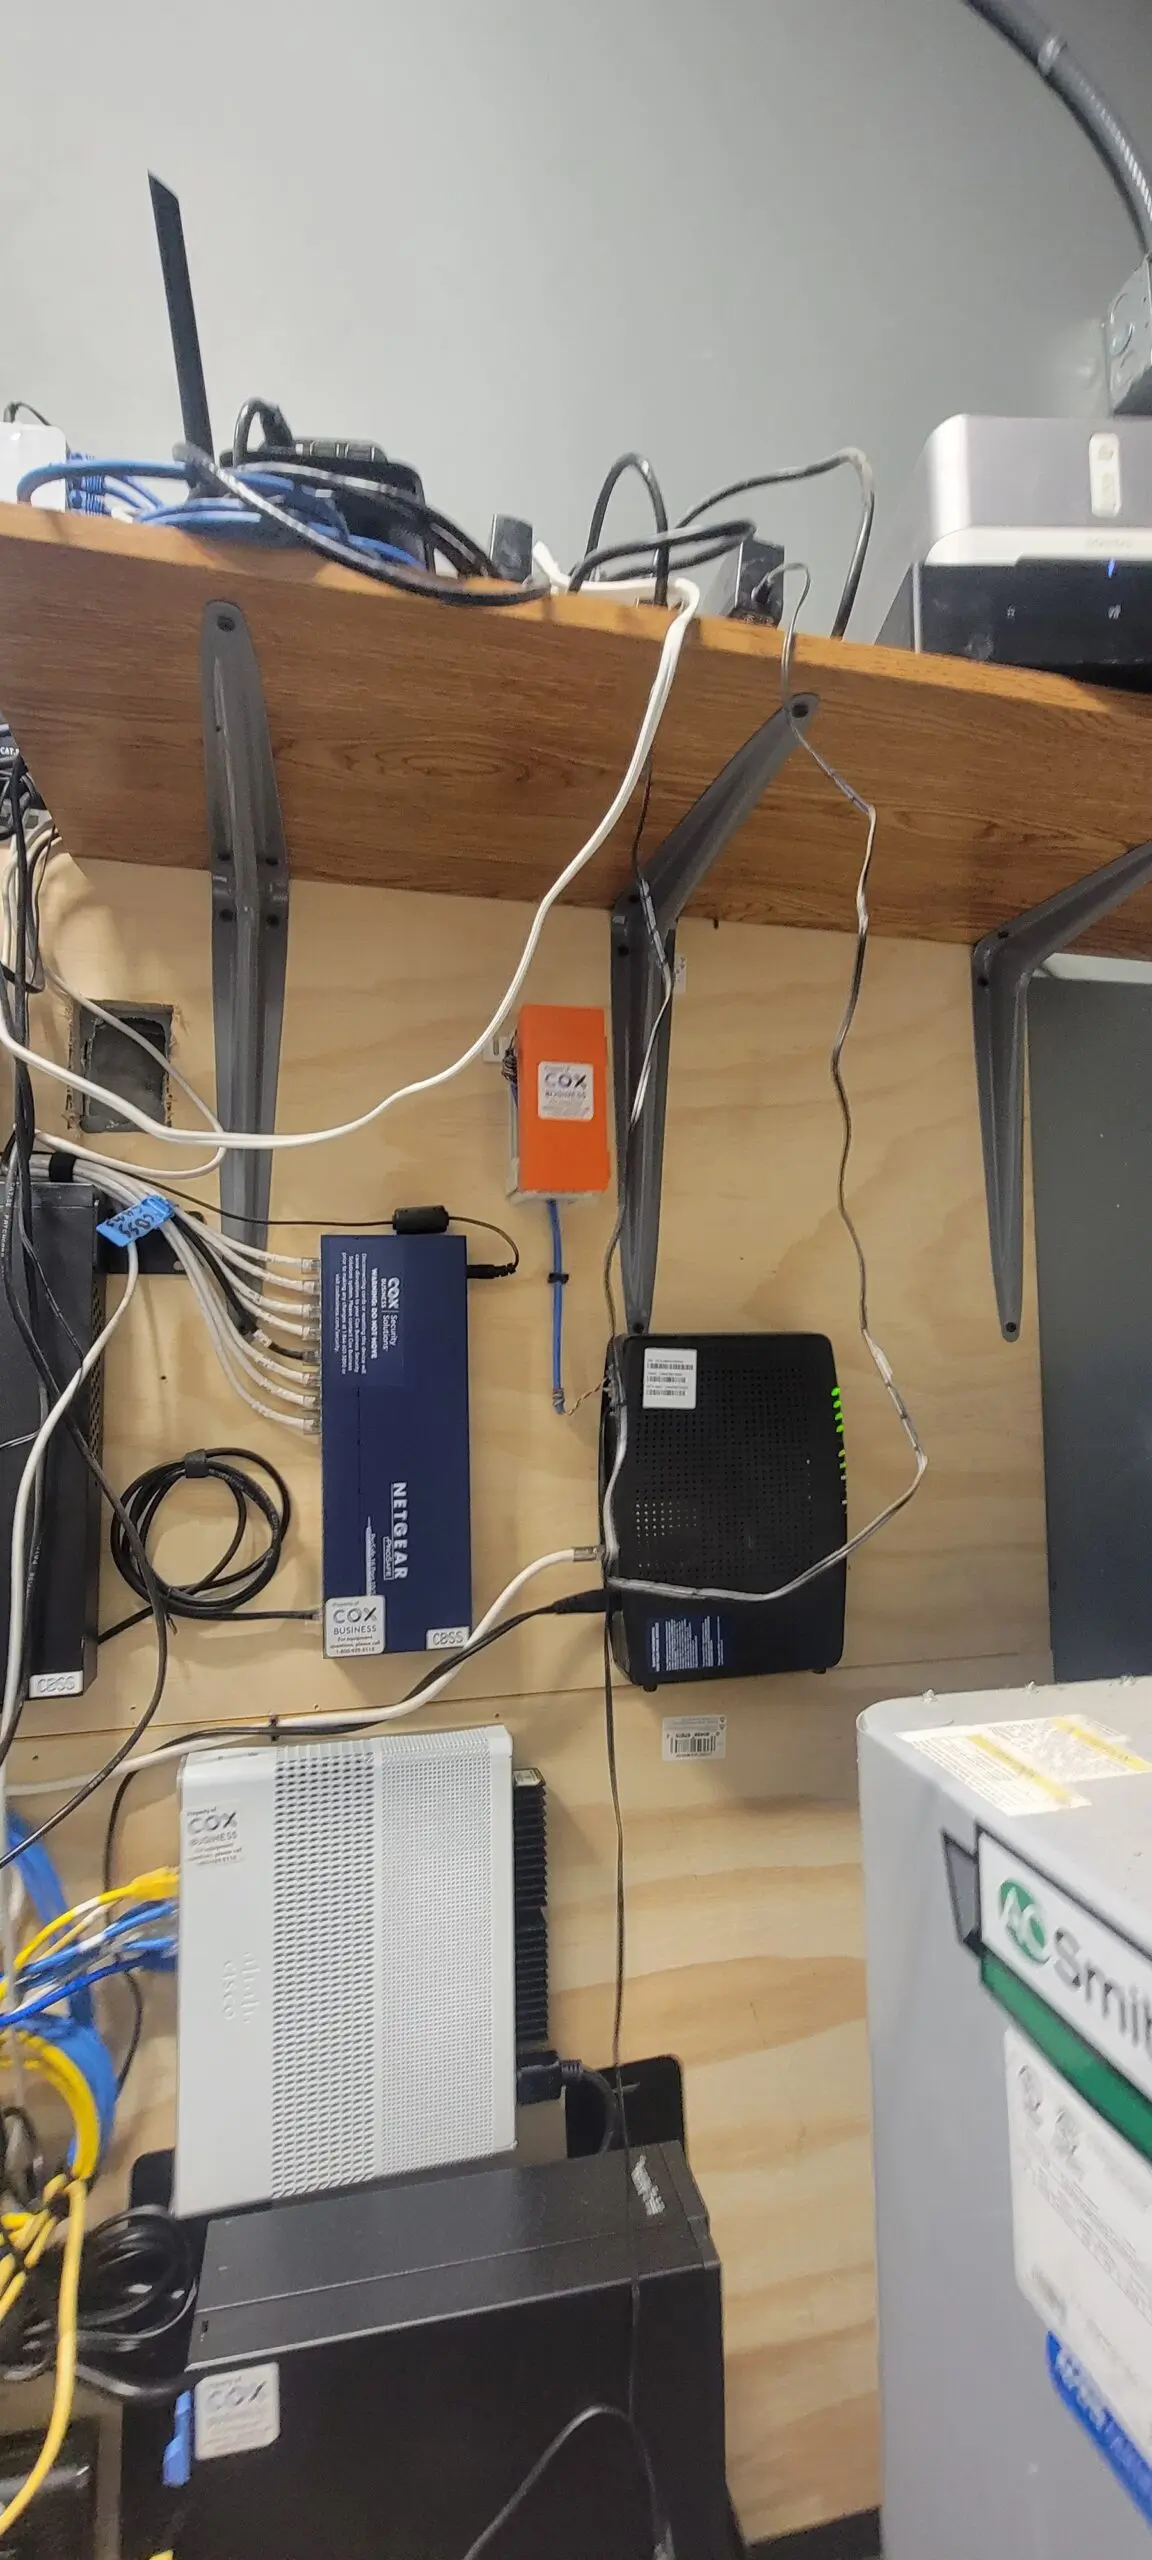
I can help this RV park obtain reliable Wi-Fi service, potentially saving you money compared to high Xfinity bills. I would love to assist your business with a connectivity project. Typically, the network hub is in an office, headquarters, or utility shed where the internet connection enters the property. If your location has COAX or Fiber lines, but they’re too far from key areas, you may not be getting the internet performance you’re paying for. Using extenders in these situations often results in significant speed losses—sometimes 60% to 90%—leaving you unable to upload content to YouTube or access servers effectively.
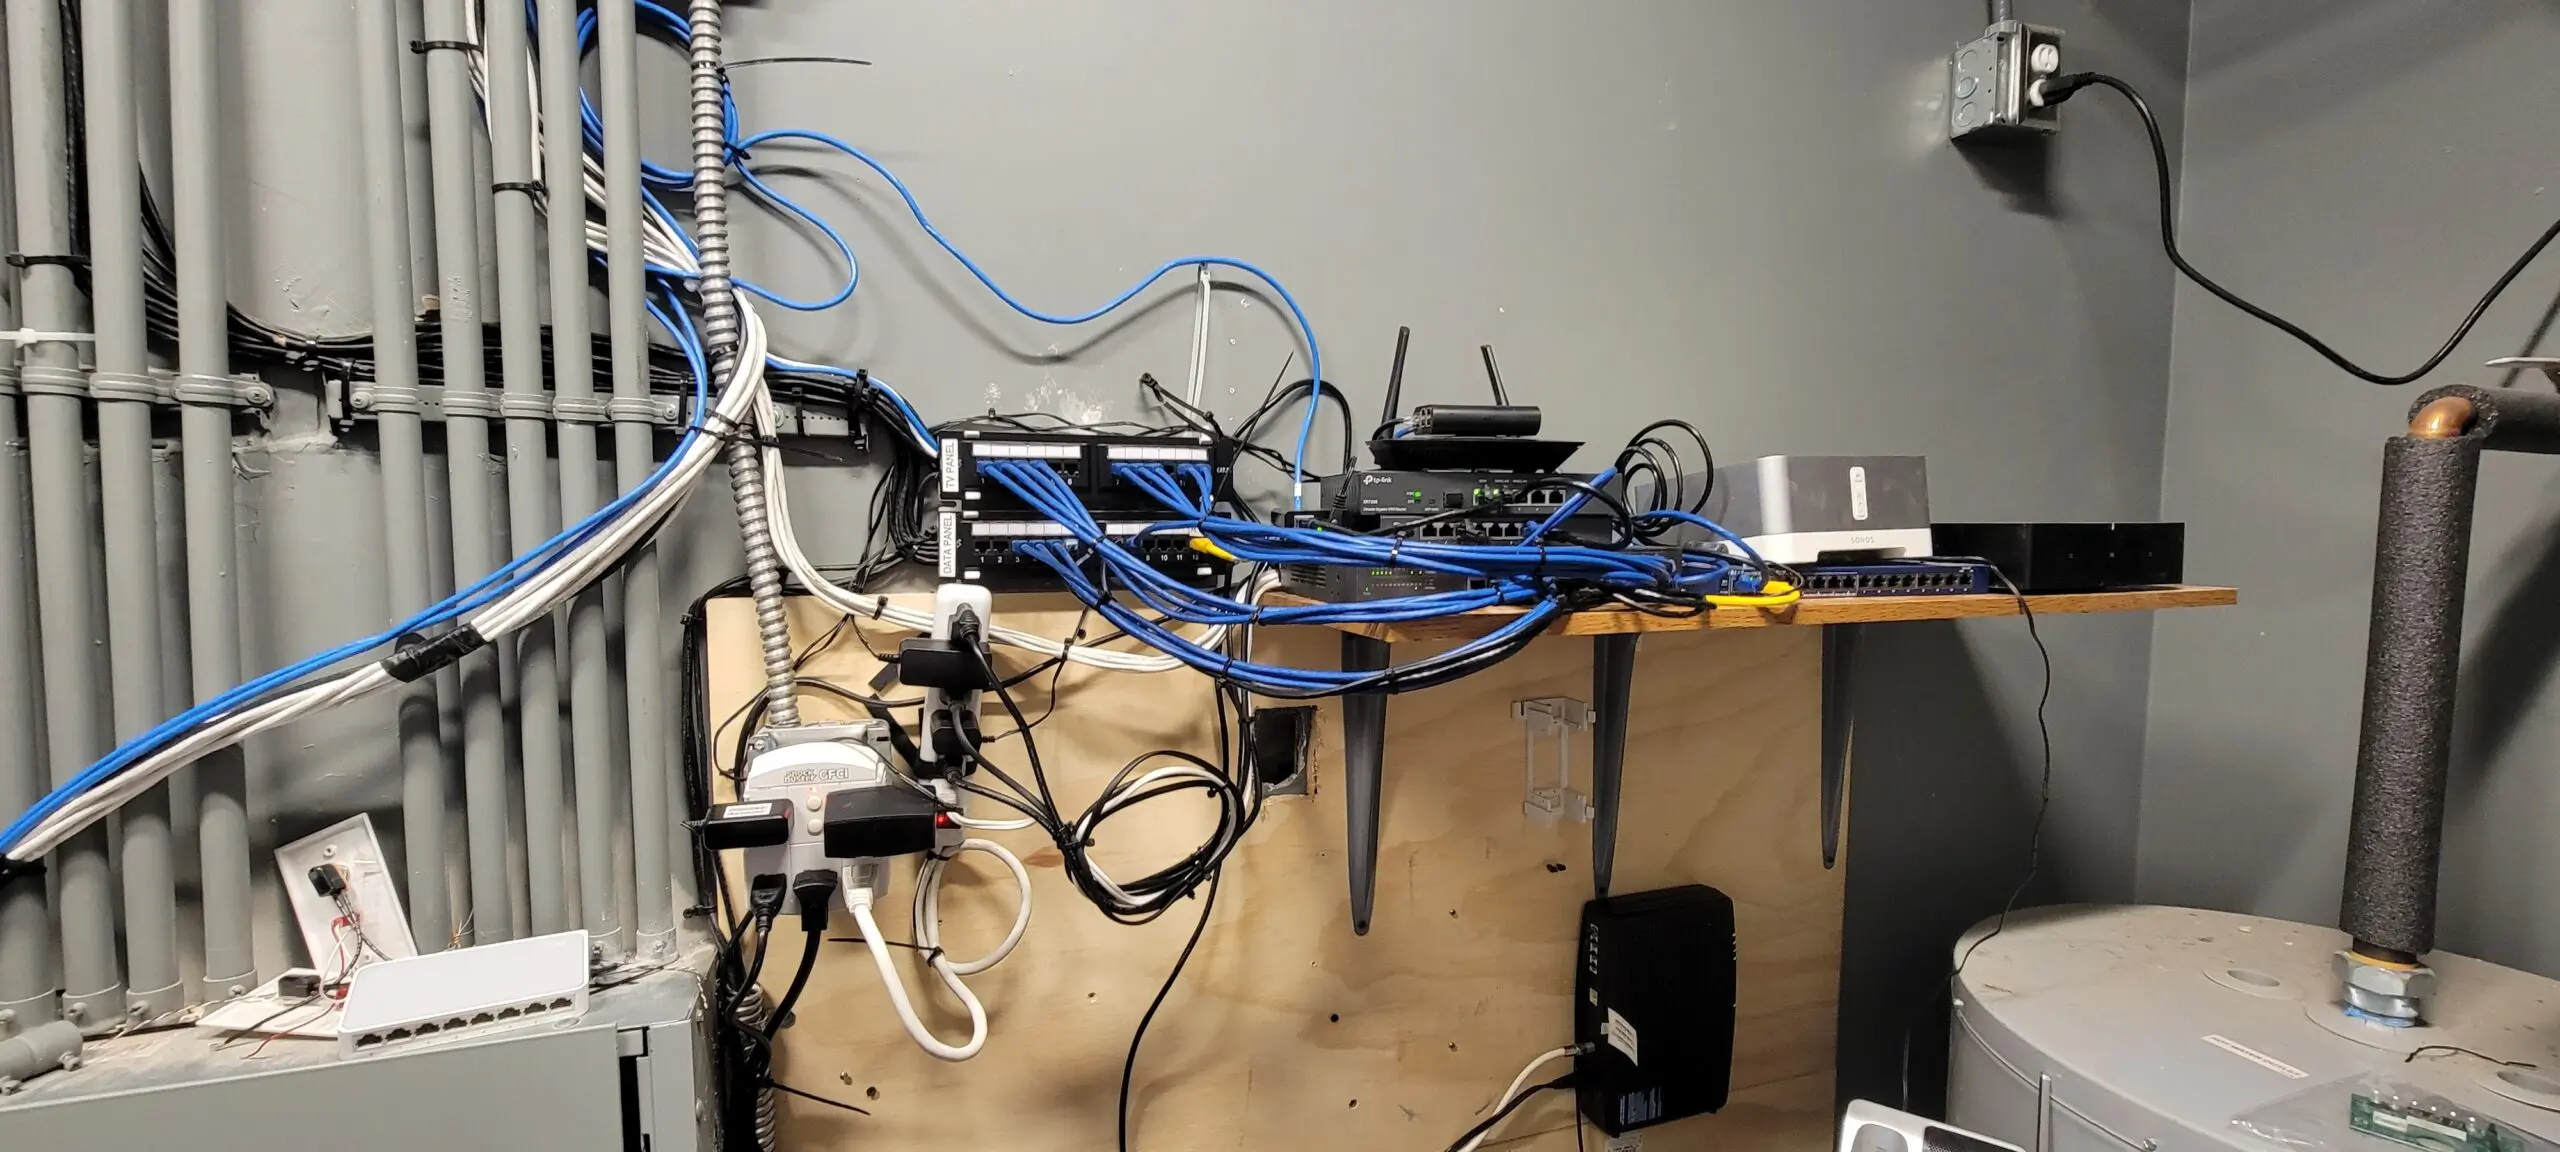
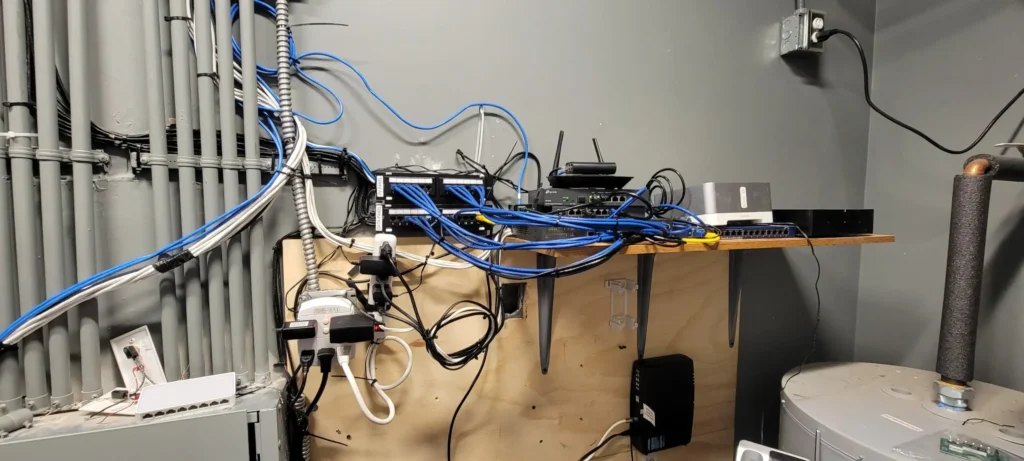
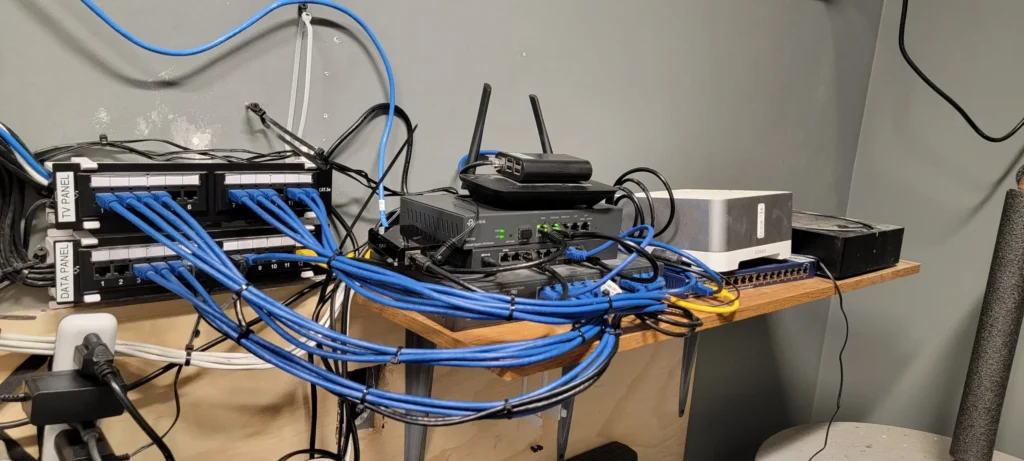
To resolve this, I recommend installing a pole-mounted gigabit wireless bridge on the roof. This setup can be aligned to directly connect with your RV, mobile home, or business, maximizing your connection speed and reliability throughout the property.
Coffee stands are an example. If you don’t have coax wall or cable to use service Internet, we can do wireless bridge. If you have internet from another store, we can ask the office lease for permission to add a Gigabit Wireless Bridge to the building roof. You own a residence or business, I can do install that for you. One cable 100–150 feet to your office or living room to hook up your router is all you need. Unless you change network information on your router, it is a plug and play device.