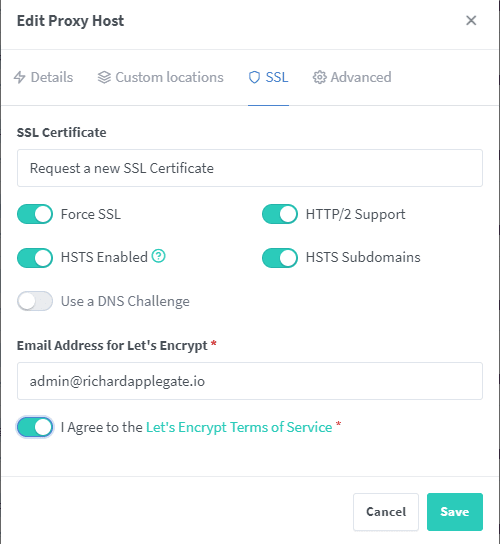
PhpMyAdmin is easy to set up for any app and fix the table database or troubleshoot. So, we will set up PhpMyAdmin with NGINX SSL secure for our HTTPS. Due to the possibility of a grabber username and password exploit, we would prefer not to expose this on HTTP.
Please ensure that you complete this first. Before starting, we should make sure that this tutorial prevents hacking and exposes our port to the public. We do not want that to happen. We only want 80 and 443 to be open.
How to set up Portainer with nginx Proxy Manager
After you complete Portainer and nginx, we are good to go to build this app with nginx and PhpMyAdmin.
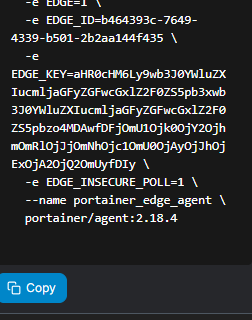
Open Portainer → Stacks→ create stacks
version: '3'
services:
pma:
networks:
- nginx
- mariadb
image: phpmyadmin/phpmyadmin
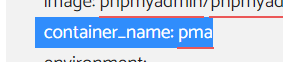
container_name: pma
environment:
PMA_ARBITRARY: 1
restart: always
#ports:
# - 8081:80
networks:
nginx:
external: true
mariadb:
external: trueI put hashtags on ports and port numbers because we don’t need them. We’ll just use nginx network on this app. Nginx proxy can talk to PhpMyAdmin instead of port or public. It is more secure to build our app before it is published to the public. Your sites can be injected with any insecure port.
After deploying the stacks, your PhpMyAdmin is now online, but it won’t show up on the site because you didn’t set up the nginx proxy info. That would be our next step.
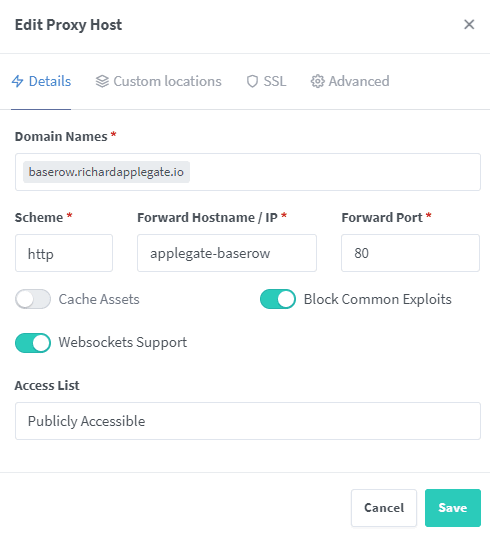
You should open the nginx proxy manager for your site. My will be nginx__.richardapplegate.io.
Thereafter, you’ll need to access your admin account. Add proxy host, then fill this detail.
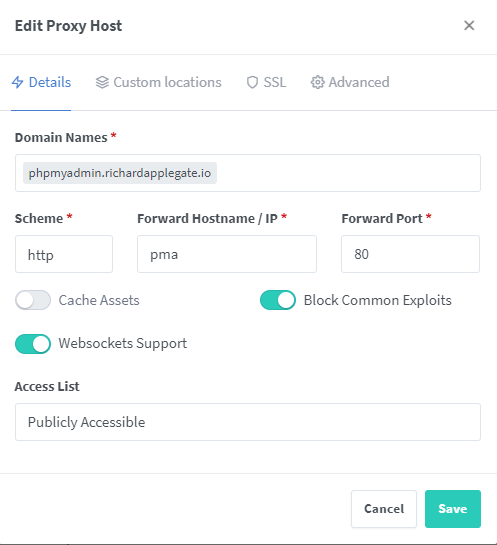
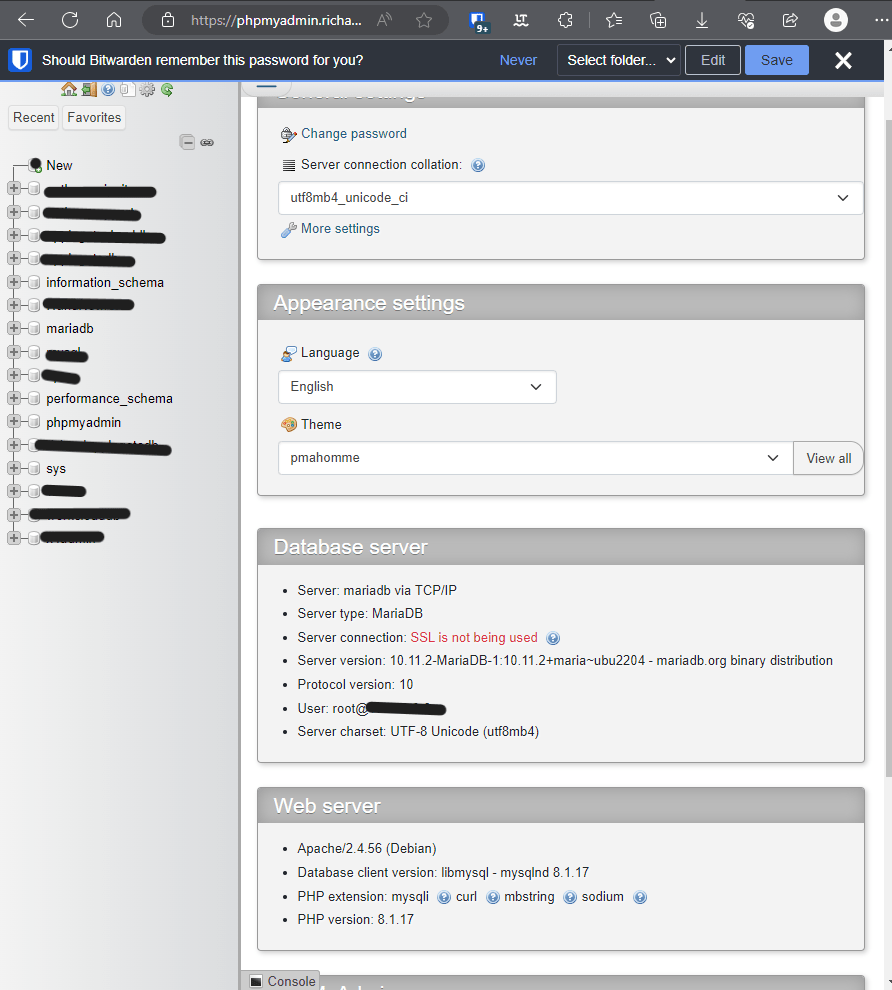
Now you may be able to open your site with a domain without port. My will be phpmyadmin.richardapplegate.io. and working!
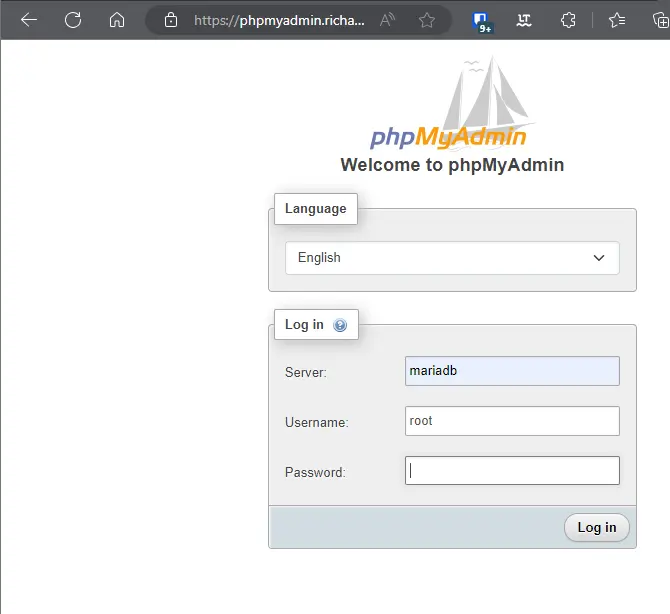
Username: your primary account for all database control. Mine is root.
Password: you create the password and the password should on your docker-compose. You won’t be possible to log in my PhpMyAdmin because 3 times incorrect information, then you will be banned. You won’t access from my server or see my sites anymore for 1 week.
You’re in the MariaDB database.