If you are looking to remote your server from home, you can, but you cannot simply install OpenSSH with a password, which is very insecure. I strongly recommend using type Ed25519 ssh, which is the most secure and fast access to ssh. I recommend checking out this website. Follow the instructions on the red hat website to protect your Linux Server. These answers are the most accurate. Or here is my config for server ssh I made.
But first, we must generate the ed25519 key for our SSH or SFTP access.
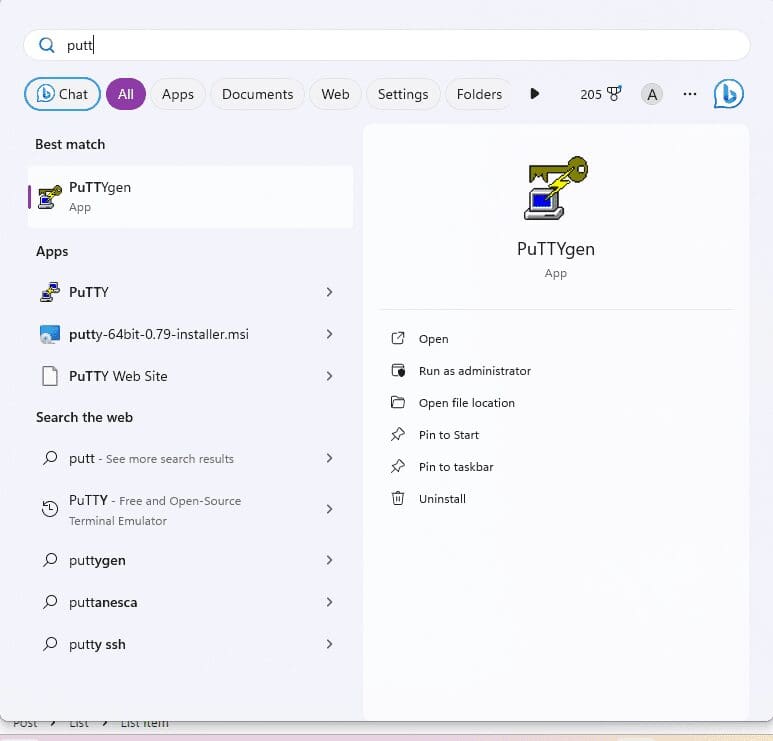
- Download Putty
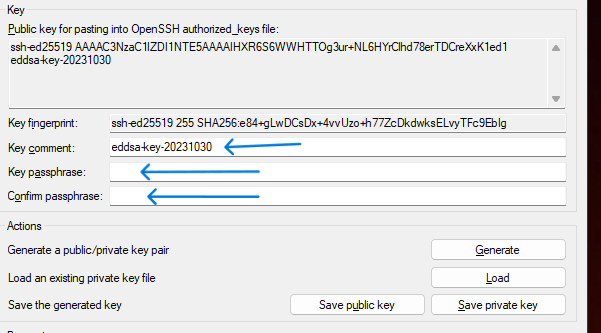
- open program on Windows PC putty gen (Putty Key Generator)

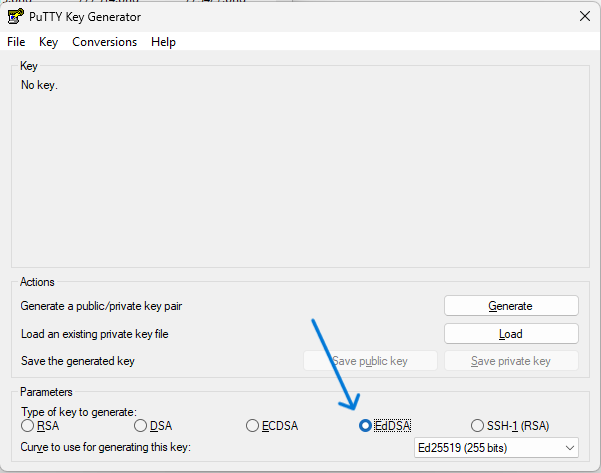
- select EdDSA then select Ed25519 then generate
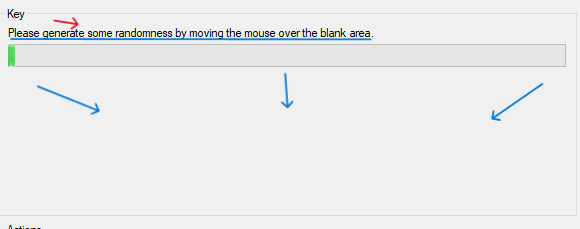
- Please generate some random by moving the mouse over the blank area on puTTygen (Putty Key Generator).
- After you generate, you can modify key comment and key passphrase
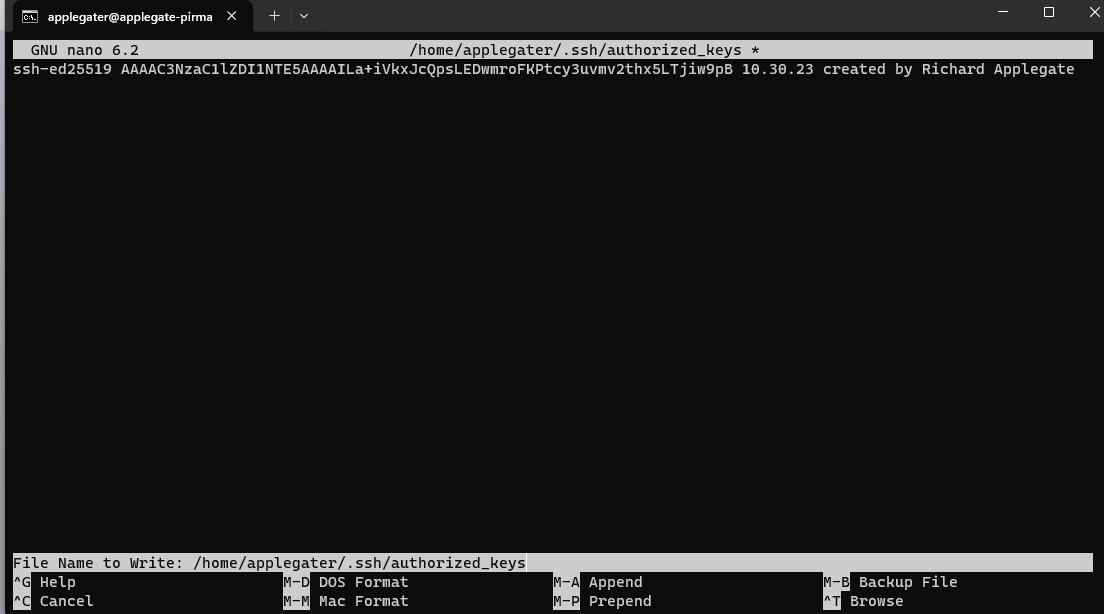
- Go over your server, type the command to modify authorized_keys – “nano ~/.ssh/authorized_keys” then add your Public Key from your puTTygen (Putty Key Generator) on your Windows pc copy these to Your Linux Server.
- Save authorized_keys, then restart ssh services.

The server can still be accessed with a password, so we must proceed with the server Linux SSH configuration and generate the file richardprofile.conf or whatevername.conf. The SSH path is /etc/ssh/sshd_config/sshd_config.d/richardprofile.conf.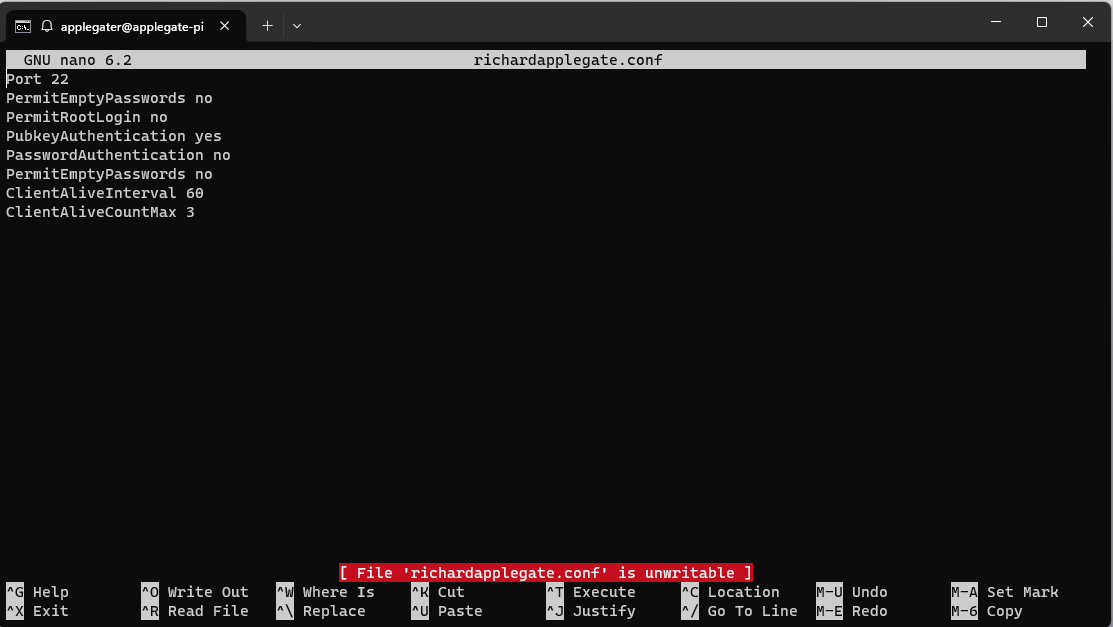
Port 22
PermitEmptyPasswords no
PermitRootLogin no
PubkeyAuthentication yes
PasswordAuthentication no
PermitEmptyPasswords no
ClientAliveInterval 60
ClientAliveCountMax 3
Save the configuration file and then restart ssh. Currently, you are 100% safe because we will set up fail ban to block certain IP addresses so that our network doesn’t get too busy.
These are great, and I plan to make a banner in ssh soon.