I finally got this to work with cloudron AdGuard Home because it won’t work just use DNS port or encryption until you add IP or Client ID in allowed Clients, so I am using Client ID. This will show you how to set up DOH AdGuard Home with TpLink Omada DNS Proxy.
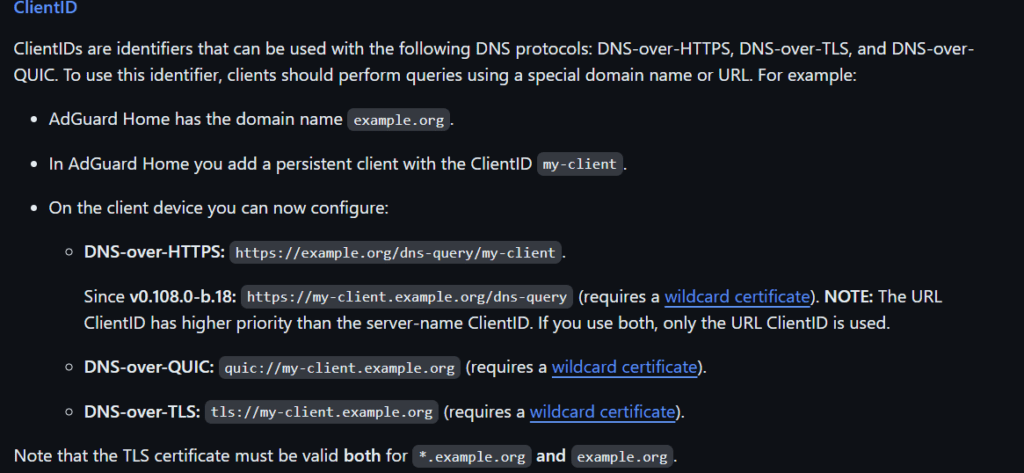
This explains to us what Client IDs are, and I found DNS over HTTPS is useful for our networks, since I had a wildcard certification.
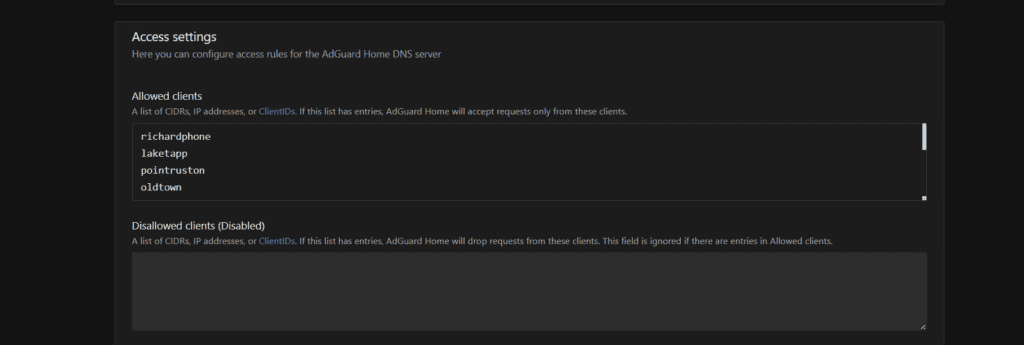
Open AdGuard home and log into your admin account. Navigate to the DNS settings and find allow clients. I put laketapp that I would use for our stores nickname. Then make sure you save it.
Then go to TpLink Omada Controller Webgui and Login your admin, then select the location you want to set DNS over HTTPS with cloudron AdGuard Home.

After you select Location, go to Services on the left side.

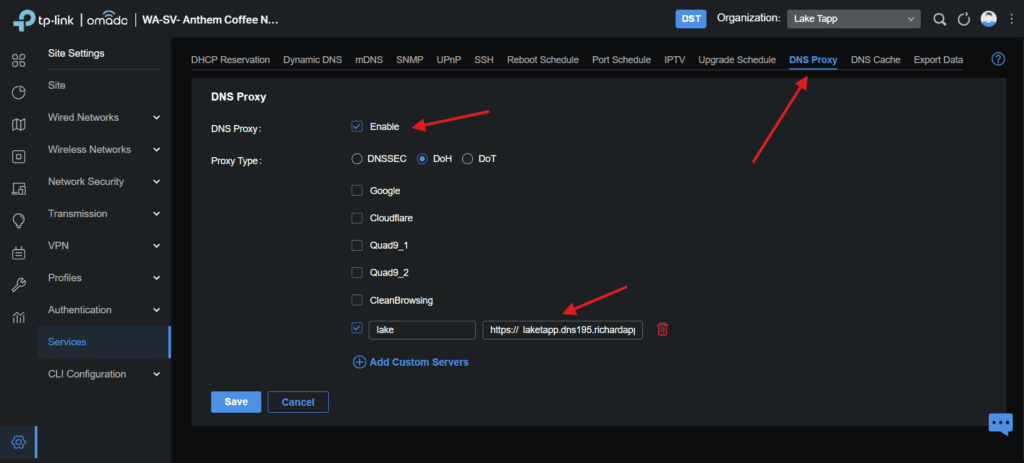
Then go to DNS Proxy then go enable DNS proxy then DoH then add your AdGuard Server, mine is https://laketapp.dns195.richardapplegate.io.
Now go check AdGuard Home, see if there are any queries,

yep, it’s working, Now My Router is communicating with my DNS Server secured.
Leave a Reply