If you’ve ever tried mounting a TV—especially in a business where customer eyes are on it all day—you know there’s no room for error. This week, I took on the challenge of mounting two TVs as digital menu boards. Not only did I have two different styles of mounts to work with, but I wanted it to look flawless.
Step 1: Assessing the Hardware
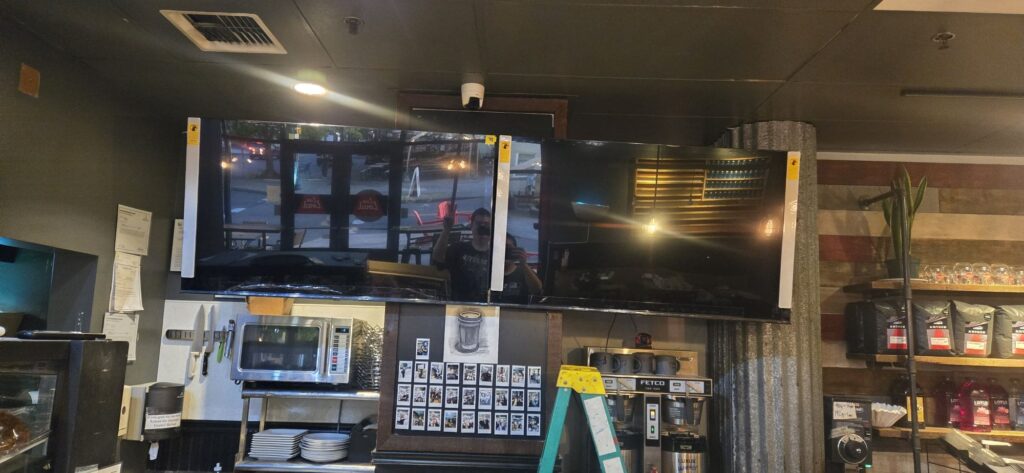
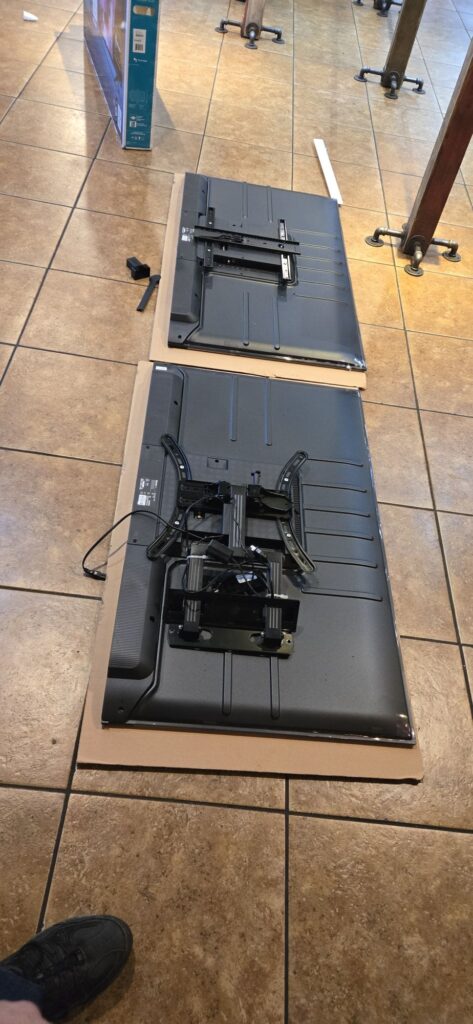
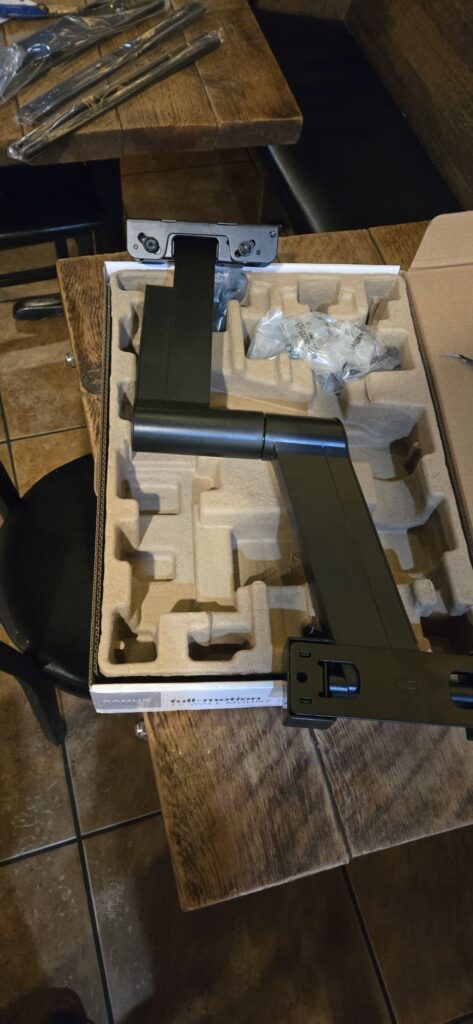
With the TVs laid out and ready, I double-checked the mounting systems. As you can see in the first photo, I had two entirely unique mounts—one a sleek low-profile style, and the other a hearty articulating arm. This meant double the math and double the measuring to make sure both TVs would line up perfectly on the wall.
Step 2: Measure Twice, Drill Once
I took no shortcuts: every measurement was checked twice, and I factored in both the mounting difference and the wall space above the coffee shop counter. Installing menu screens leaves zero room for crookedness—customers can spot a mistake from across the room!
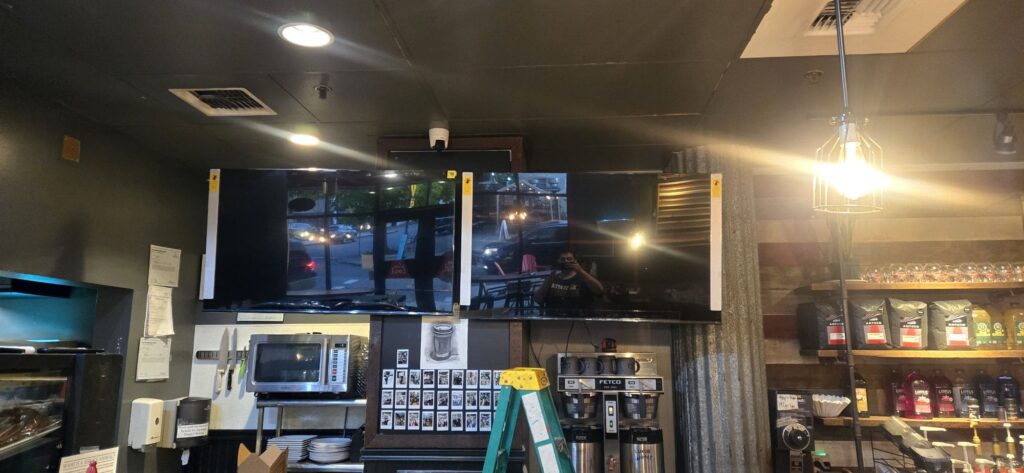
Step 3: The Perfect Reveal
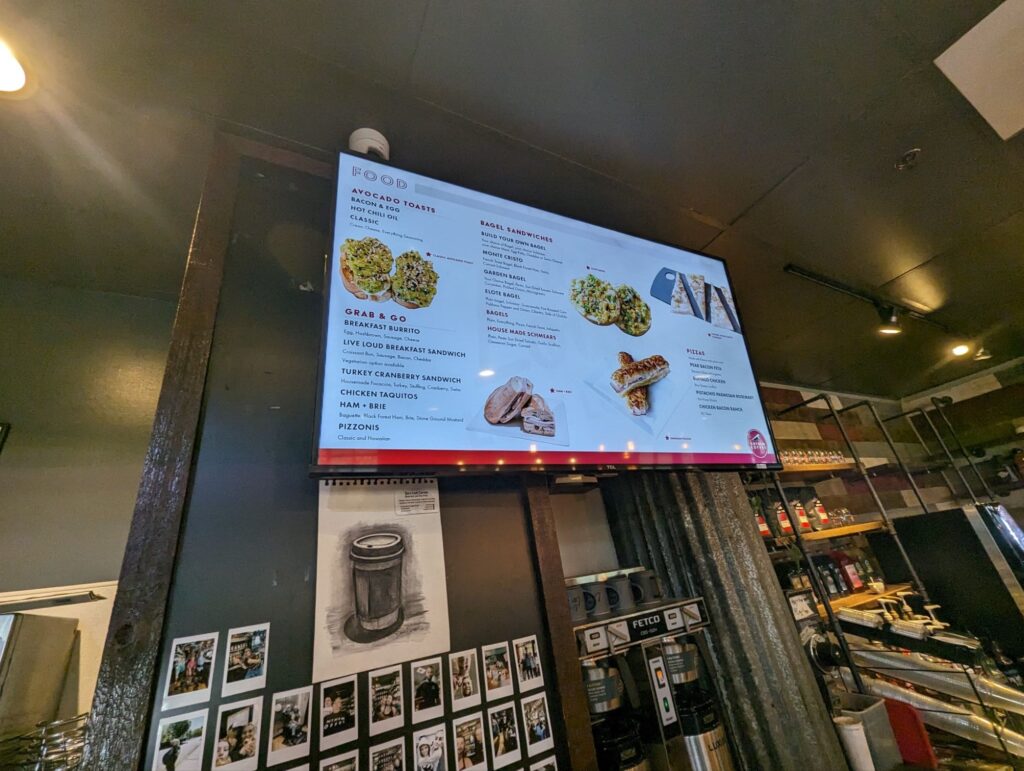
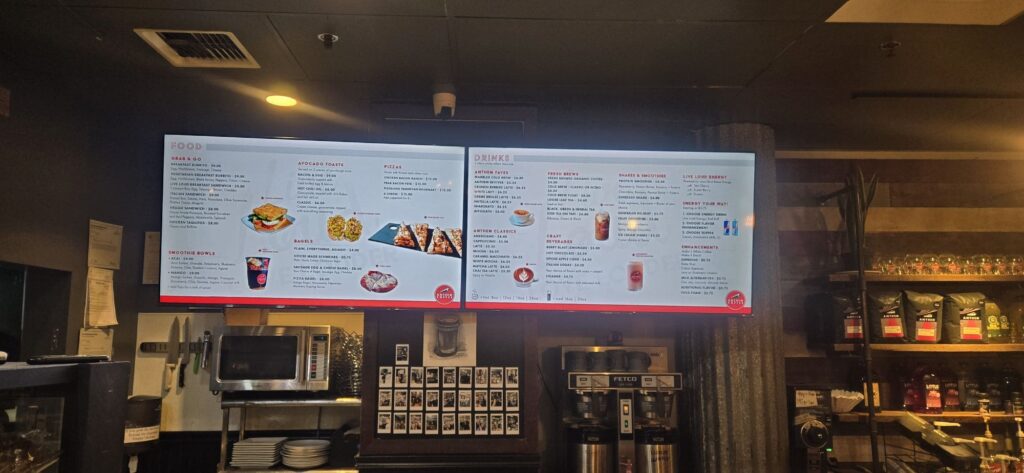
The result? Check out the second photo! Both TVs are mounted perfectly, creating a seamless, professional digital menu board. The screens are aligned, secure, and look absolutely stunning against the backdrop of the coffee shop.
What I Learned (and Why I’m Proud)
- Planning matters. Don’t assume all mounting brackets are the same, even if the TVs are.
- Precision is everything. There’s no such thing as “good enough” for digital displays.
- A job done right gets noticed. Not a single customer has noticed the mounts—and that’s exactly how it should be.
So, I’ll go ahead and say it: I nailed this install, and these menu screens are proof that if you take your time and trust your skills, you can get the perfect result!
Leave a Reply