I recently completed a cabinet network installation in Old Town, and I’m thrilled with how it turned out. Below is a full walkthrough of the process — from garage pre-assembly all the way through to the finished, level, on-site installation.
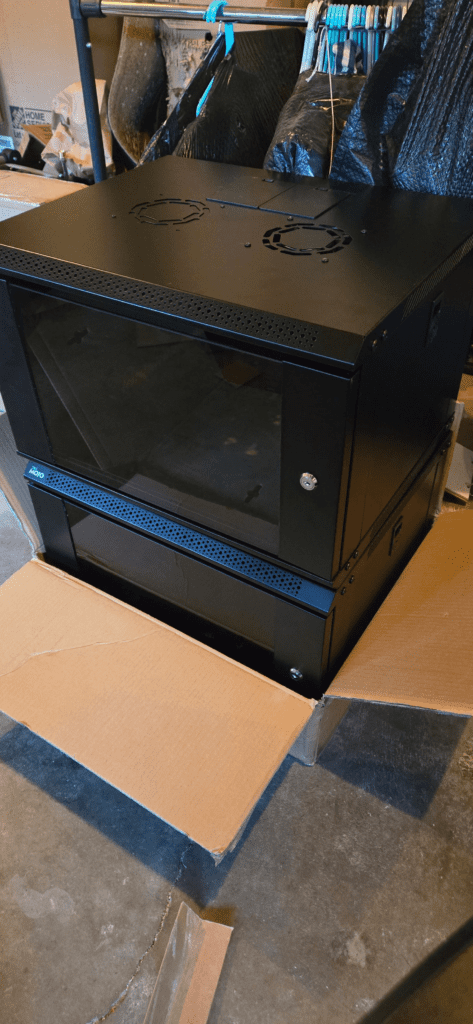
Step 1: Pre-Assembling the Cabinet Network in the Garage
Before heading to the job site, I pre-assembled the entire cabinet network at home in my garage. Working off-site is a smart strategy for projects like this — it lets you work at a comfortable pace, catch any fitment issues early, and dramatically speeds up the on-site portion of the installation.
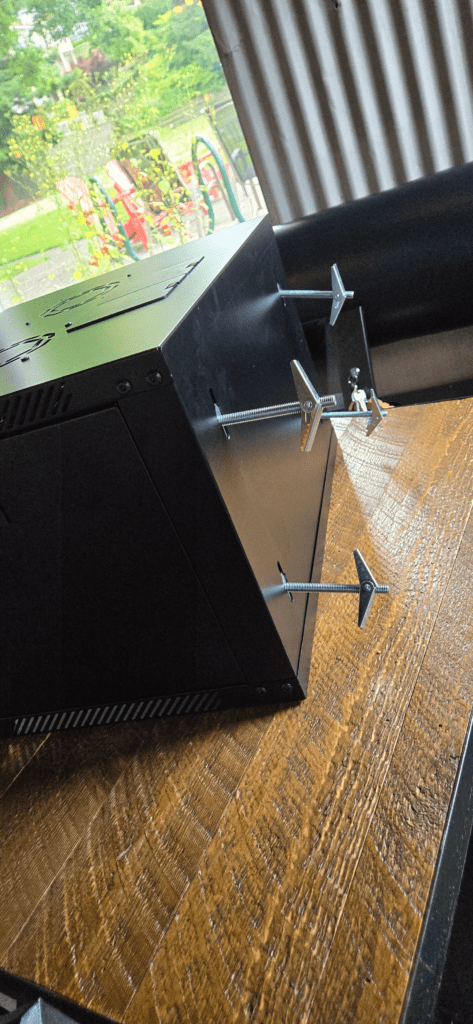
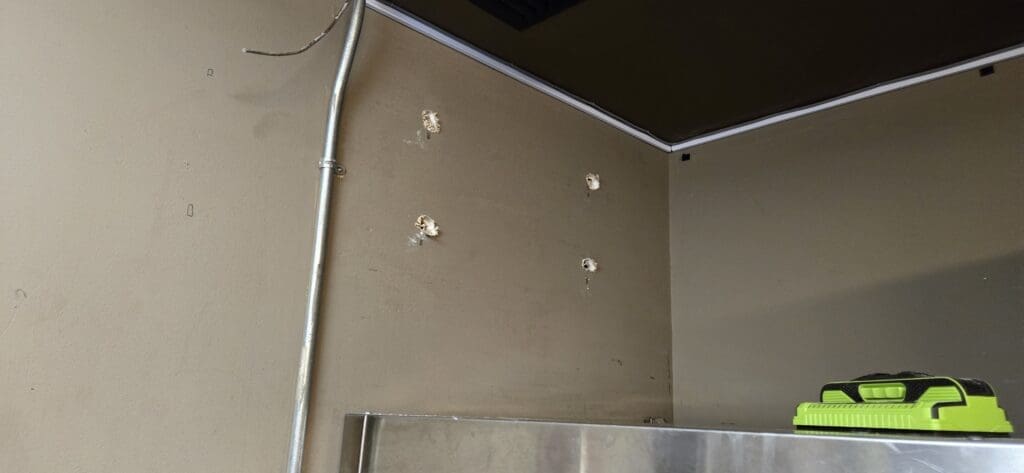
Step 2: Drilling Anchor Holes and Mounting On-Site
Once on-site in Old Town, I drilled four anchor holes to seat the screw anchor clamps. Proper anchor clamps are critical for a safe, long-lasting cabinet network installation — they ensure the full weight of the unit is securely supported against the wall. Skipping or rushing this step is one of the most common causes of installation failure.
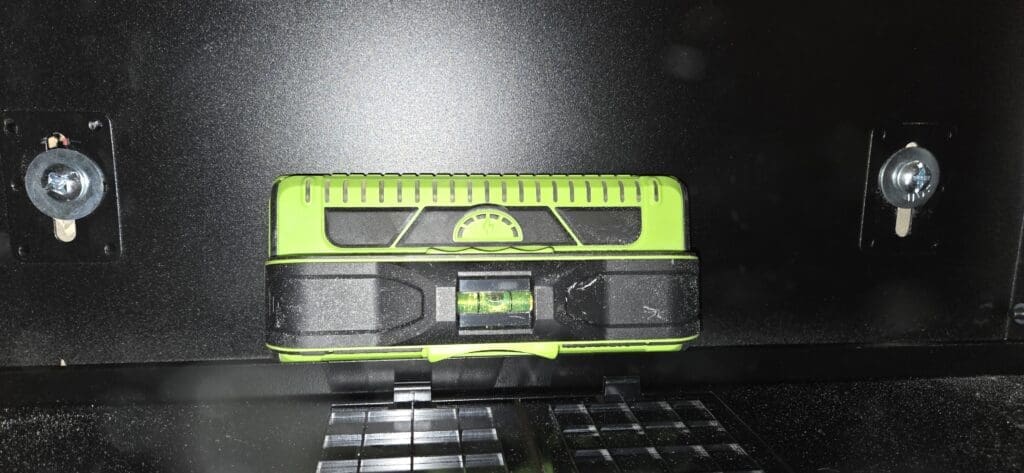
Step 3: Leveling the Cabinet Network
With the cabinet network anchored, I took extra time to ensure everything was perfectly level. A level installation is not just about appearance — it is essential for the structural integrity and long-term functionality of the unit. Taking your time at this stage pays off significantly in the finished result.
Finished Result: Cabinet Network Installation Video Walkthrough
Watch the short video below to see the completed cabinet network installation in Old Town. The pre-build strategy saved significant time on-site, and the final result is clean, secure, and level — exactly what I was aiming for.
Planning a Similar Cabinet Network Installation?
If you are planning a cabinet network installation of your own, I am happy to help. Feel free to reach out with your questions — I can share tips and lessons learned from this project and others like it.
Comments (0)
No comments yet. Be the first!