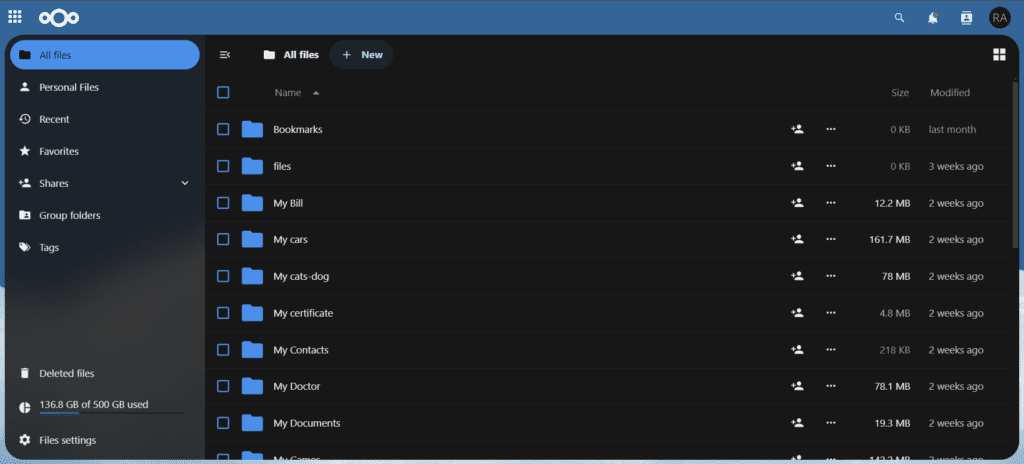
I recently migrated all my Google Drive accounts to my self-hosted Nextcloud server. Now, I have full control over my personal data. Everything is stored safely on my server, not on third-party services like Google Drive, OneDrive, or iCloud. Many of these services charge monthly fees—even for basic file storage.
Why I Chose Nextcloud
Nextcloud gives me control and privacy. I can store, organize, and manage my files without relying on big companies. This means no more worries about rising costs or losing access if my account is restricted.
All-in-One Productivity
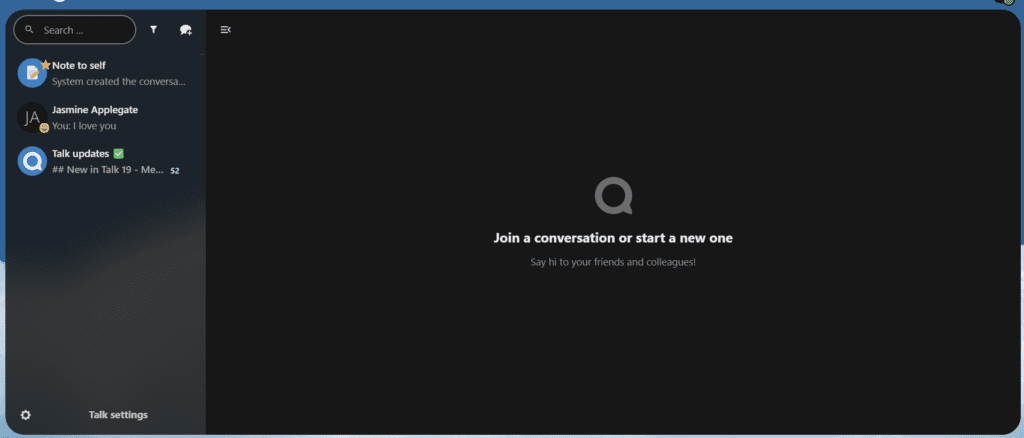
With Nextcloud, I added an office suite. Now, I can create and edit documents, spreadsheets, and presentations—all right inside Nextcloud. I also use Nextcloud Talk to handle communication and collaboration. Having everything in one place makes my work much easier and keeps me organized.
How You Can Do It Too
Want to set up your server? You can follow the official Nextcloud installation guide.
I use Cloudron for my setup. Cloudron makes it easy to install Nextcloud as a pre-packaged app. It’s stable, supported by the community, and maintained by the Cloudron team.
Now, all my data is under my control. No more monthly payments to Google. Everything—from photos and documents to communication apps—is in one secure place on my cloud.
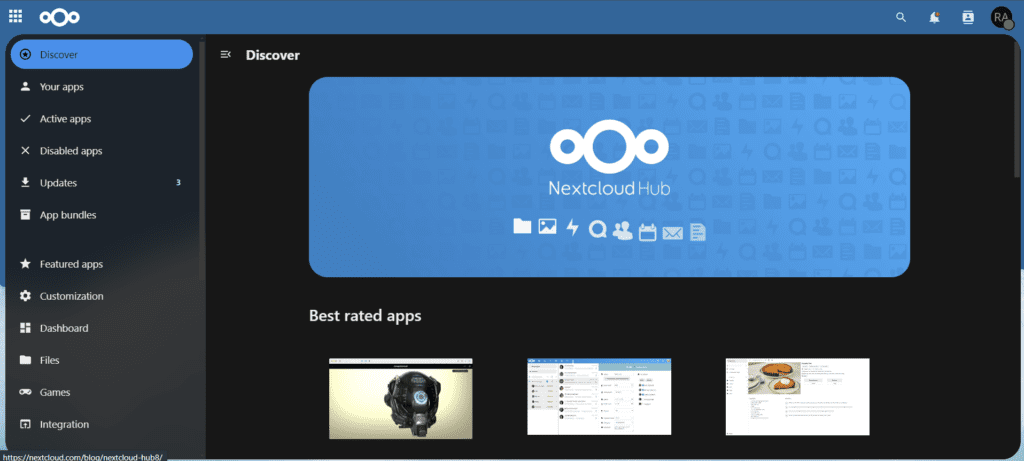
App List on My Nextcloud:
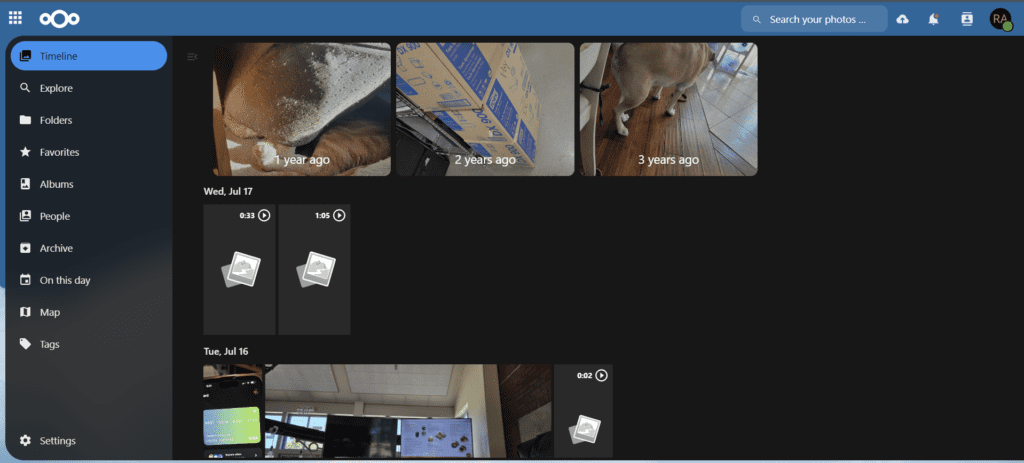
- Files (Memories)
- Office Suite
- Nextcloud Talk
- App Marketplace
If you’re interested in learning more, feel free to reach out or check the links above!
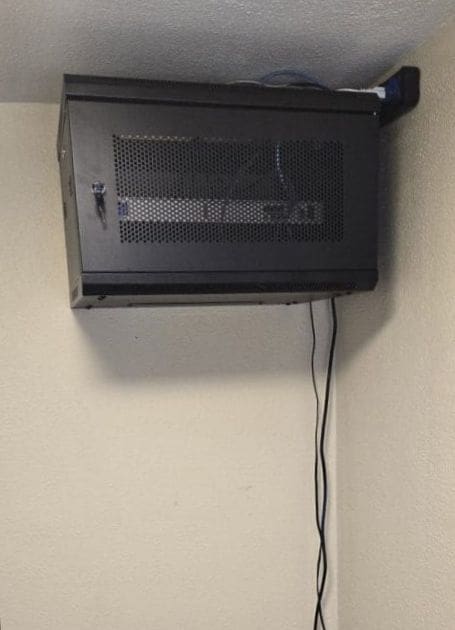
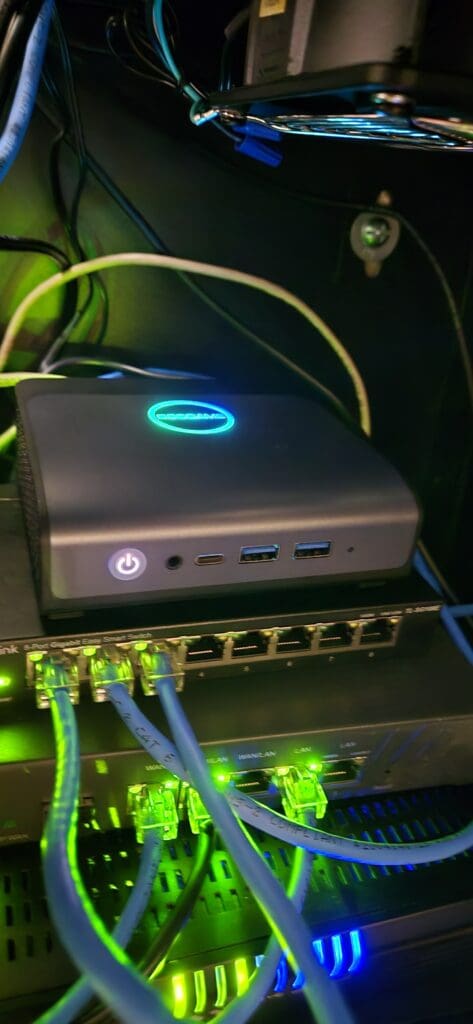
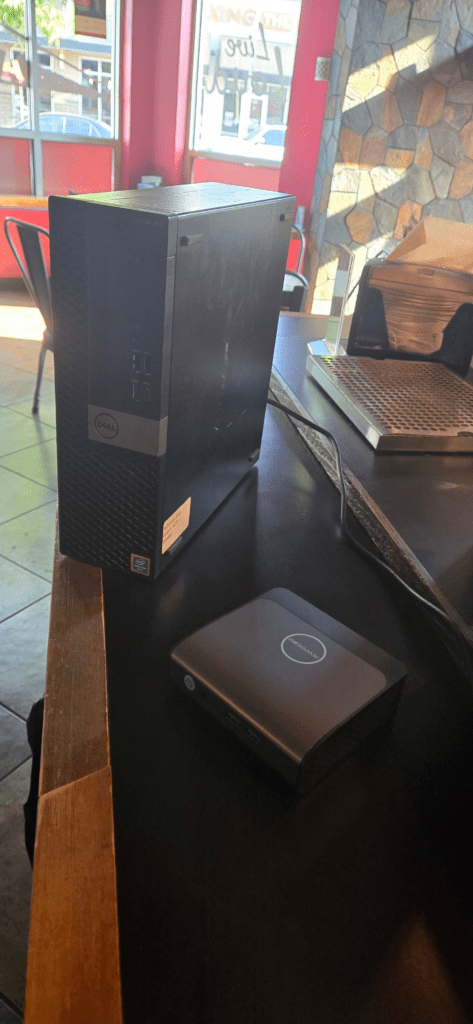
Photo preview:
