Five Years in the Server Room: What I’ve Learned as a Linux Admin
Wow, —five years! It feels like just yesterday I was wide-eyed and anxious, standing in front of a humming server rack, watching those little lights blink on and off. Fast-forward, and I’m reflecting on a journey filled with late-night alerts, frantic troubleshooting, and some high-pressure moments fighting off cyber threats. Managing Linux servers for our business hasn’t just been a job; it’s been an adventure.
More Than Hardware
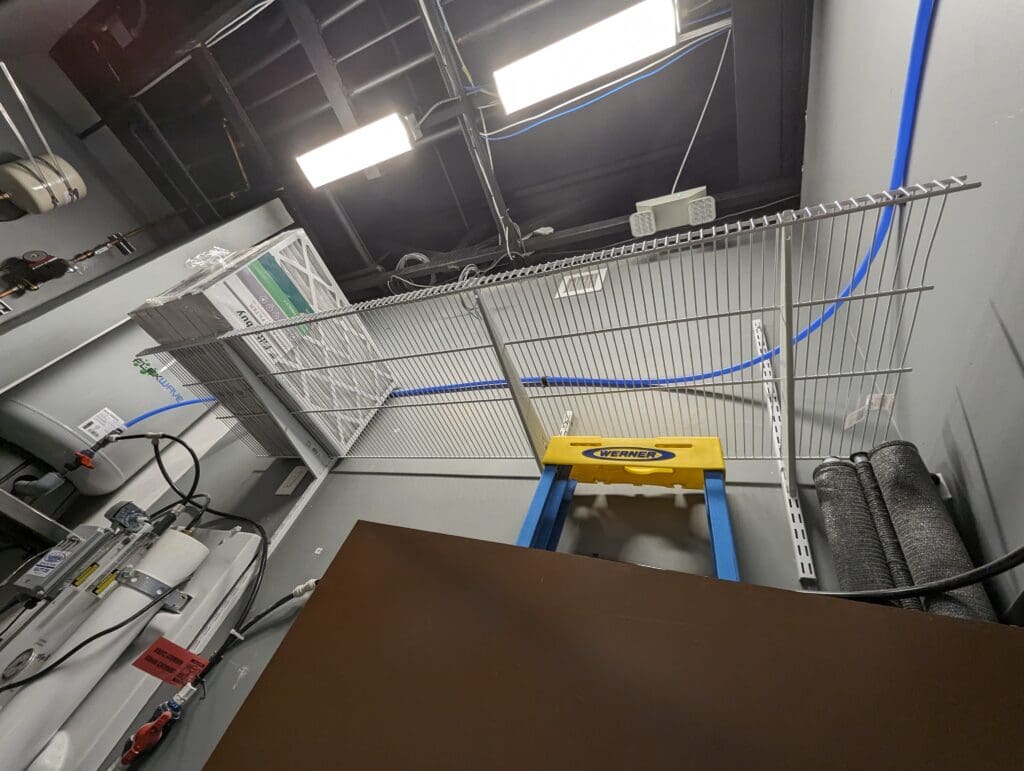
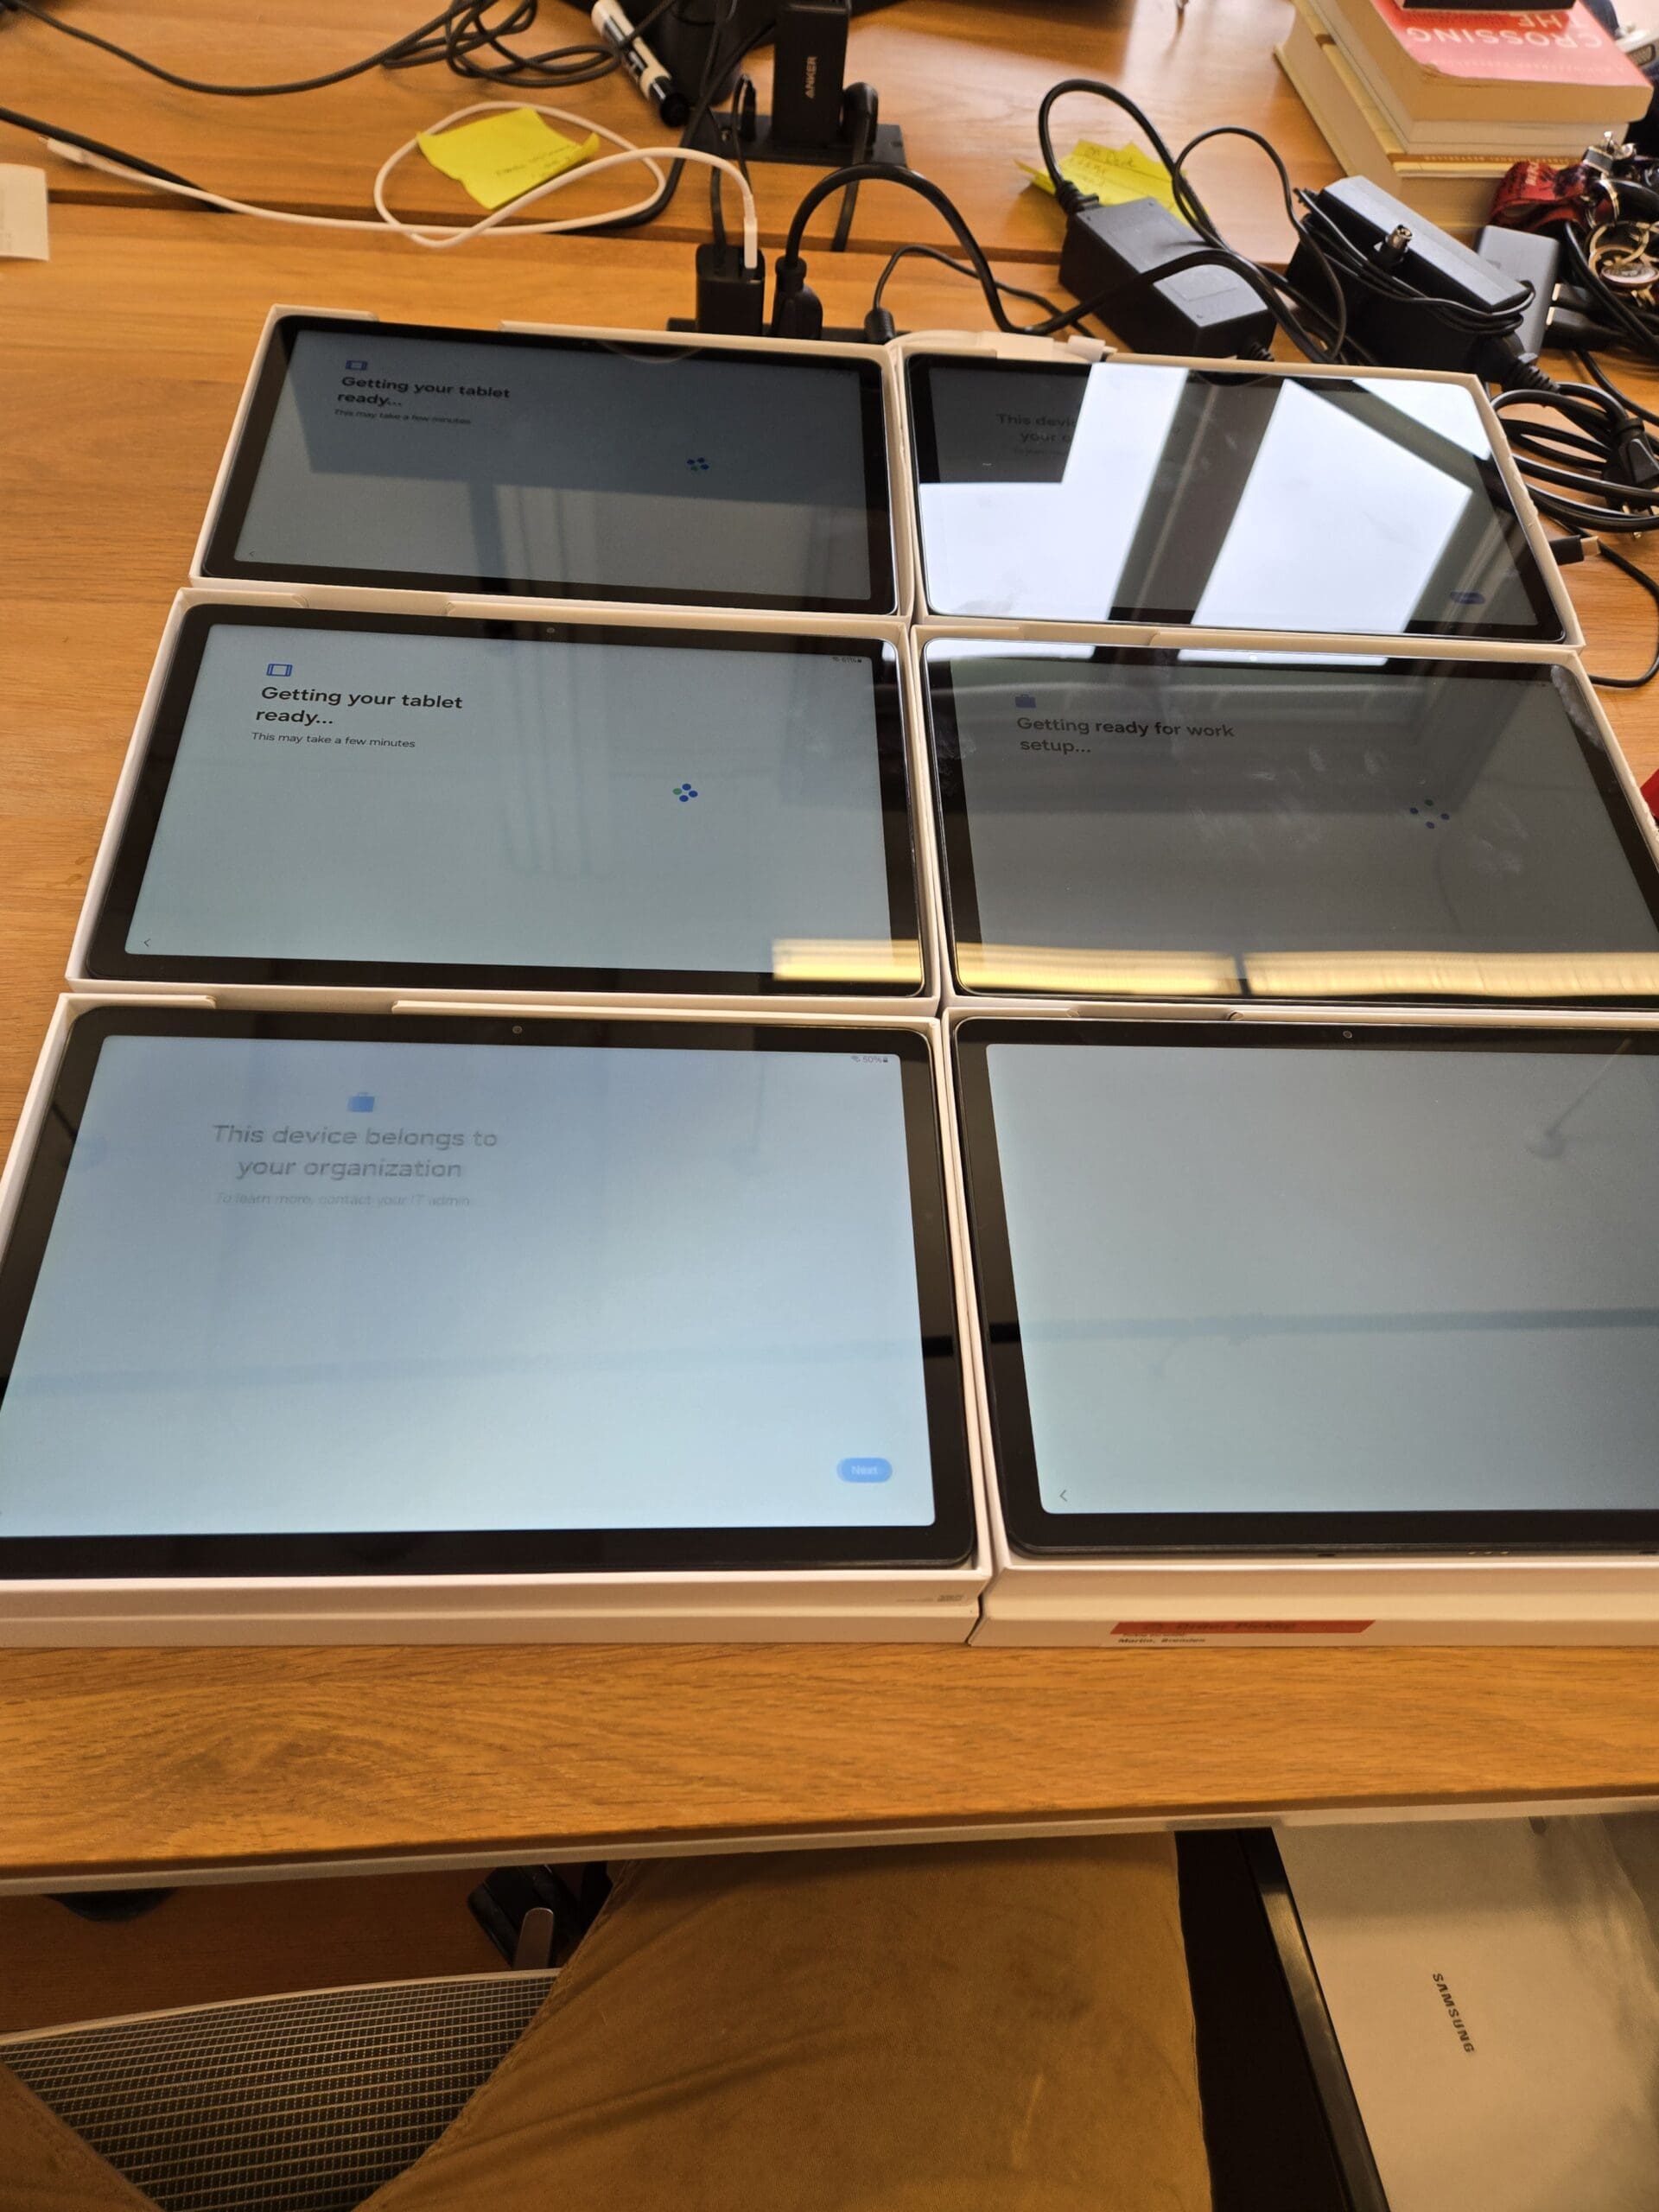
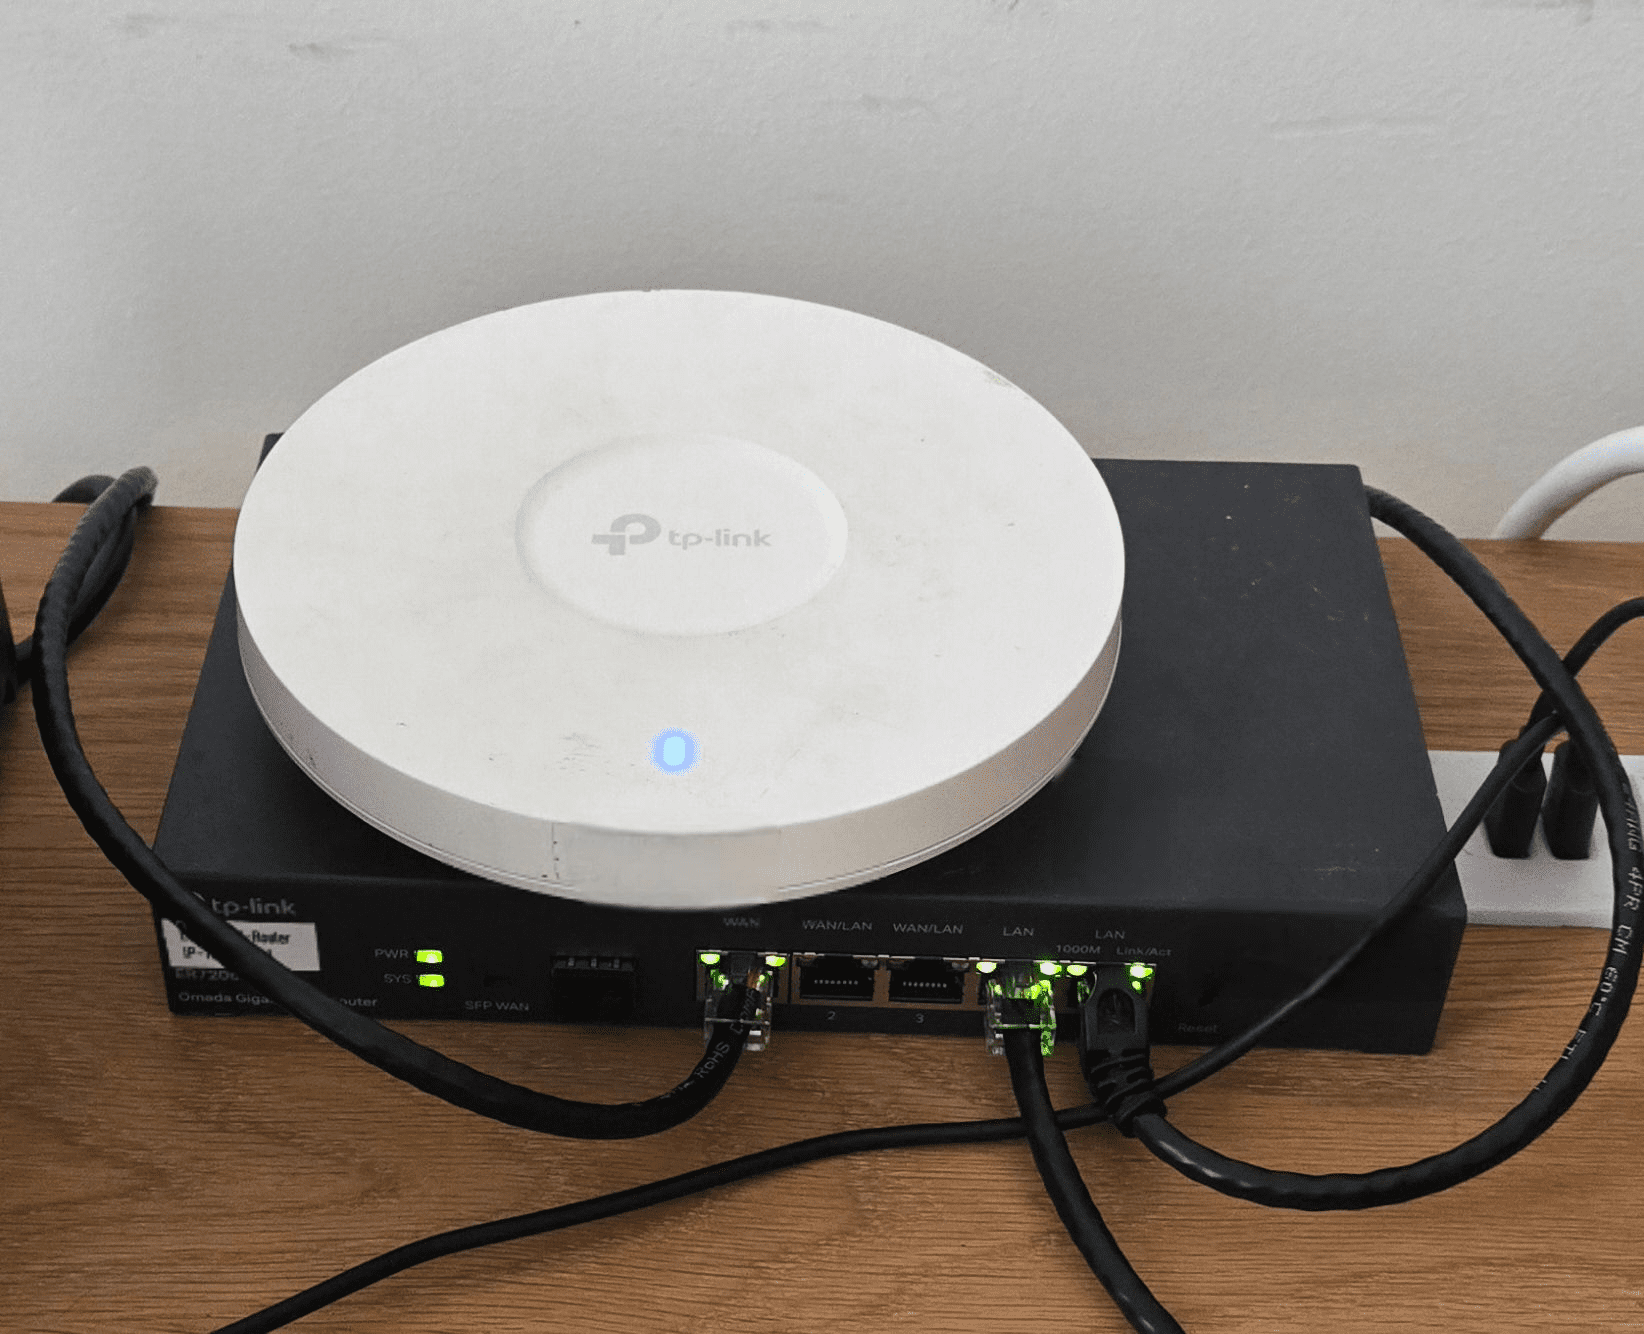
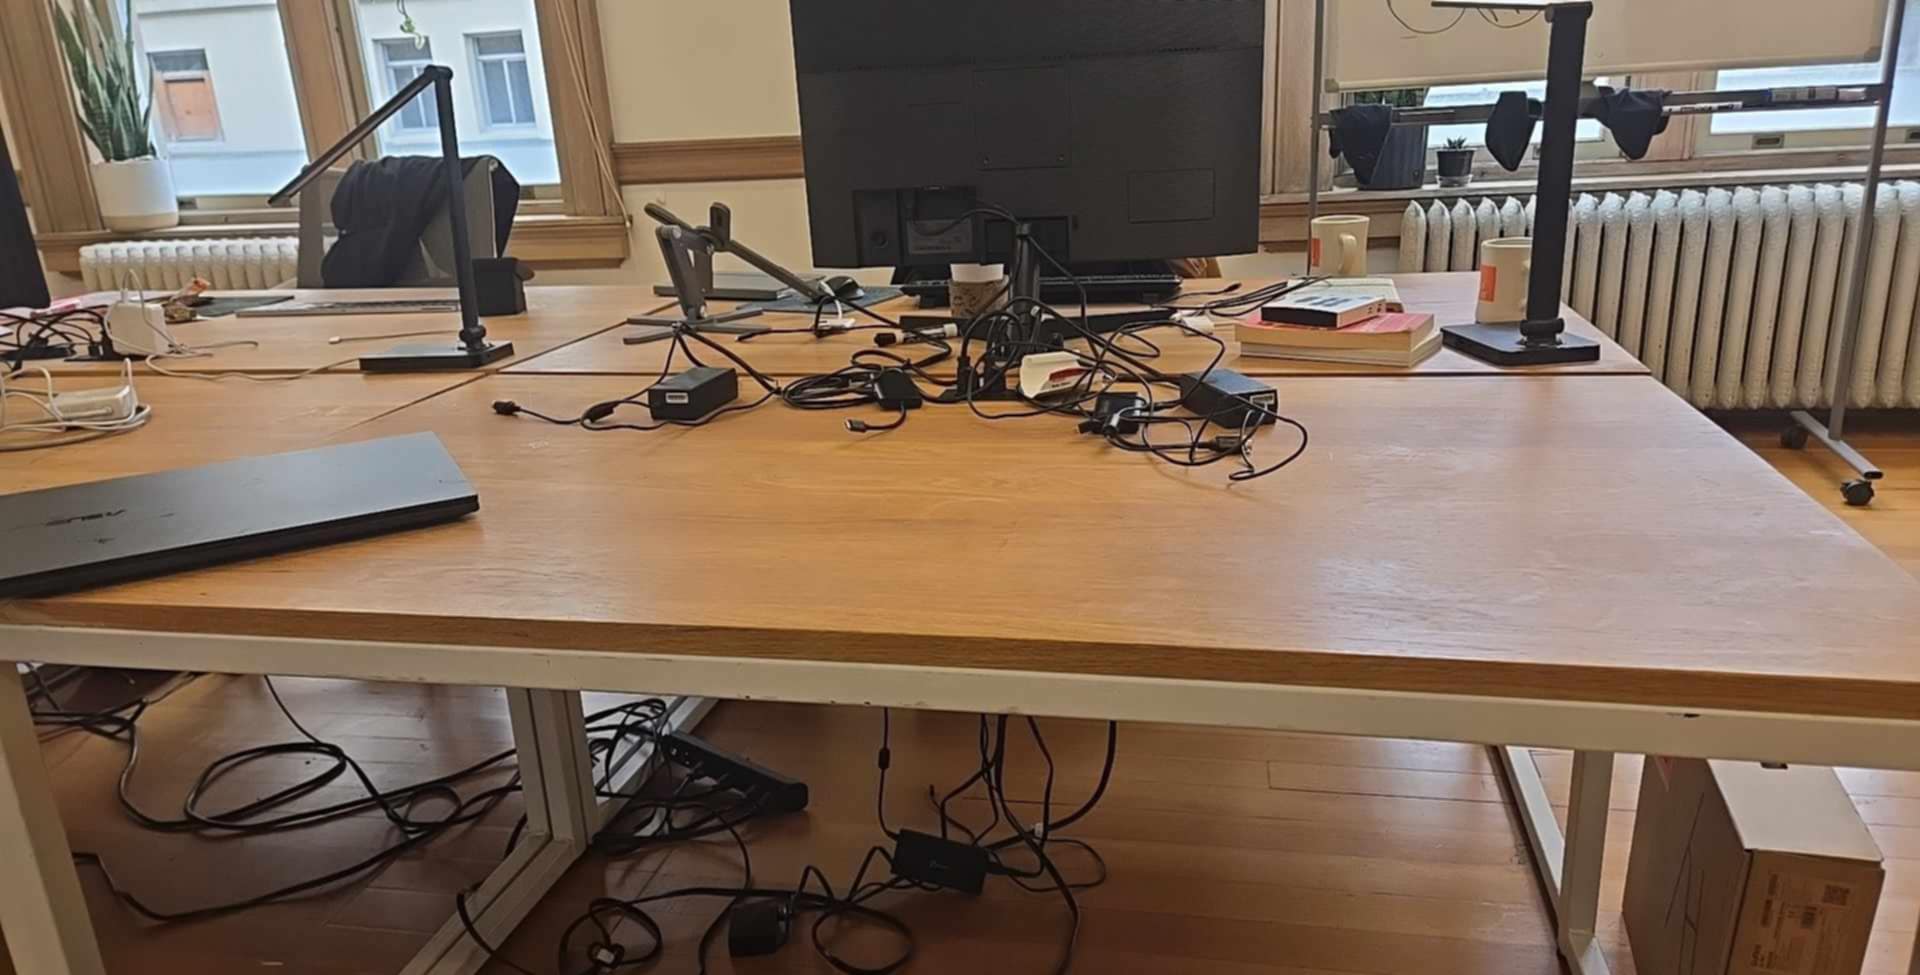
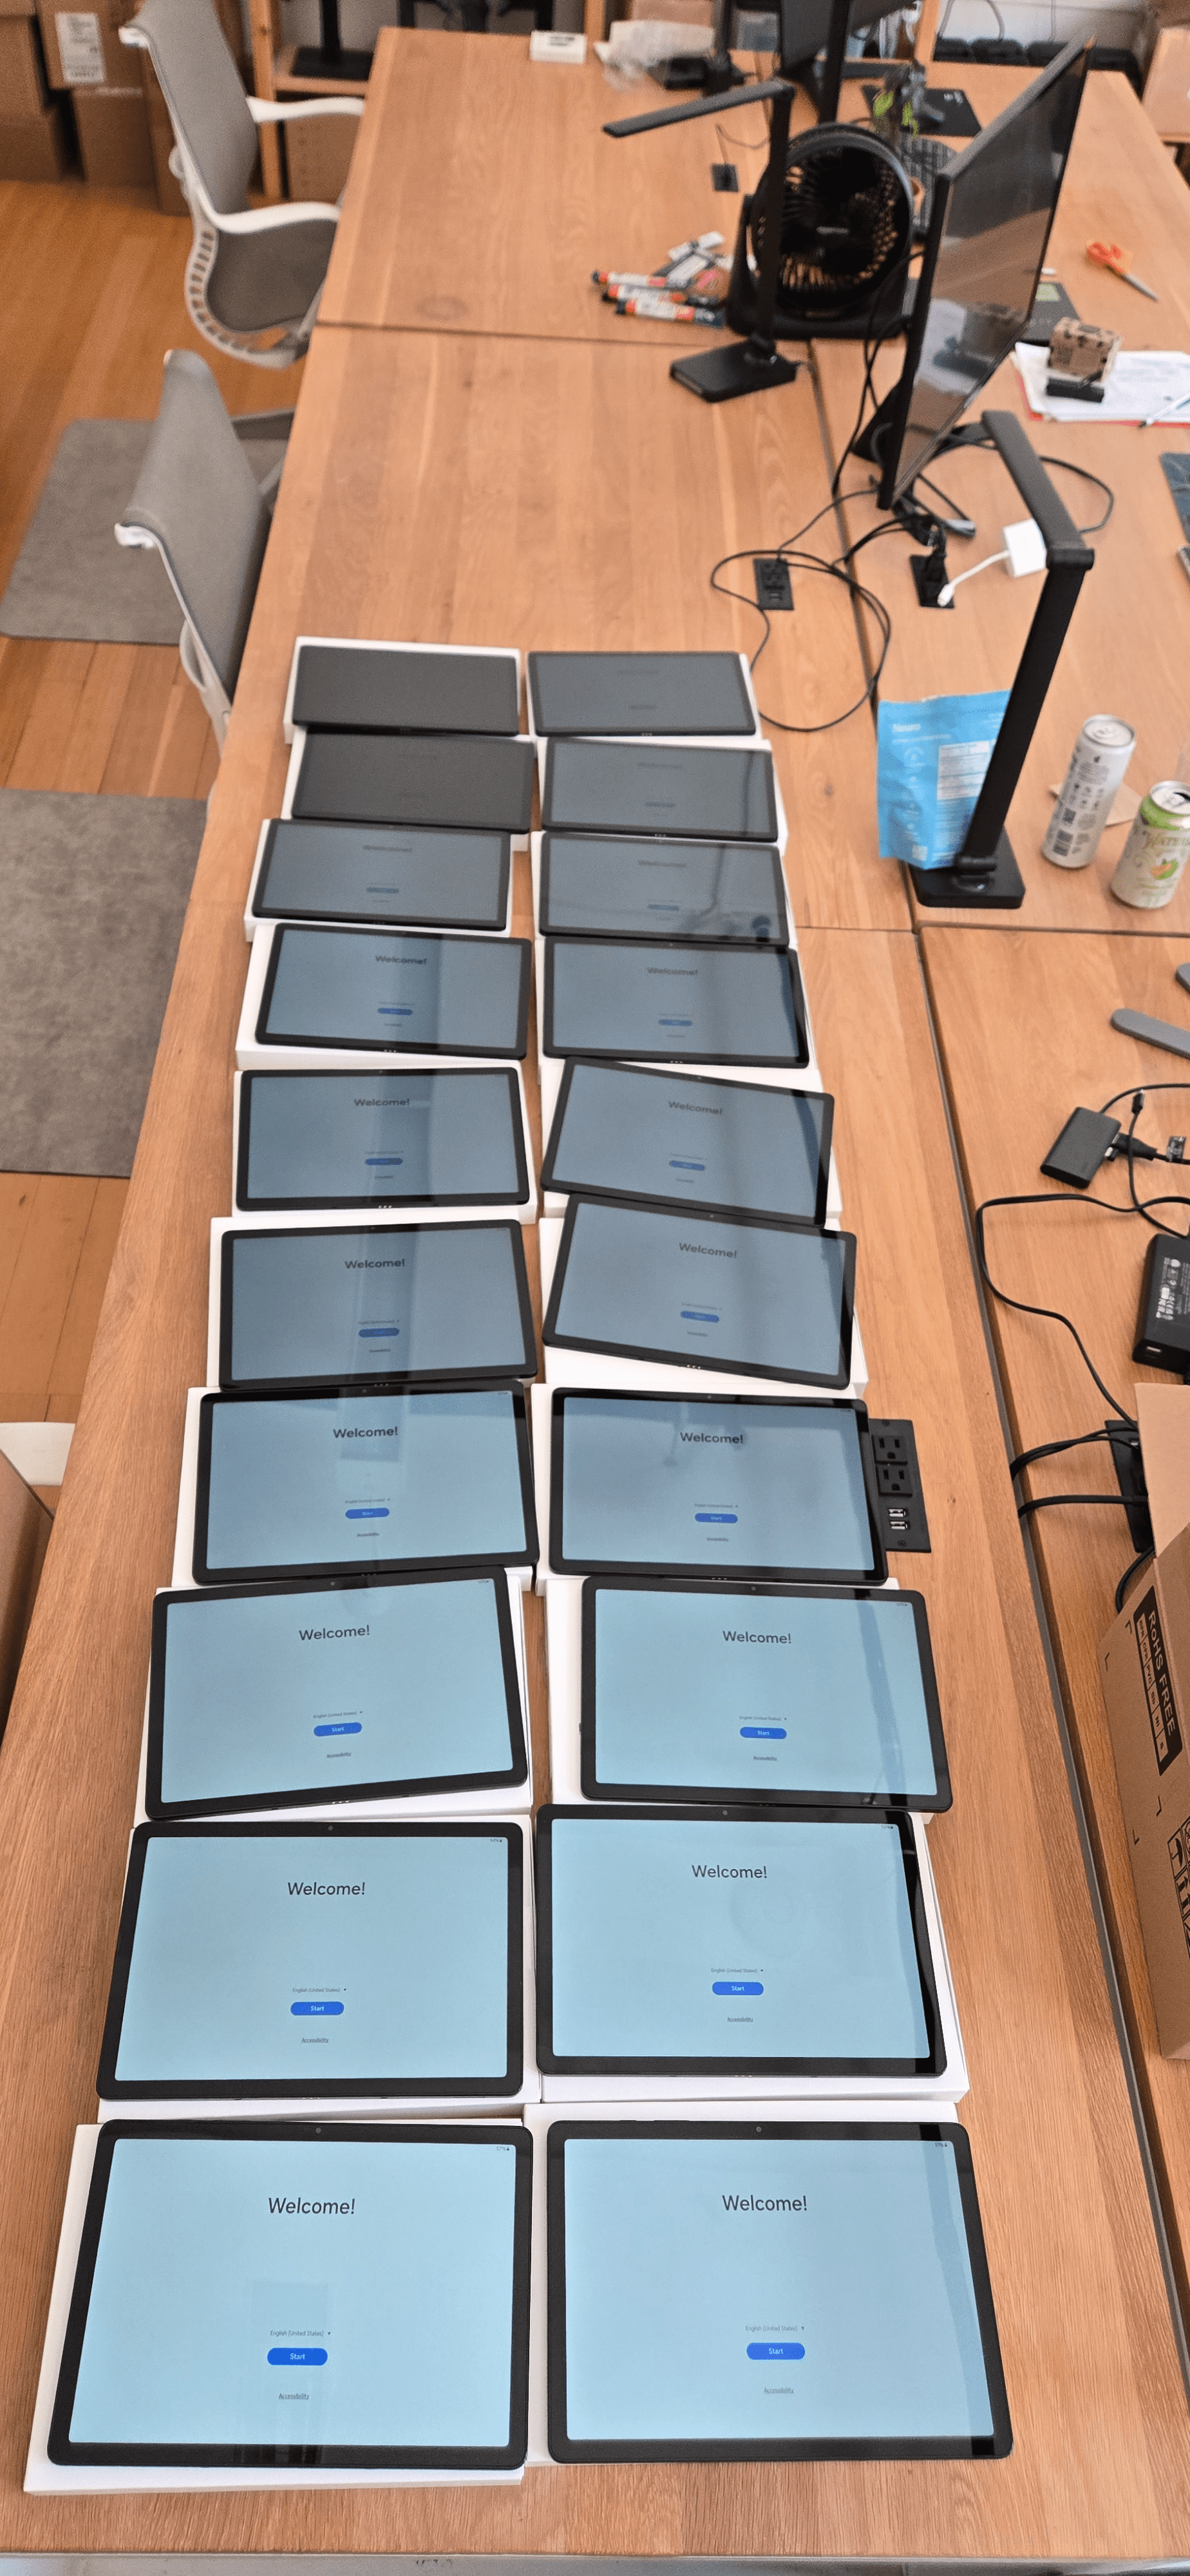
This photo? It’s not just a shot of wires and machines—it’s a snapshot of what keeps our business running. Every service, every transaction, every piece of data relies on this quiet, blinking backbone. I’m proud to be the one making sure it all just works.
Beyond Typing Commands
People often think Linux server administration is just typing mysterious commands into a black screen. In reality, it’s so much more. It’s understanding how everything fits together—hardware, software, users, data—and keeping it running smoothly. It’s about staying one step ahead of issues, patching vulnerabilities before they become problems, and ensuring our systems are secure and reliable, no matter what.
The Security Chess Game
The toughest—and maybe most exciting—part? Security. Attackers never sleep. There’s always someone trying something new, pushing at our digital walls. Every time we outsmart a script or block a breach, it’s a win. And every challenge forces us to learn, adapt, and improve our defenses. It’s a constant game of chess, and I wouldn’t have it any other way.
Building for Growth
Over these five years, we’ve moved from simply reacting to issues to building a fortress. We’ve upgraded monitoring, hardened our servers, and automated routine tasks. All these improvements mean our business can keep growing, knowing our foundation is solid.
Being a Linux admin isn’t just about servers or code—it’s about trust, reliability, and being part of something bigger than yourself. I’m grateful for the journey so far, and ready for whatever the next five years bring.
#Linux #ServerAdmin #ITLife #Cybersecurity #Tech