We switched from the shelf network to the cabinet network to enhance security by keeping our network contained within the cabinet, and to minimize the number of exposed power outlets.
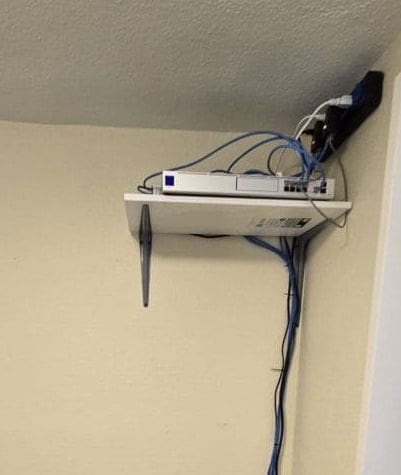

After
We switched from the shelf network to the cabinet network to enhance security by keeping our network contained within the cabinet, and to minimize the number of exposed power outlets.
After
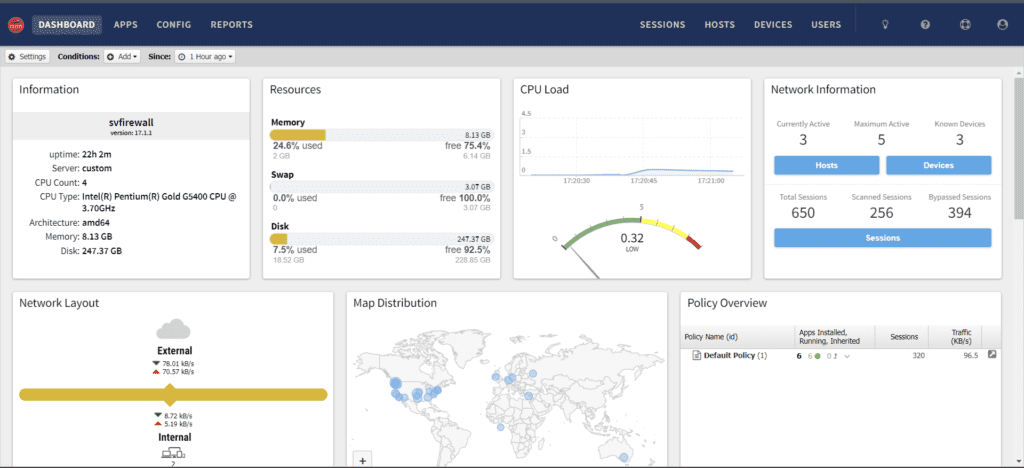
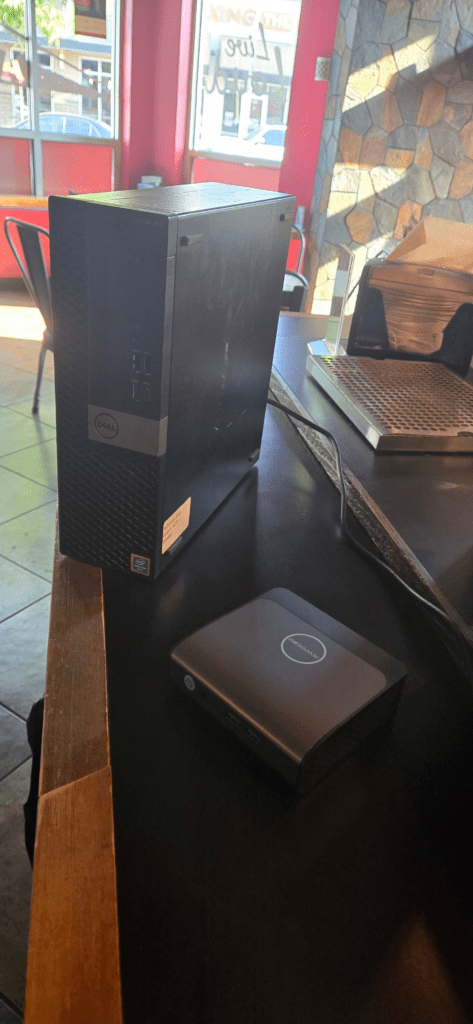
I installed a mini BOSGAME computer that was enough for speed internet and the performance was excellent with a multiserver firewall. Furthermore, I have also installed WireGuard VPN on the firewall to enable remote access to my server from a single IP address. I won’t get attacked or hacked from ssh.
Firewall to protect our server to avoid any hacking, malware, ransomware and more… Our firewall had Phishing Blocker and spam blocker for our Email server. Very benefits for our business.
I also like bandwidth control for our server to improve performance.

With WireGuard VPN

without VPN

I am happy with the speed because I had Server at location was 600mbps download and 200 uploads from Comcast business. So My firewall can handle VPN and firewall and many features. Now our Server and Web hosting is safe again. My home is 300 and 35 from Xfinity, So My Upload is perfect.
This pretty good to handle our server. 🙂
| Brand | BOSGAME |
|---|---|
| Series | MINI PC |
| Item model number | E1 |
| Operating System | Windows 11 Pro |
| Item Weight | 1.83 pounds |
| Product Dimensions | 4.96 x 4.41 x 1.61 inches |
| Item Dimensions LxWxH | 4.96 x 4.41 x 1.61 inches |
| Color | Black |
| Processor Brand | Intel |
| Number of Processors | 4 |
| Computer Memory Type | DDR4 SDRAM |
| Flash Memory Size | 16 GB |
| Hard Drive Interface | PCIE x 2 |
| Standing screen display size | 75 |
|---|---|
| Screen Resolution | 3840 x 2160 |
| Max Screen Resolution | 3840 x 2160 pixels |
| Processor | 3.4 GHz Celeron |
| RAM | 16 DDR4 |
| Hard Drive | 512 GB SSD |
| Graphics Coprocessor | Intel UHD Graphics |
| Chipset Brand | Intel |
| Card Description | Integrated |
| Graphics Card Ram Size | 16 GB |
| Number of USB 3.0 Ports | 4 |
https://www.amazon.com/BOSGAME-E1-Windows-Computer-Supports/dp/B0CSK4C2ZR
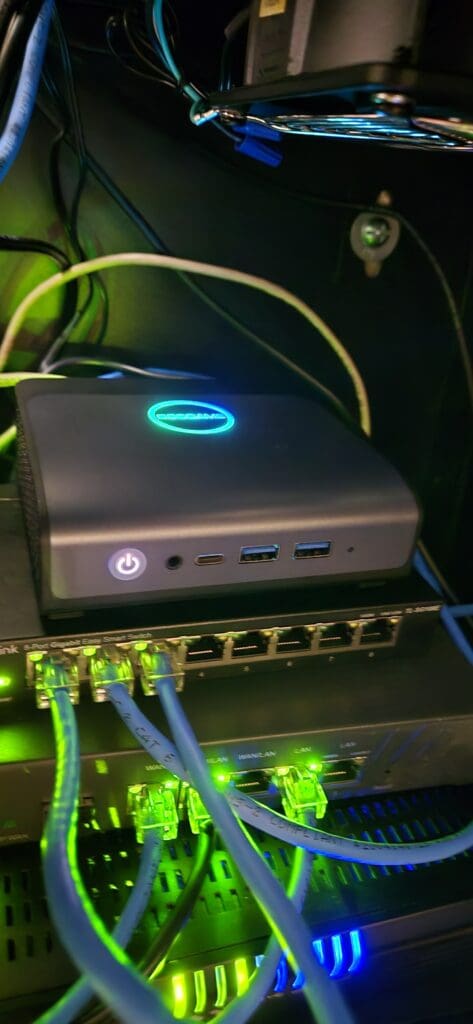
I also Did PC to Smaller PC because it can fit in Cabinet network to secure.
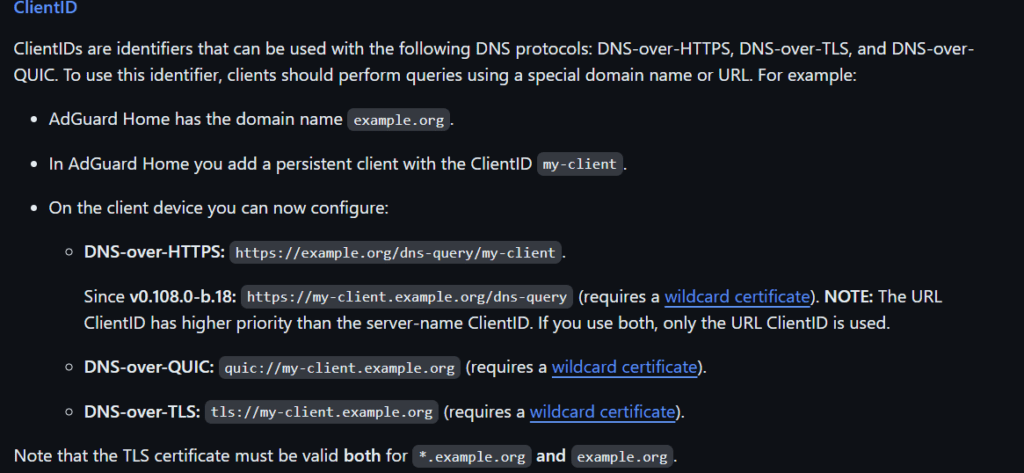
I finally got this to work with cloudron AdGuard Home because it won’t work just use DNS port or encryption until you add IP or Client ID in allowed Clients, so I am using Client ID. This will show you how to set up DOH AdGuard Home with TpLink Omada DNS Proxy.
This explains to us what Client IDs are, and I found DNS over HTTPS is useful for our networks, since I had a wildcard certification.
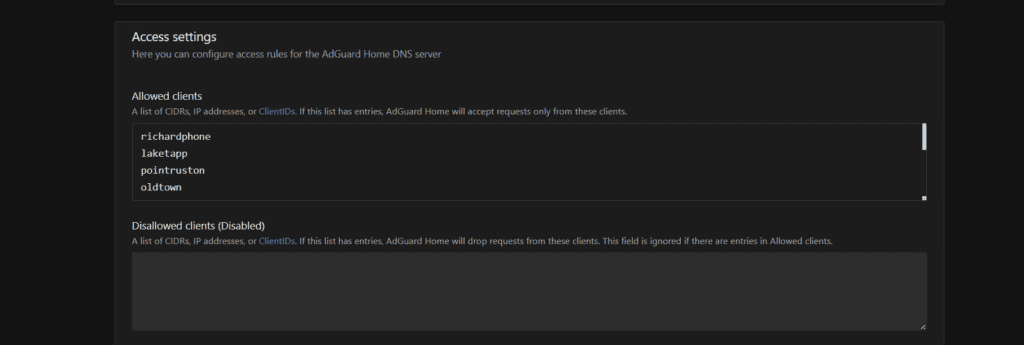
Open AdGuard home and log into your admin account. Navigate to the DNS settings and find allow clients. I put laketapp that I would use for our stores nickname. Then make sure you save it.
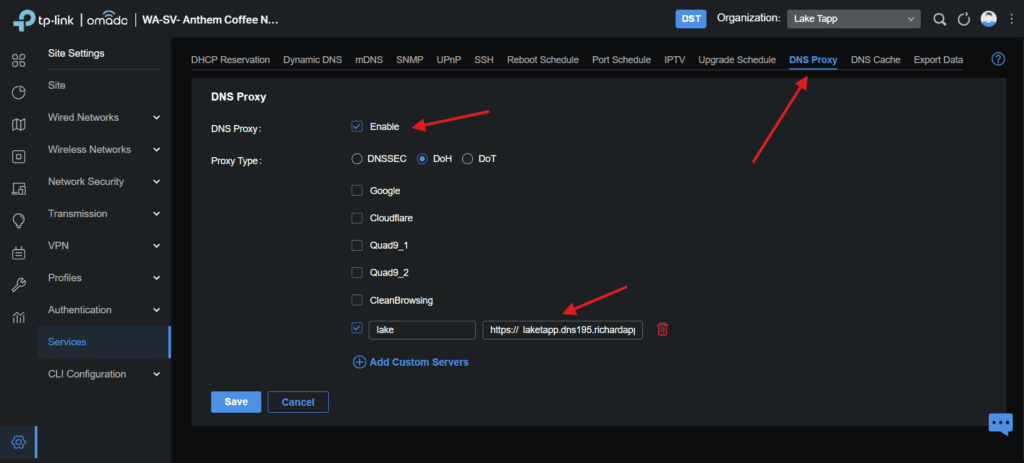
Then go to TpLink Omada Controller Webgui and Login your admin, then select the location you want to set DNS over HTTPS with cloudron AdGuard Home.

After you select Location, go to Services on the left side.

Then go to DNS Proxy then go enable DNS proxy then DoH then add your AdGuard Server, mine is https://laketapp.dns195.richardapplegate.io.
Now go check AdGuard Home, see if there are any queries,

yep, it’s working, Now My Router is communicating with my DNS Server secured.
I built another mini computer for Sunrise Village and added another network card to my mini computer for internal and external network. Not only that, but I also set Internal to “bridge” and set my Modem wire to firewall “external” and then firewall “internal” to a 1 gigabit switch. So I can put more Server in one 1gig switch. We had static IP, and we’re using these on our server, so My Firewall will not protect my server until I create rules and firewall and Threat Prevention and virus Blocker.
We can upgrade to 2.5Gig or 10gig speed on our server and firewall, but our plans are 600mbps and 200mbps uploads, so it is enough for all my server to hosting on switch.
Not only that, but we have Three locations that require a firewall. I set up a firewall at Sunrise Village a few days ago, and it is working well. We need to protect where our server is that runs all of our store network and slack alternative and cloud storage.
User 1: Omada TpLink Router Hosting
User 2: Web and Email Hosting
User 3: all apps in one server solution.
A firewall serves as a safeguard against distributed denial-of-service attacks on the Internet.
The firewall on our modem is weak, and we’re still getting DDoS attacks. We need a better firewall, so we can’t worry about our server and network systems.