


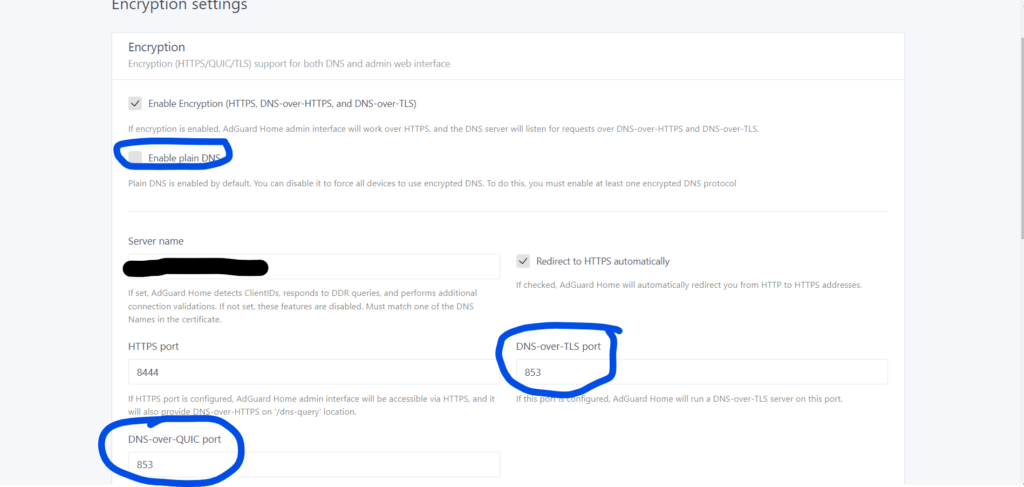
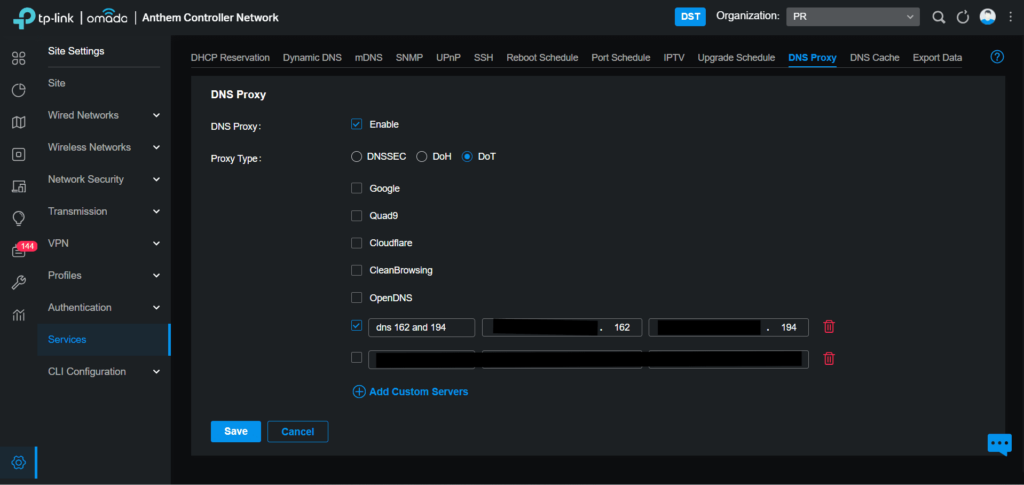
Today, I turned off the DNS port 53. Since we have been cutting off our store’s DNS server, it has been a DNS amplification attack. So I found out that my Router does have a DNS Proxy, My DNS Server does have HTTP over TLS and DNS-over-HTTPS. Everything is working and attacking is currently stopped after I set up 853 port encryptions and disable Plain DNS. I also want to keep my stores safe.
My router has a DNS Proxy option, so I added my DNS IP Server,
Then I have gone to Wired Networks → LAN, then go to Admin
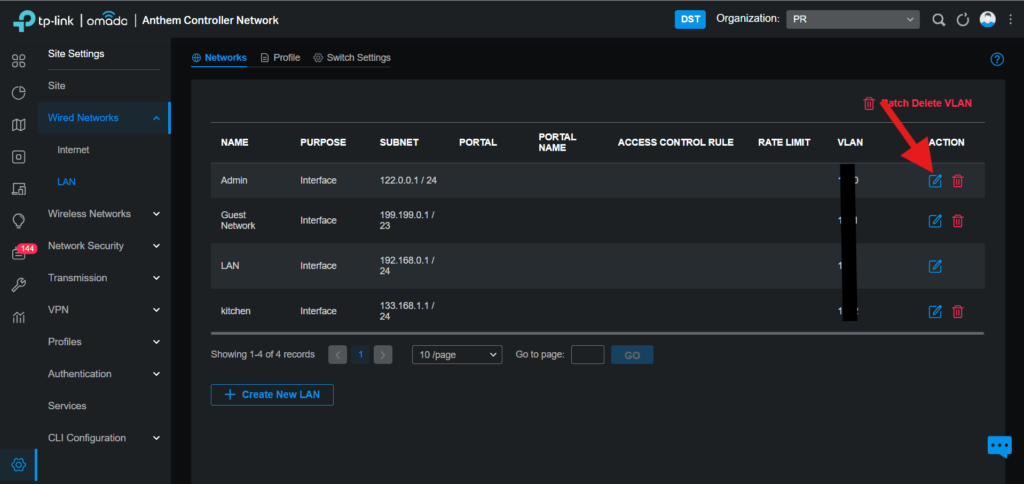
If you change DNS Server to your DNS, please change to Auto So DNS Proxy to do the job.
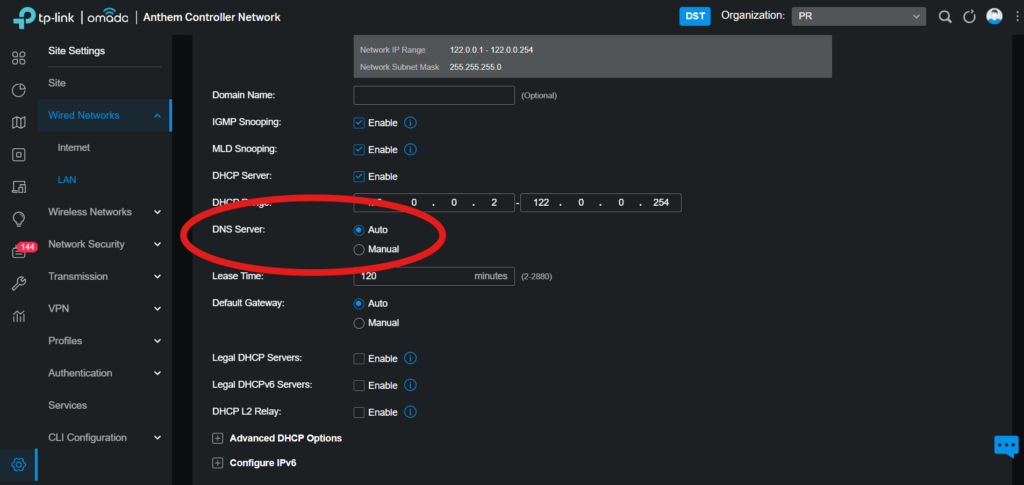


Now we have an encrypted DNS over TLS.
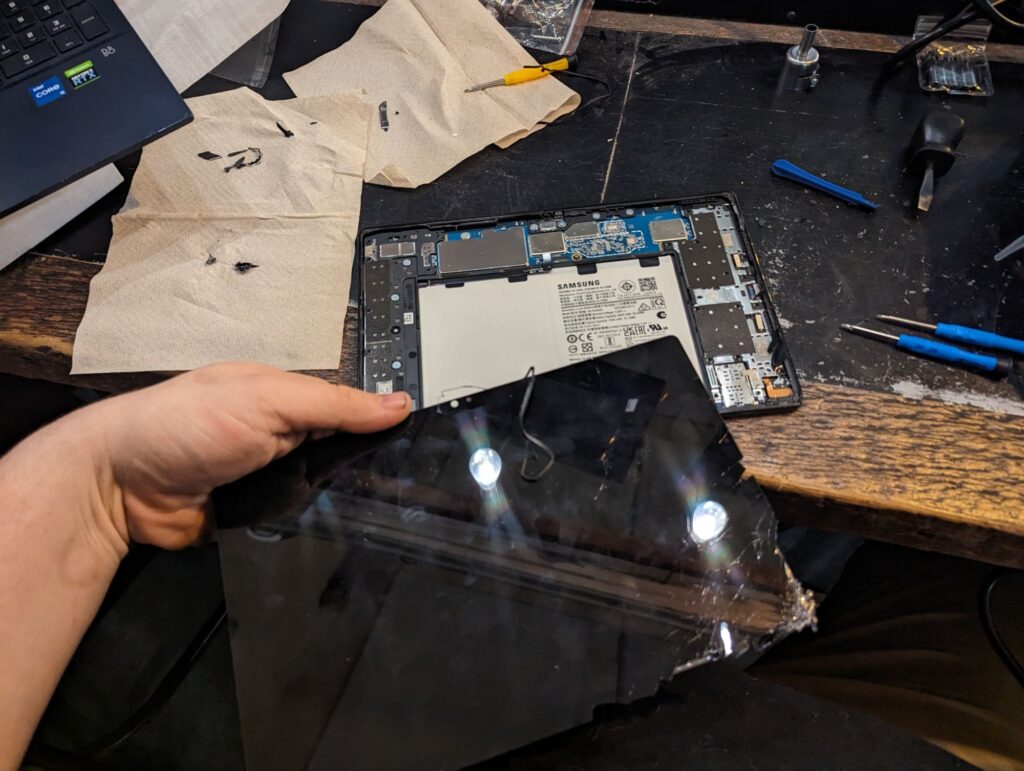
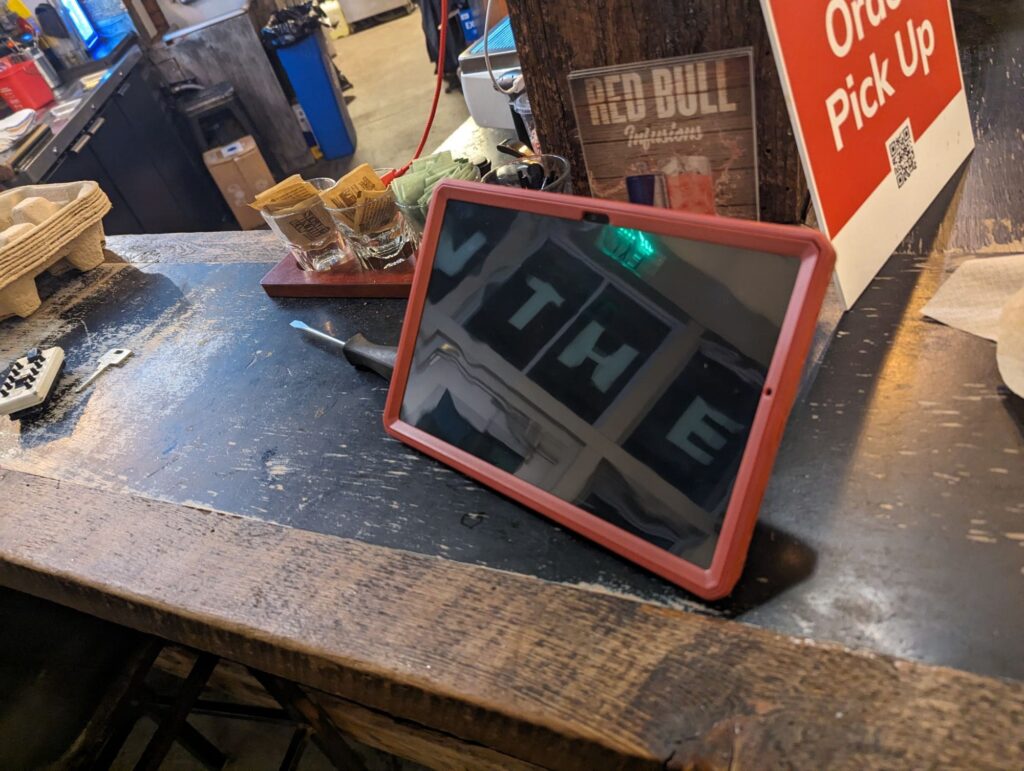
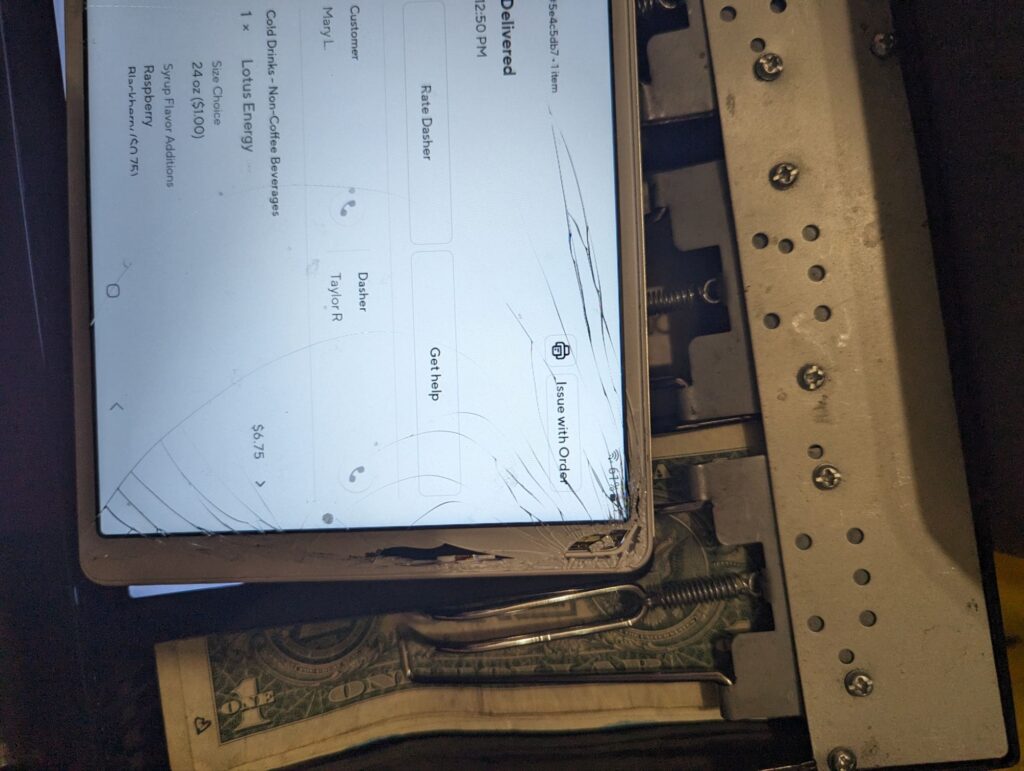
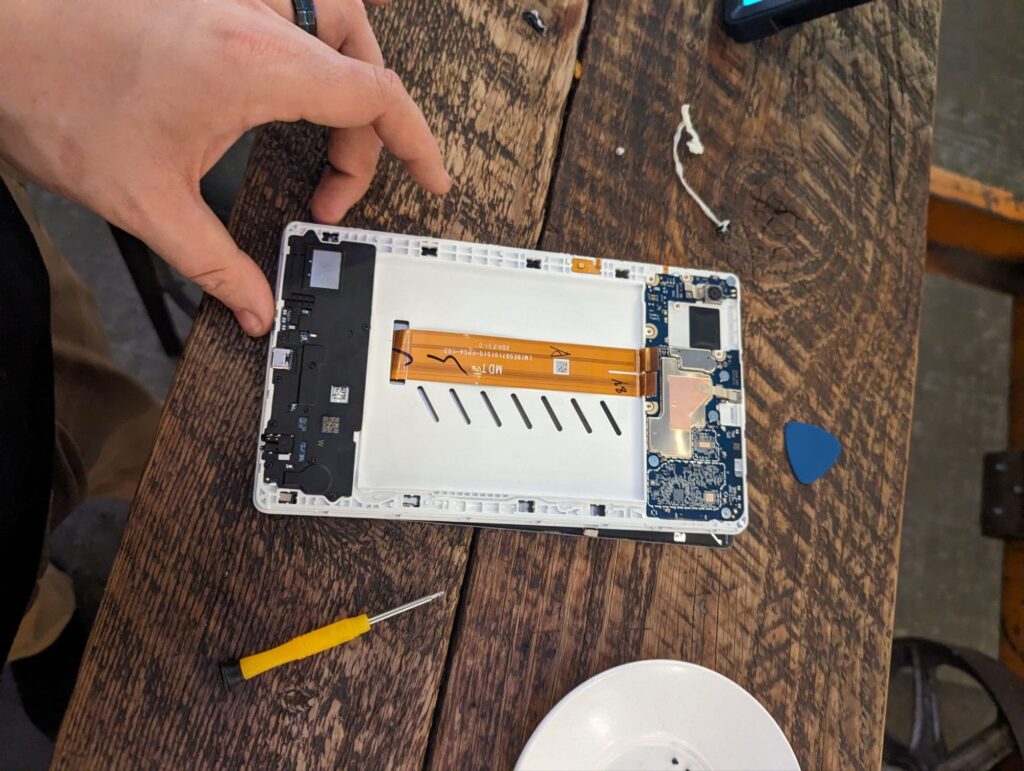
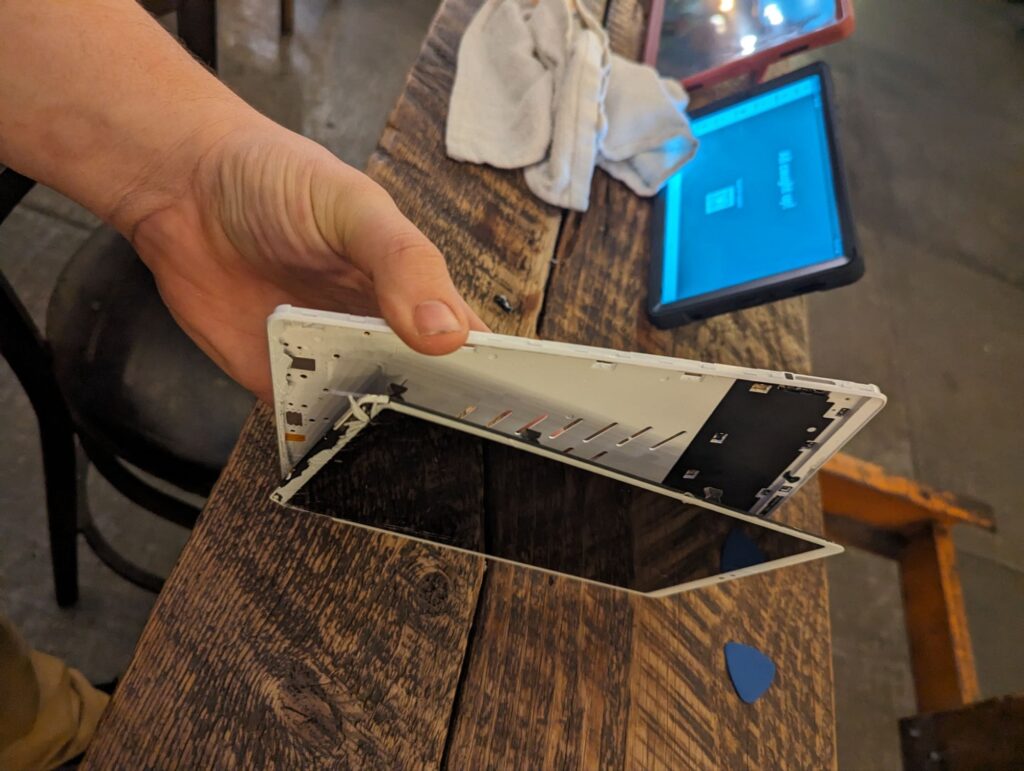
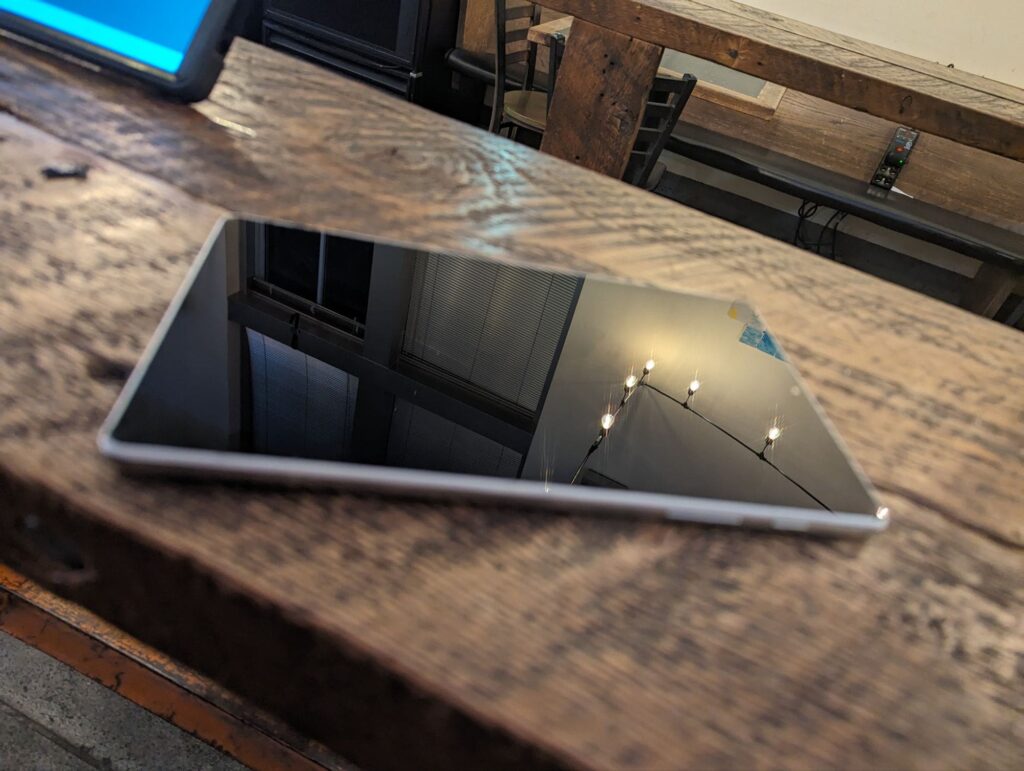
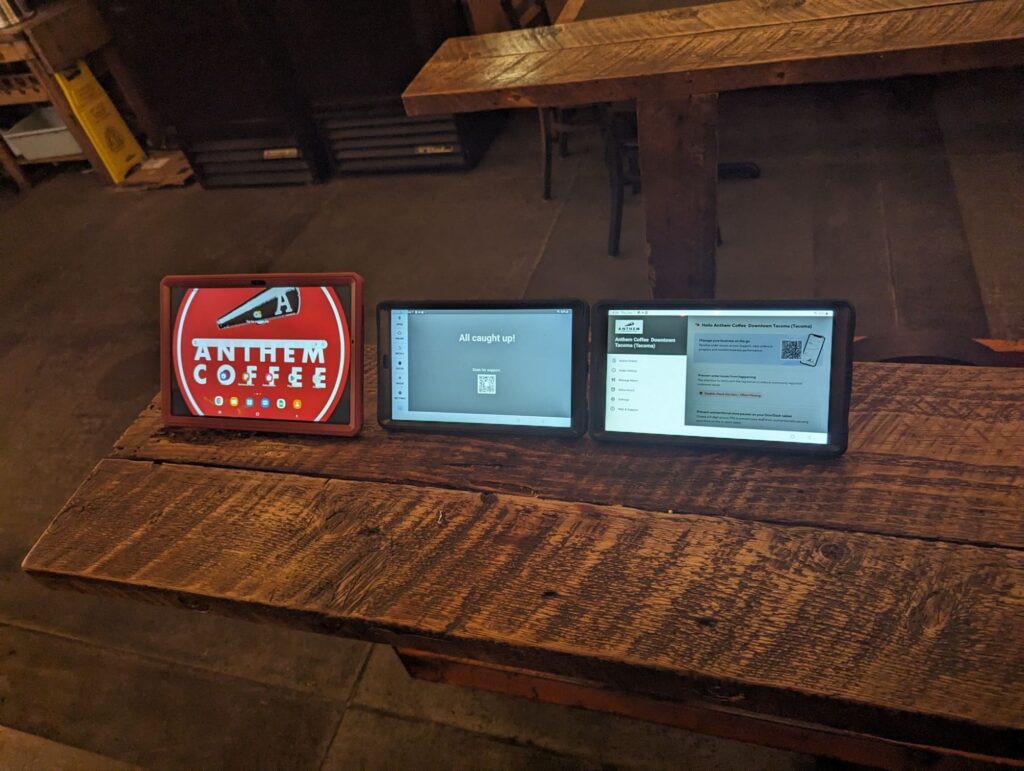
One of our employees accidentally dropped their tablet while performing work-related tasks. Unfortunately, the device was not equipped with a protective case at the time, which increased the risk of damage. After reviewing the situation, we recognized that this oversight was our responsibility, as we had not provided an adequate protective case to safeguard company equipment from such accidents. Following the incident, I took immediate steps to resolve the issue. I arranged for a professional screen replacement to repair the device, ensuring that the tablet returned to a fully functional and reliable state. Once the screen was successfully replaced and tested to confirm proper operation, I took additional preventative action by equipping the tablet with a high-quality, durable protective case. This case will help to minimize the risk of future damage from accidental drops, contributing to the longevity of the device. Moving forward, our team has acknowledged the importance of providing proper accessories, such as protective cases, for all electronic devices issued to employees. This incident has served as a valuable learning experience, reminding us to prioritize proactive measures to reduce the likelihood of similar accidents and to better support our staff in carrying out their responsibilities safely and efficiently.
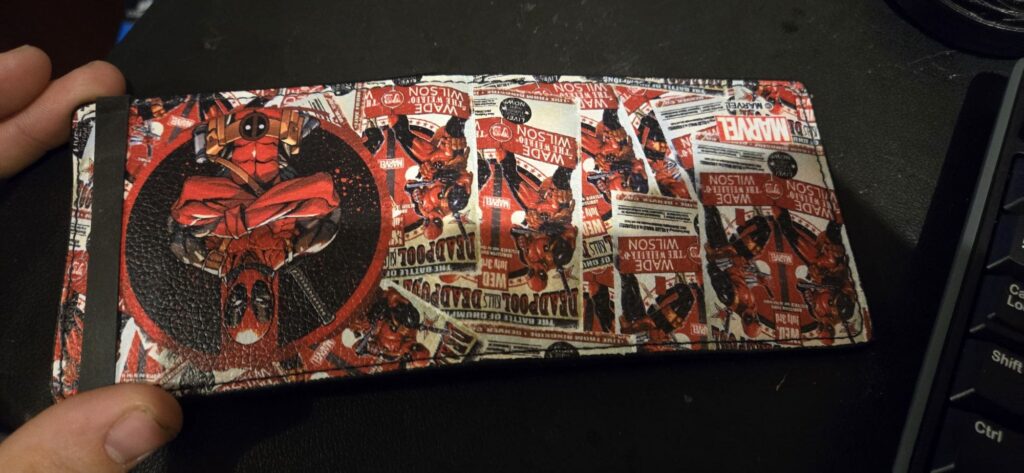
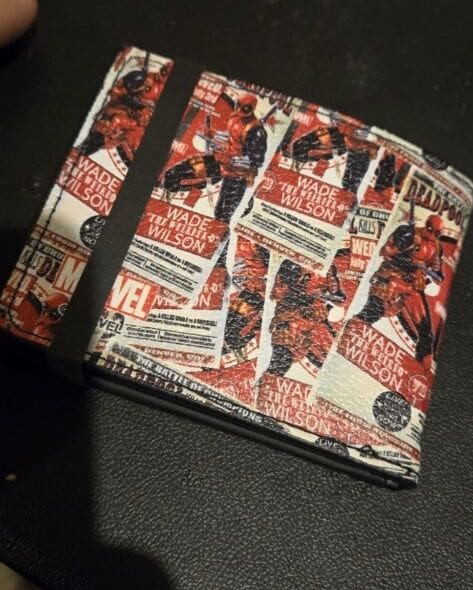
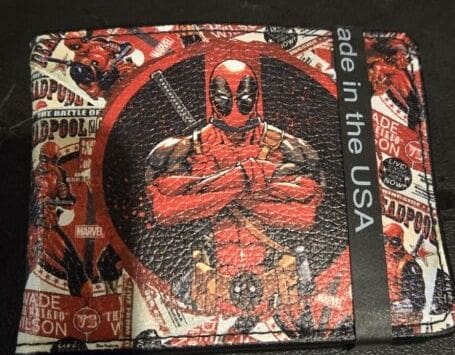
She is aware that I am a fan of Deadpool, and my wallet has been unchanged for 4 years. Despite its damage, she decided to purchase it without consulting me, which led to some excitement and finally resulted in something stronger. I love her so much. Thank you, honey bee 🐝💛💗