What an incredible experience! This week, I took on a home project that I’d always thought was best left to professionals—I installed a ceiling TV mount. If you’ve ever thought about saving some space or adding a unique touch to your living room, trust me: you can do it yourself, and it’s genuinely exciting!
Getting Started: Facing My DIY Fears
I’ll be honest—when I first opened the box, I was a little intimidated. There were anchors and bolts and an impressively sturdy pole, and I immediately started second-guessing whether I could safely hang a flat screen from my ceiling. But with a little patience and some YouTube tutorial inspiration, I dove right in.
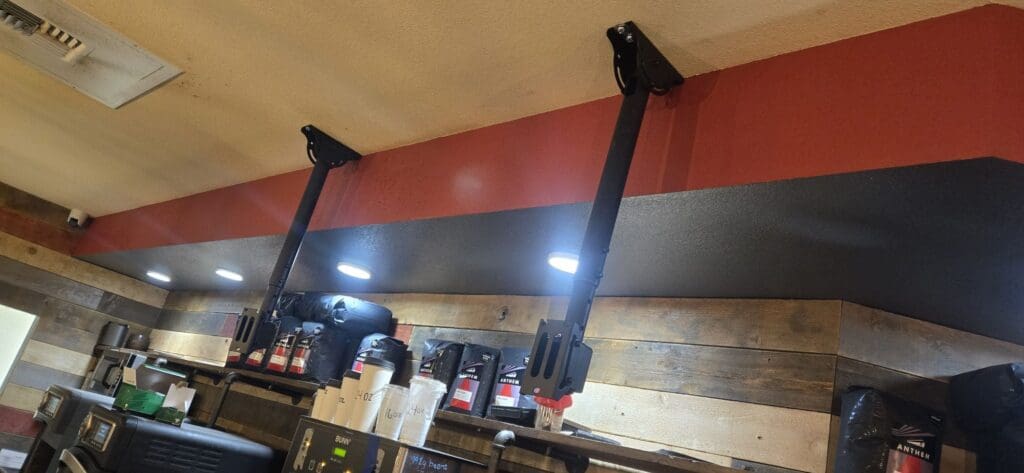
Step by Step: Anchors Away!
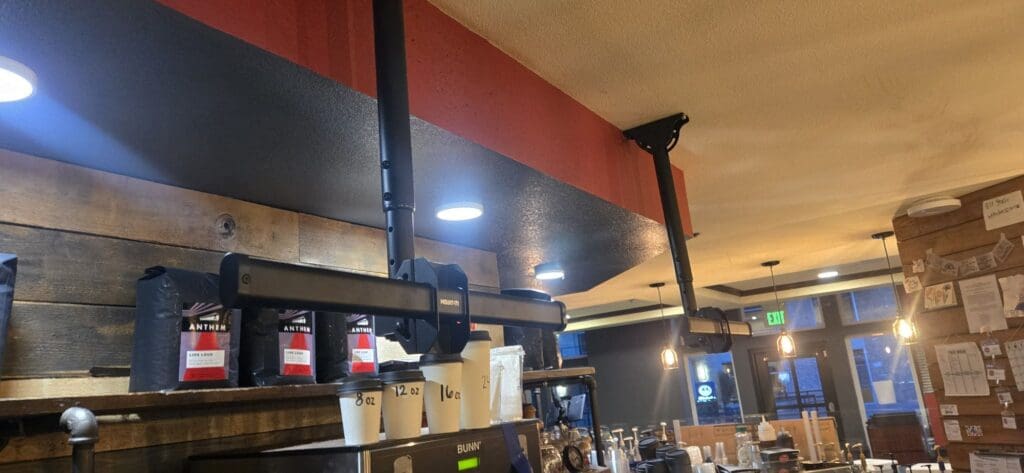
Securing the mount using anchors was actually much easier than I expected. I measured (twice!), marked my spots, and drilled the anchors firmly into the ceiling. Each step gave me a small wave of accomplishment. There’s something incredibly satisfying about hearing that anchor click into place!
Mounting the TV: A Jaw-Dropping Moment
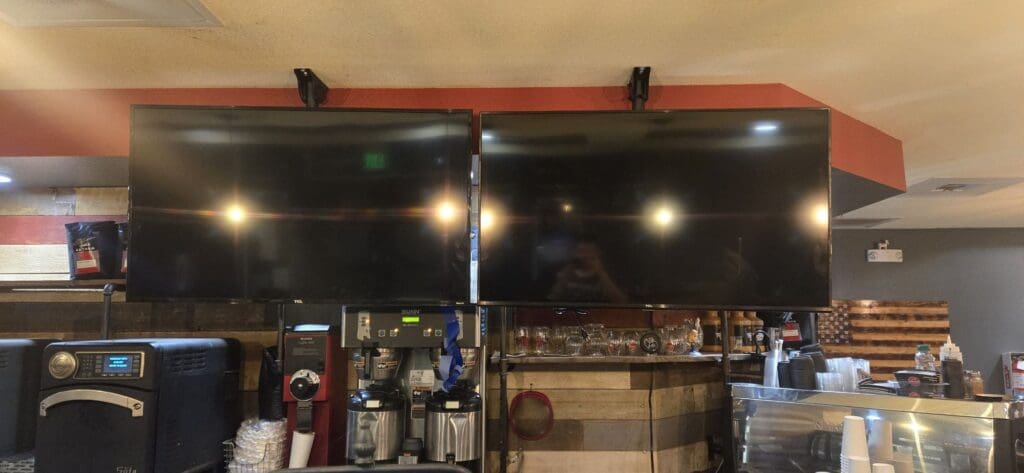
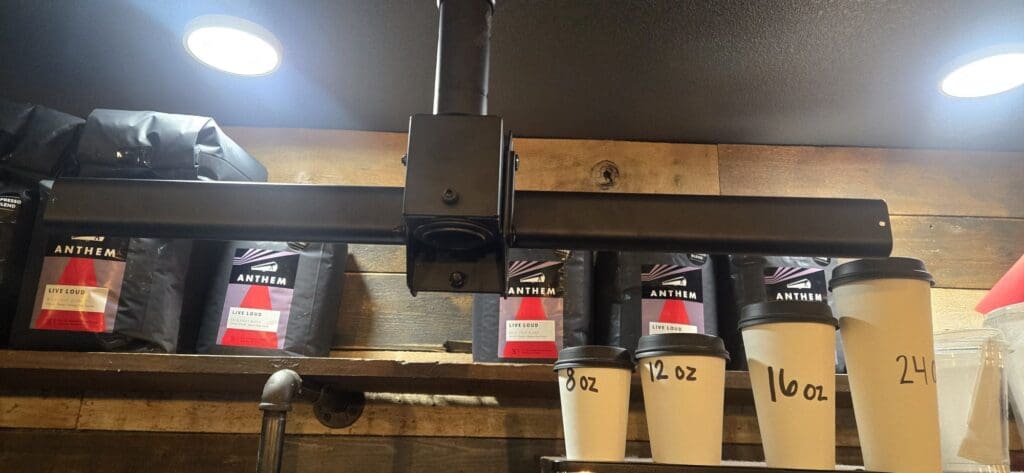
Once I attached the ceiling mount pole, the rest came together even faster than I imagined. Holding the TV steady and fitting it onto the pole gave me such a rush—it really started to feel real. Within minutes, my TV was hanging in the perfect spot.
Added Peace of Mind: Extra Security
Not wanting to take any chances, I went the extra mile and added additional support behind the TV. Now, my setup feels rock solid—no movement, no wobble, just total peace of mind. 🎉🎈
Final Thoughts
This entire project wasn’t just about home improvement. It was about pushing myself out of my comfort zone and discovering how fulfilling a DIY win can be! If you’re thinking about a ceiling mount for your TV, go for it. You might just surprise yourself, too.
Have you tried a project like this? Share your story or tips below—I’d love to hear them!
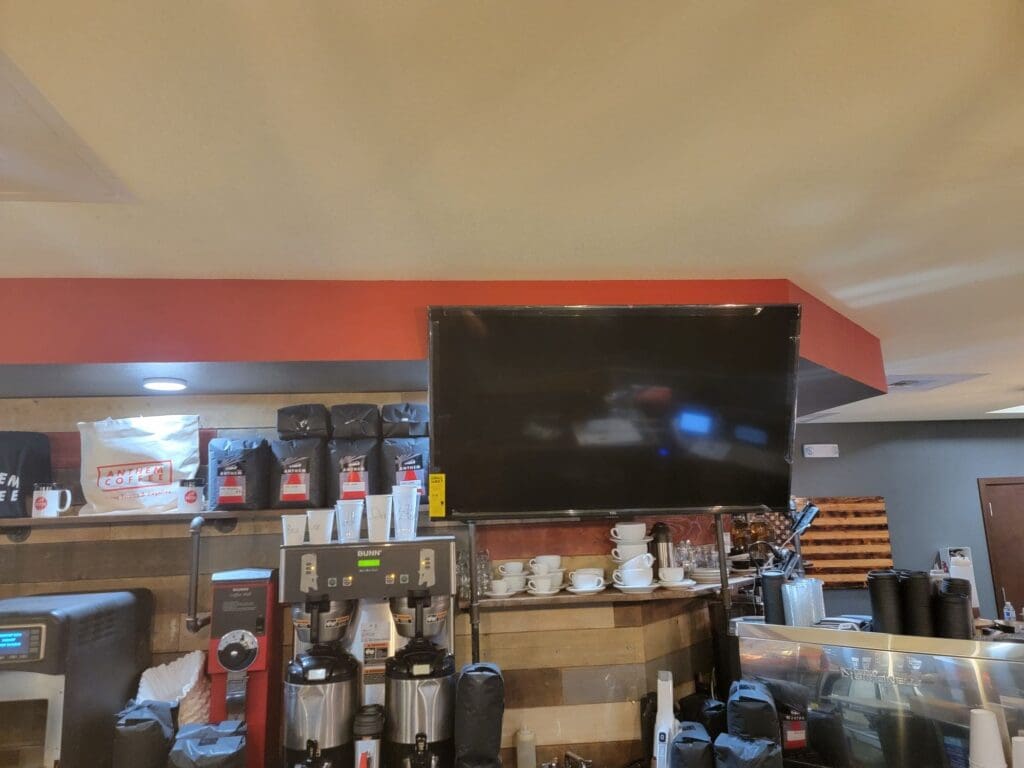
Before TV look like this
Today, May 12, 2024, I successfully replaced the wall mounts with ceiling mounts for both televisions. 📺🔧🛠️

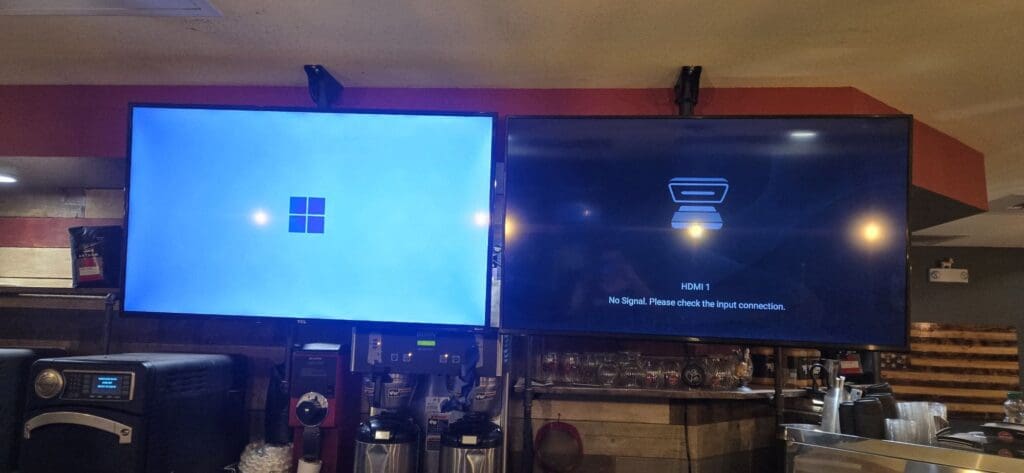
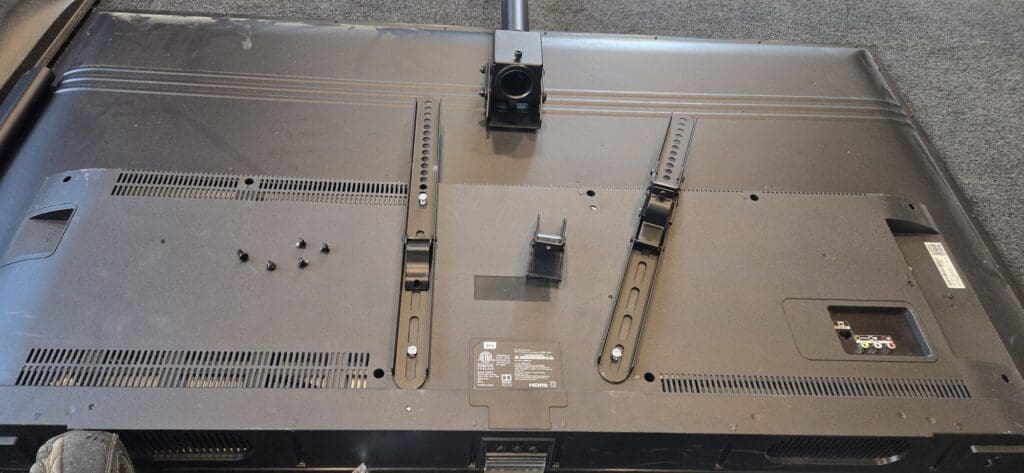
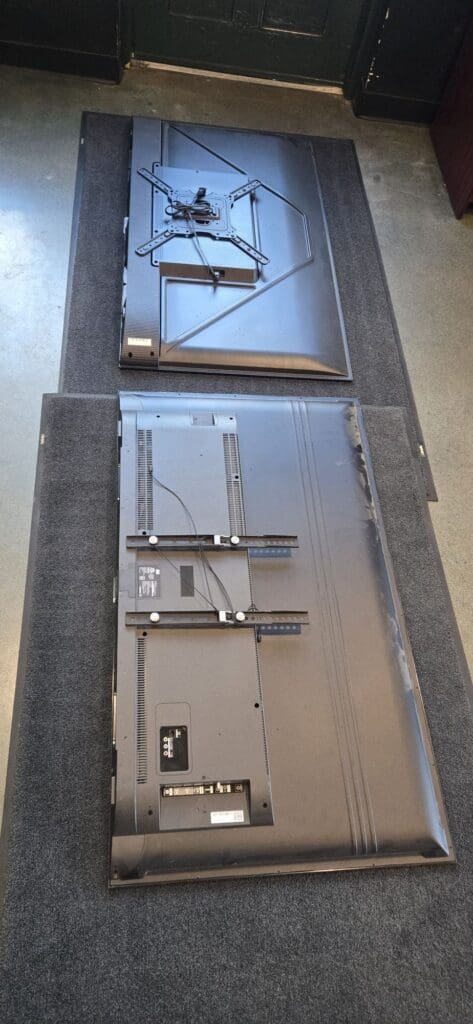
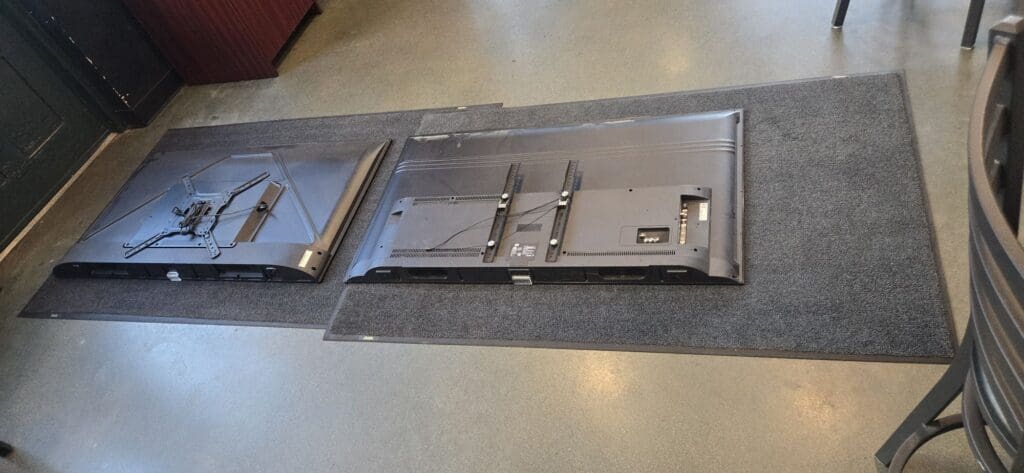
I set both TVs down to take accurate measurements before drilling the holes. The process went smoothly, and the entire job took me about three hours.
Comments (0)
No comments yet. Be the first!